Spend 50% Less Time on Tickets
Automate, organize, and deliver exceptional customer service—for free!
41%
Reduction in Ticket Volume
100%
Saving in Support Software Cost

What You Can Do with WooCommerce + Reacho
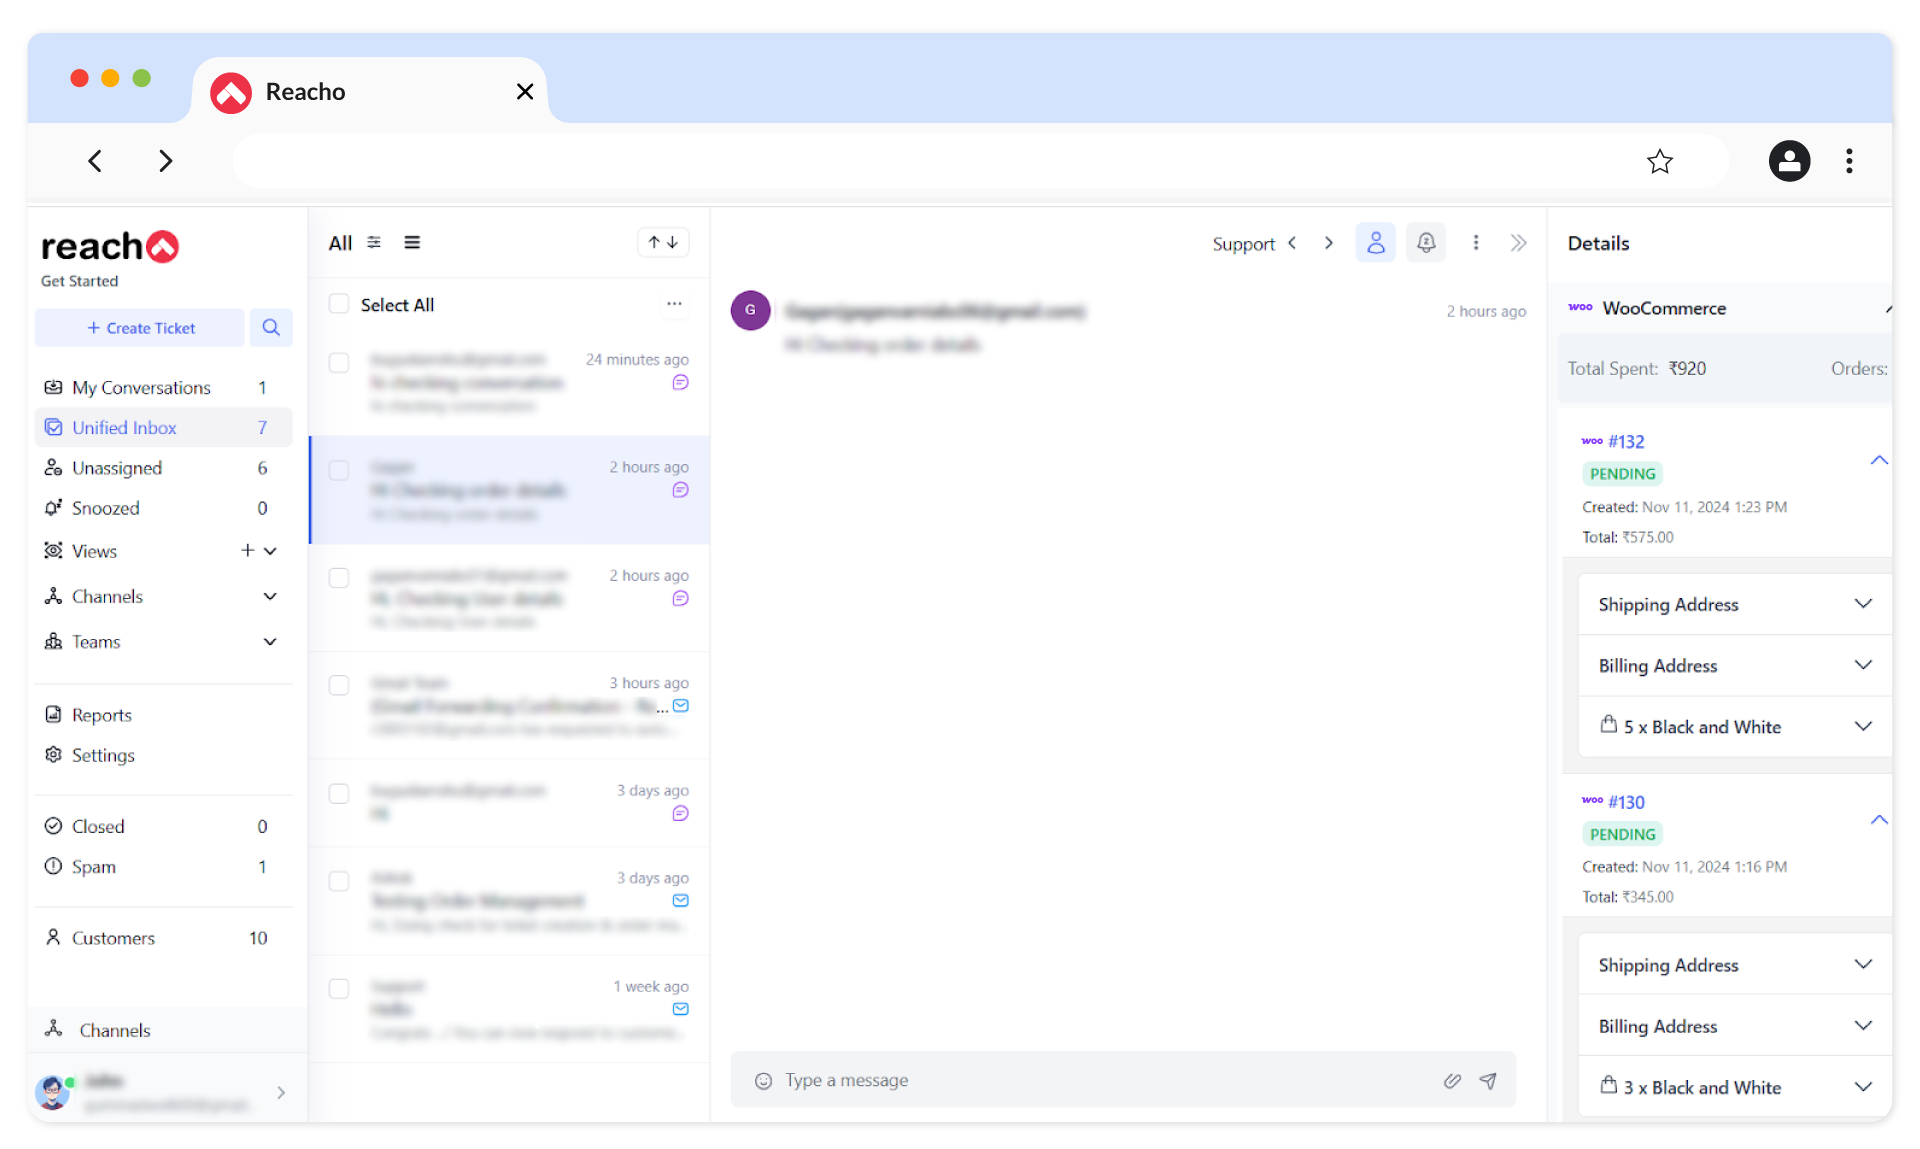
- All Customer Details in One View
Access customer profiles with contact information, order history, fulfillment status, and item-level costs—all displayed conveniently in the ticket sidebar.
- Effortless Order Management
Process refunds, update order statuses, and manage transactions directly in Reacho without switching between platforms.
- Real-Time Data Sync
Stay updated with instant synchronization—every new order or profile change in WooCommerce reflects immediately in Reacho.
- Prioritize Like a Pro
Organize tickets using advanced filters based on teams, channels, or ticket statuses, ensuring nothing slips through the cracks.
- Instant Customer Support
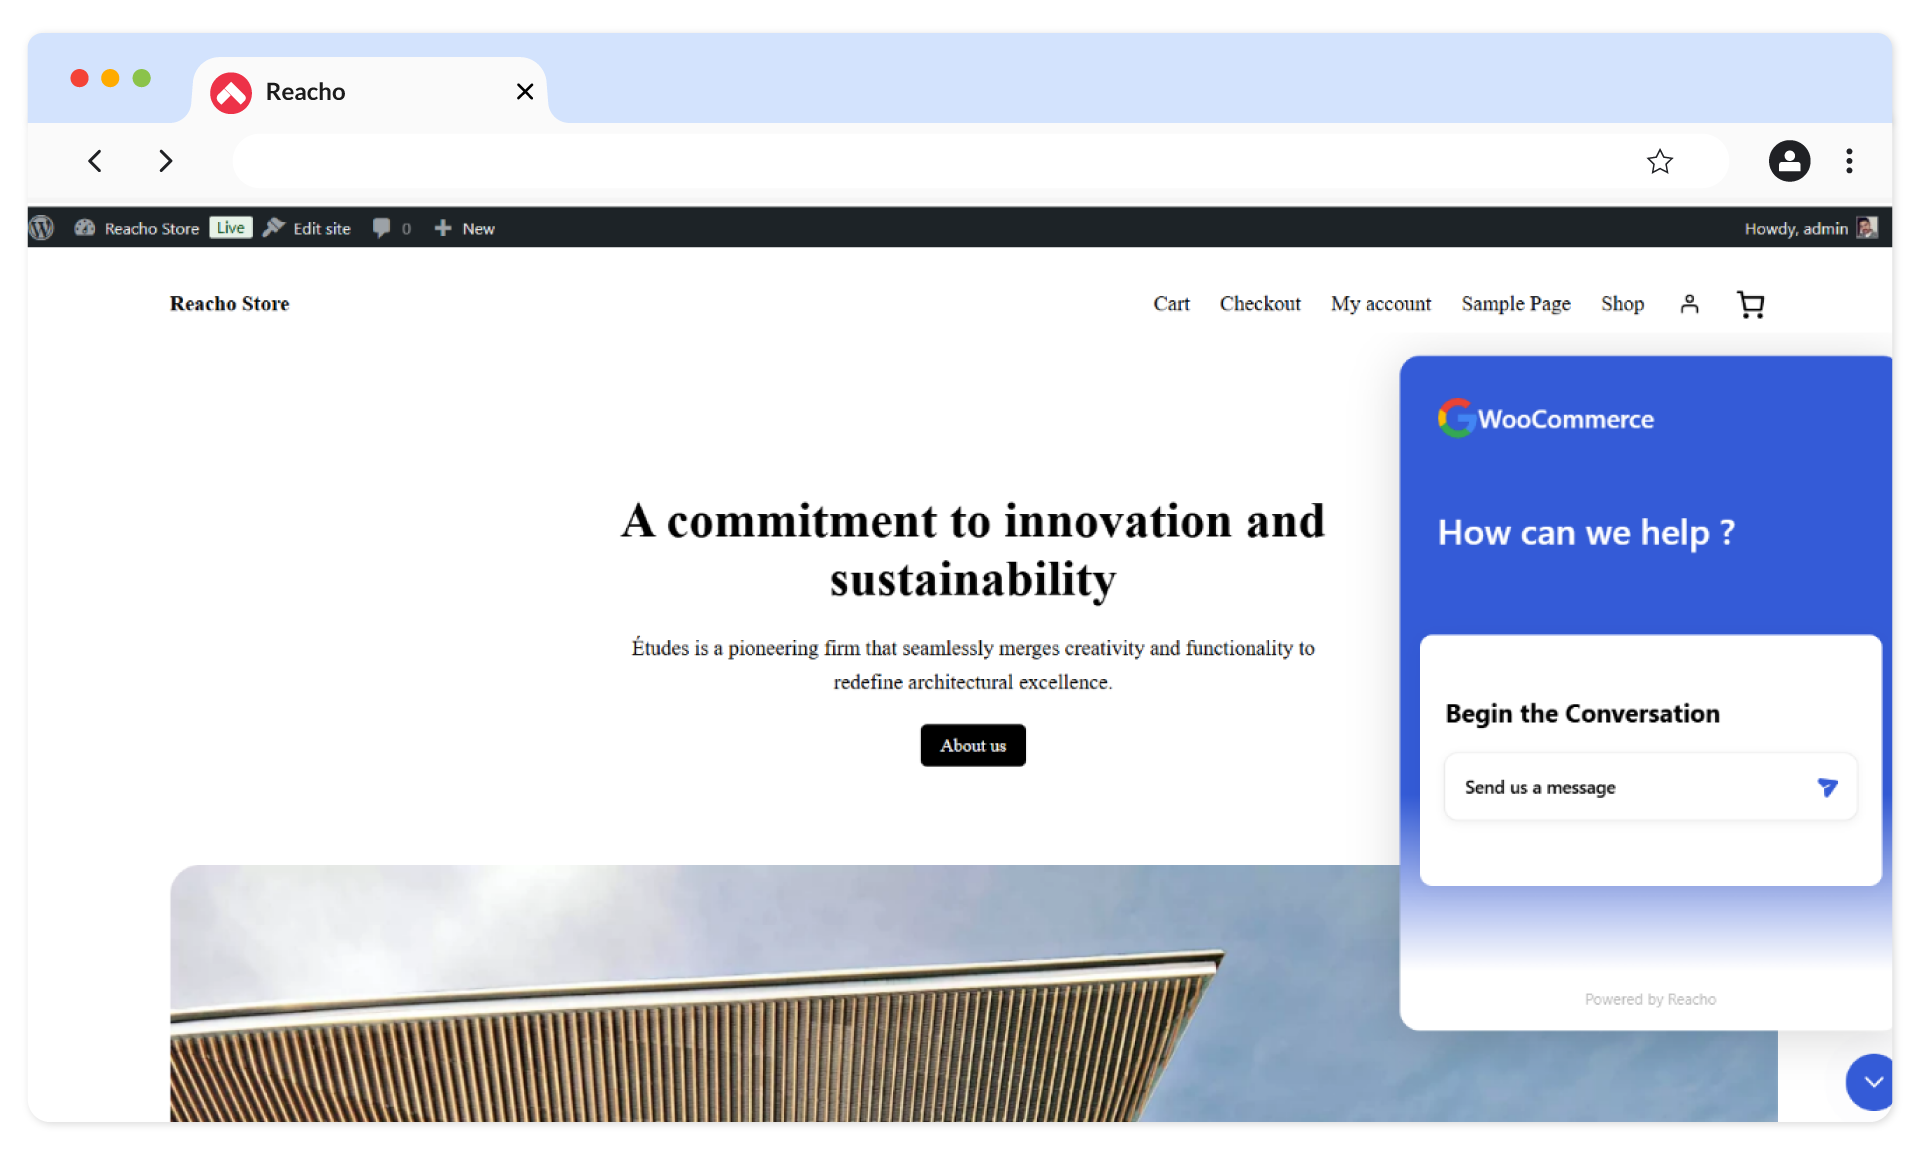
Add a live chat widget to your WooCommerce store for real-time assistance that delights customers.
- Smarter Workflows, Faster Results
Automate FAQs and ticket handling with intelligent workflows powered by intent-based message classification.
Steps
Steps to Connect Your WooCommerce Account to Reacho
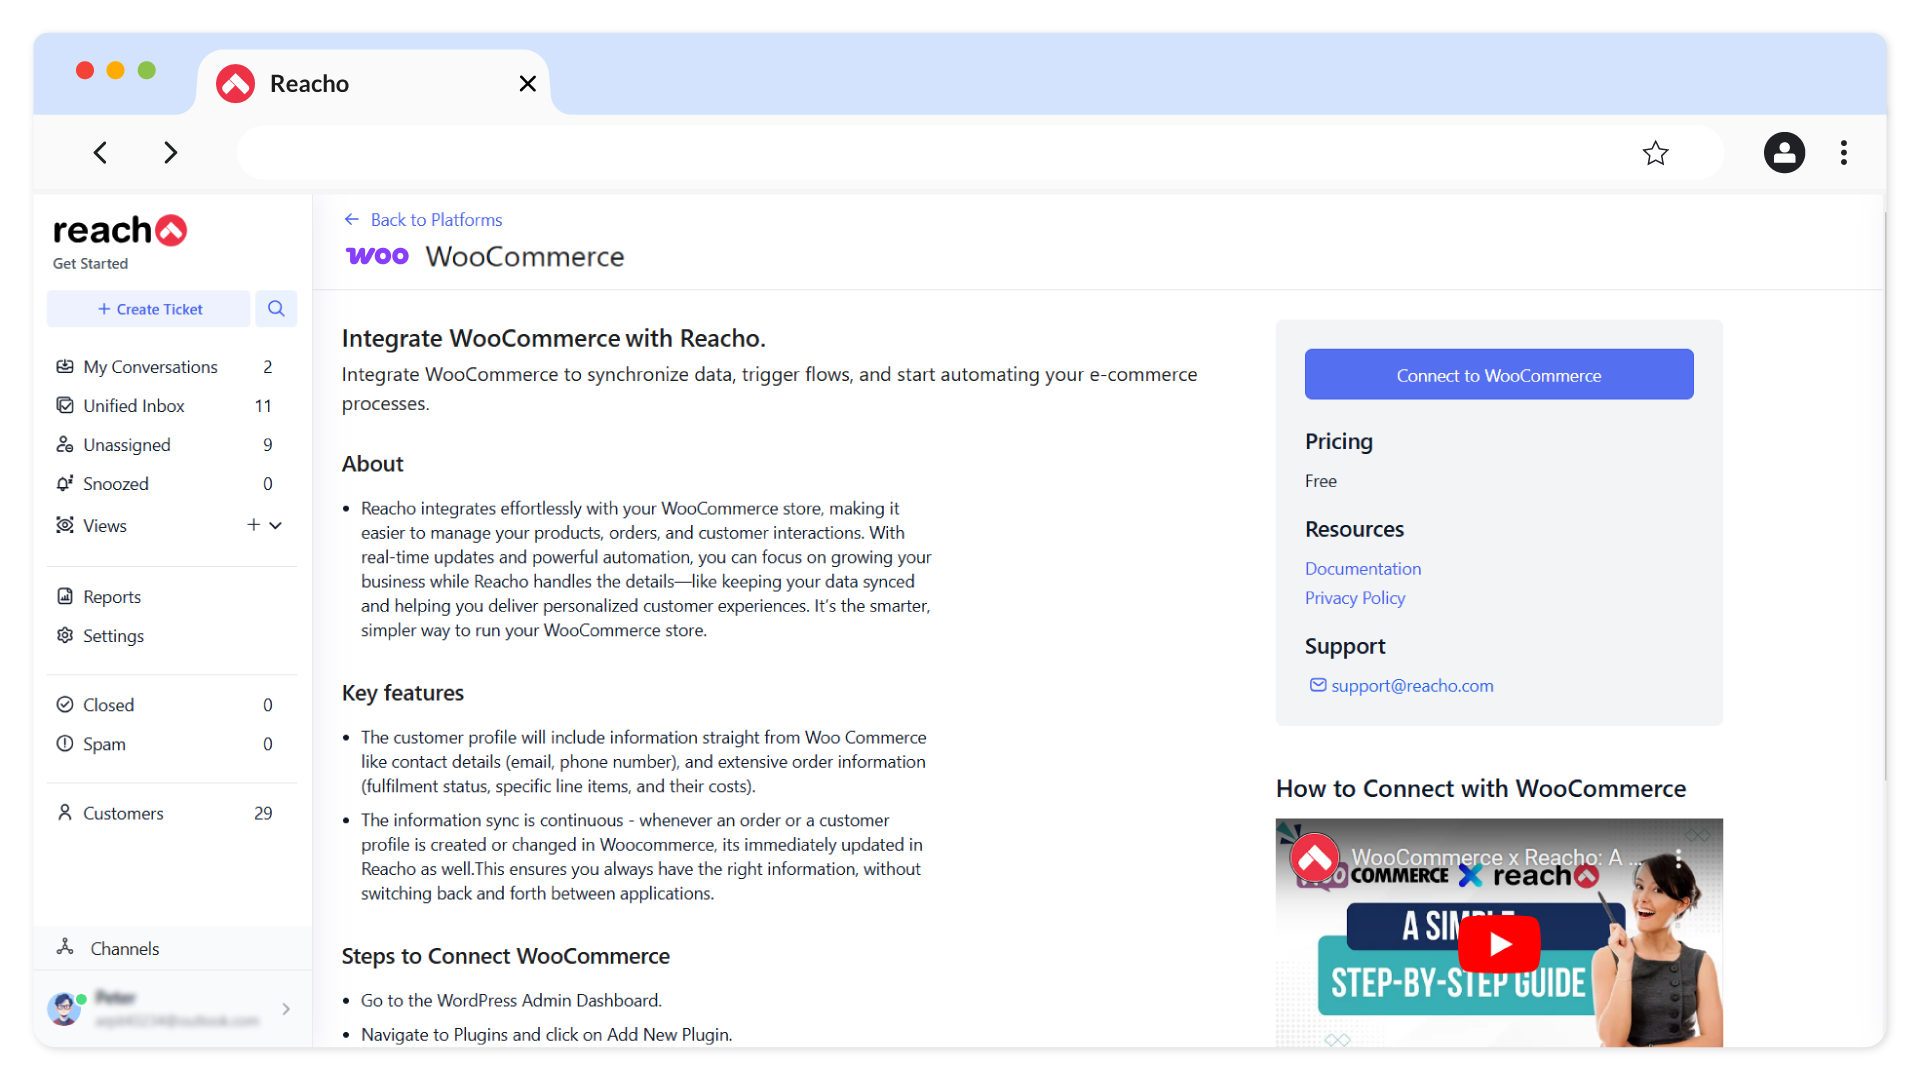
1. Log in to Reacho, go to the Platforms section, and install WooCommerce by clicking on the Add Platforms button.

2. Click on the Connect to WooCommerce button.
3. Enter the Woocommerce Store URL.
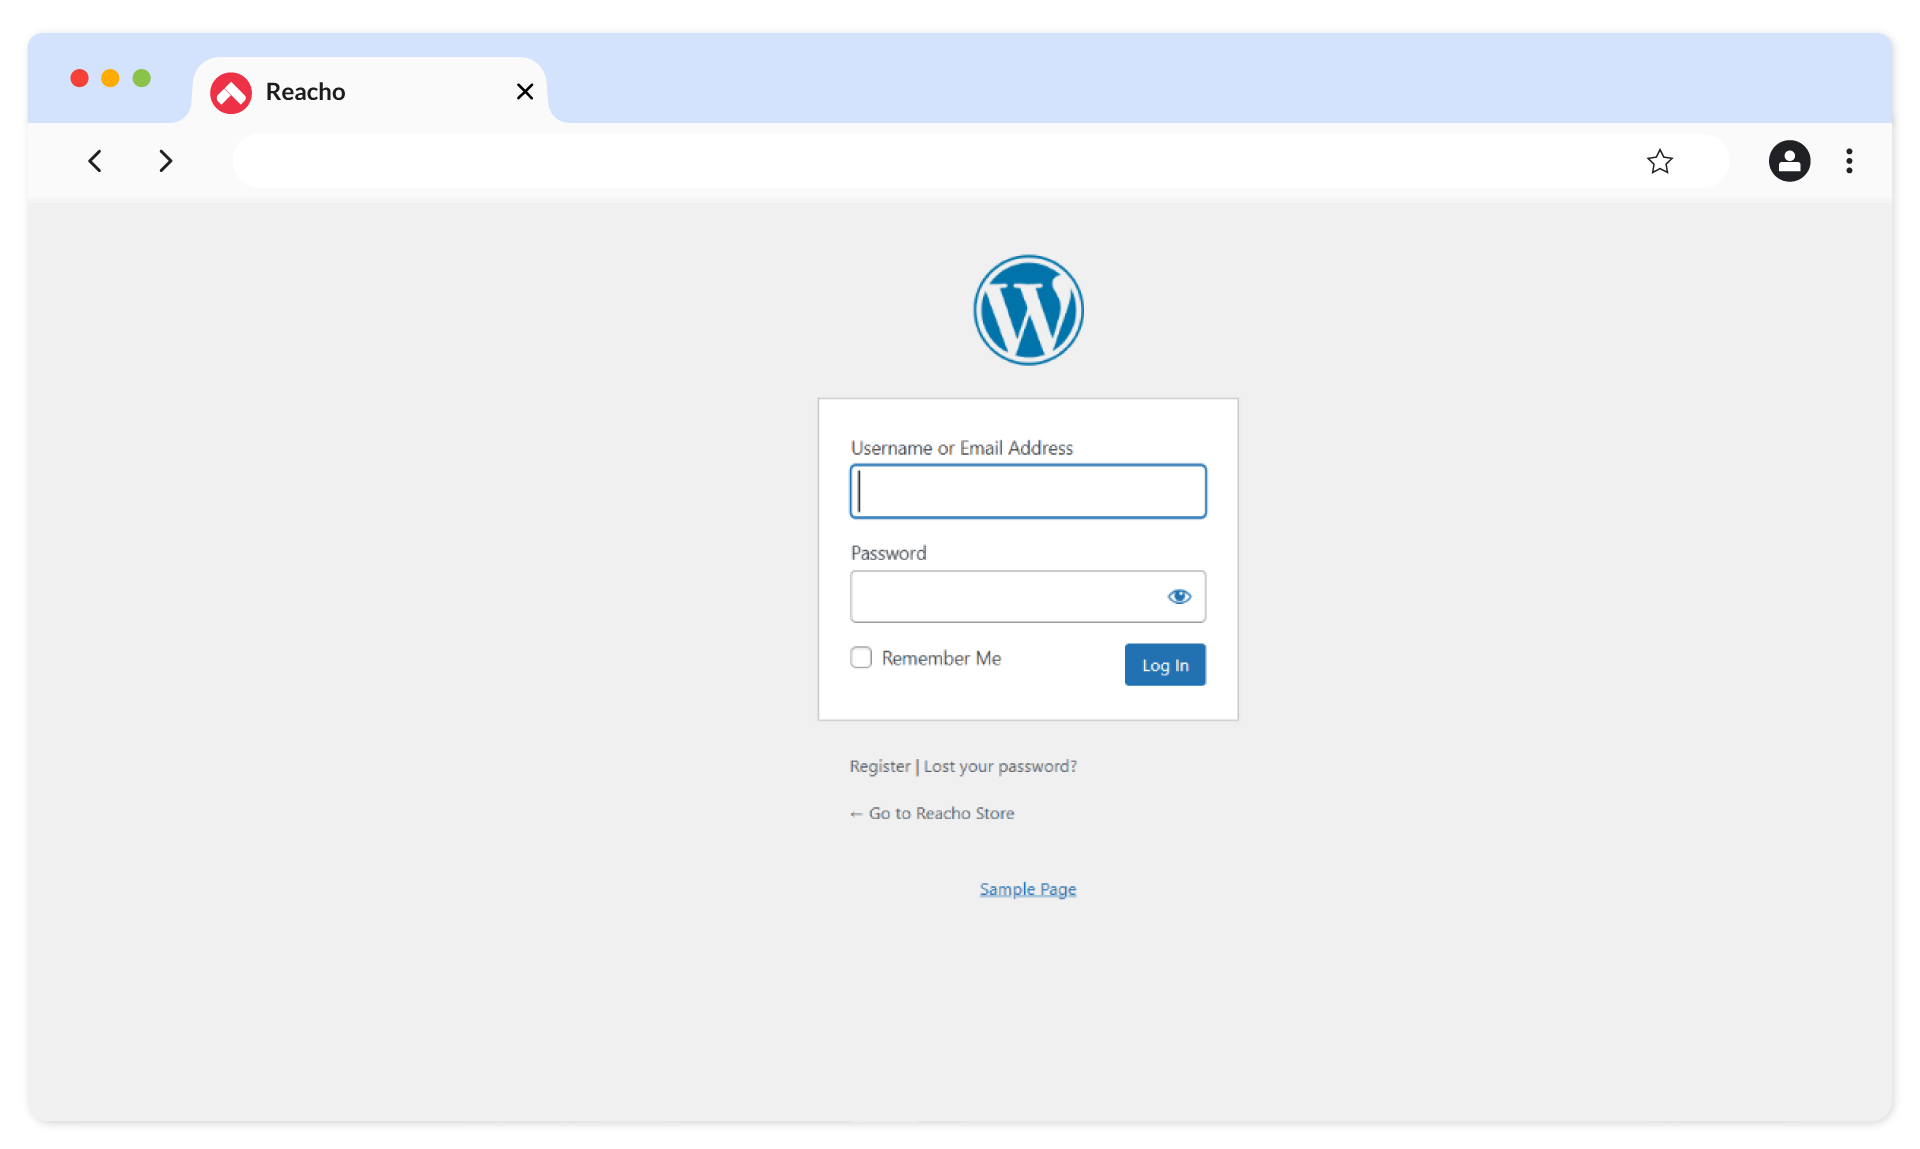
4. You’ll be redirected to the WooCommerce login screen. Log in to your WooCommerce account.

5. We will be redirected to the below Reacho plugin screen.
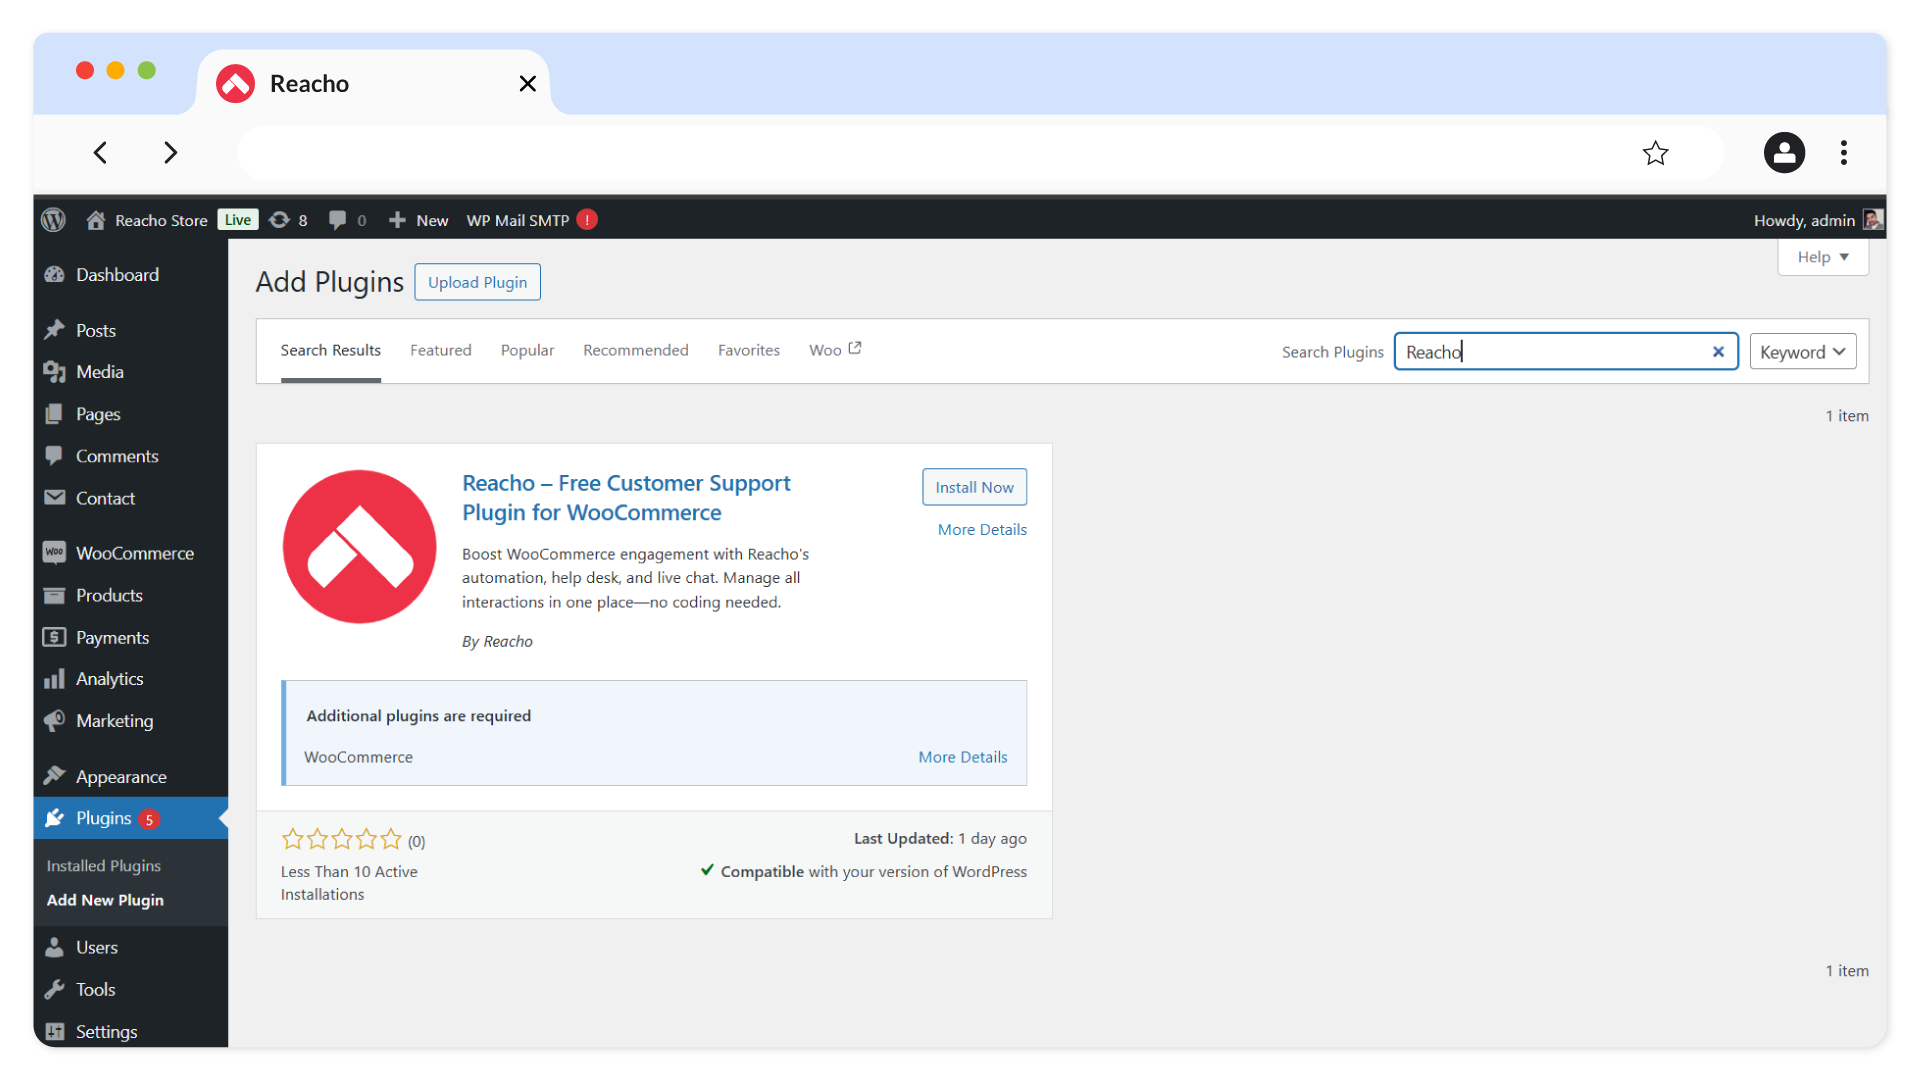
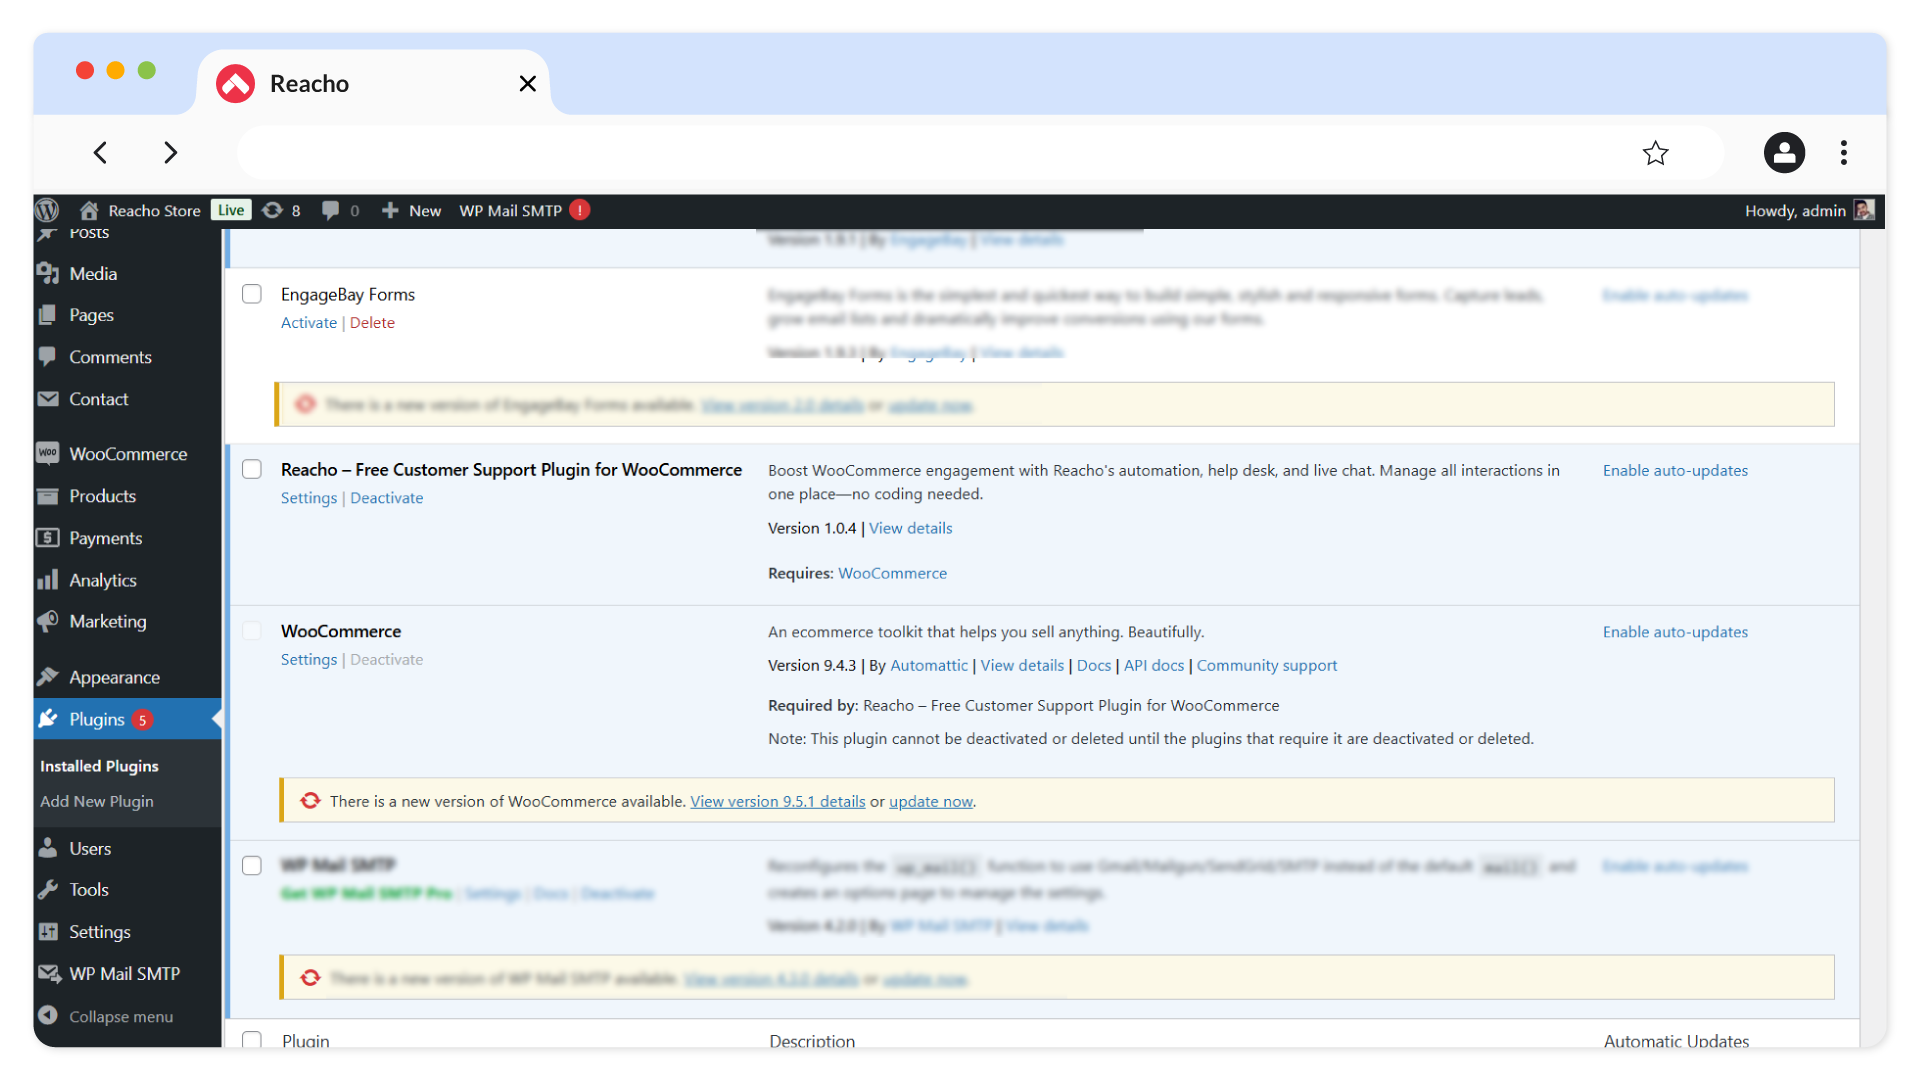
6. Install the Reacho plugin by clicking Install Now .
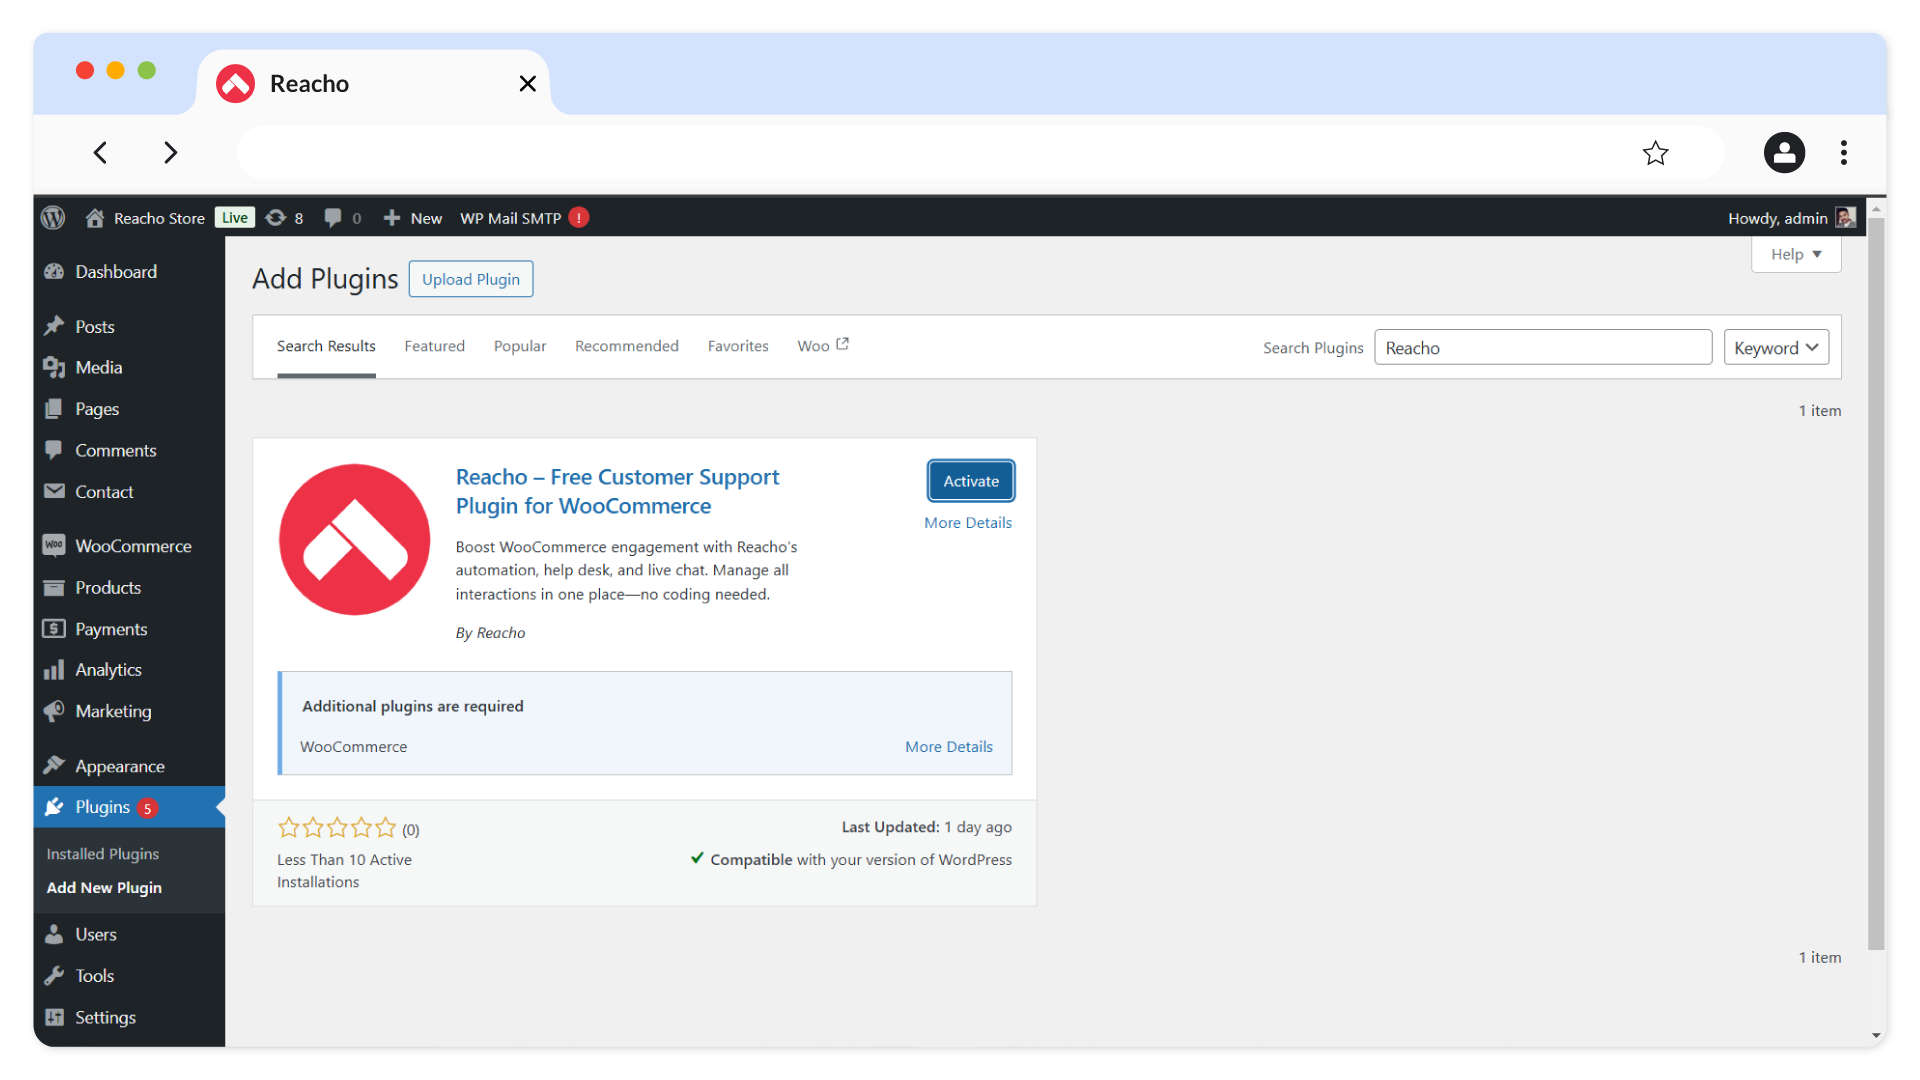
7. Click on Activate once the installation is complete. After doing this, the Reacho plugin will be available for WooCommerce.
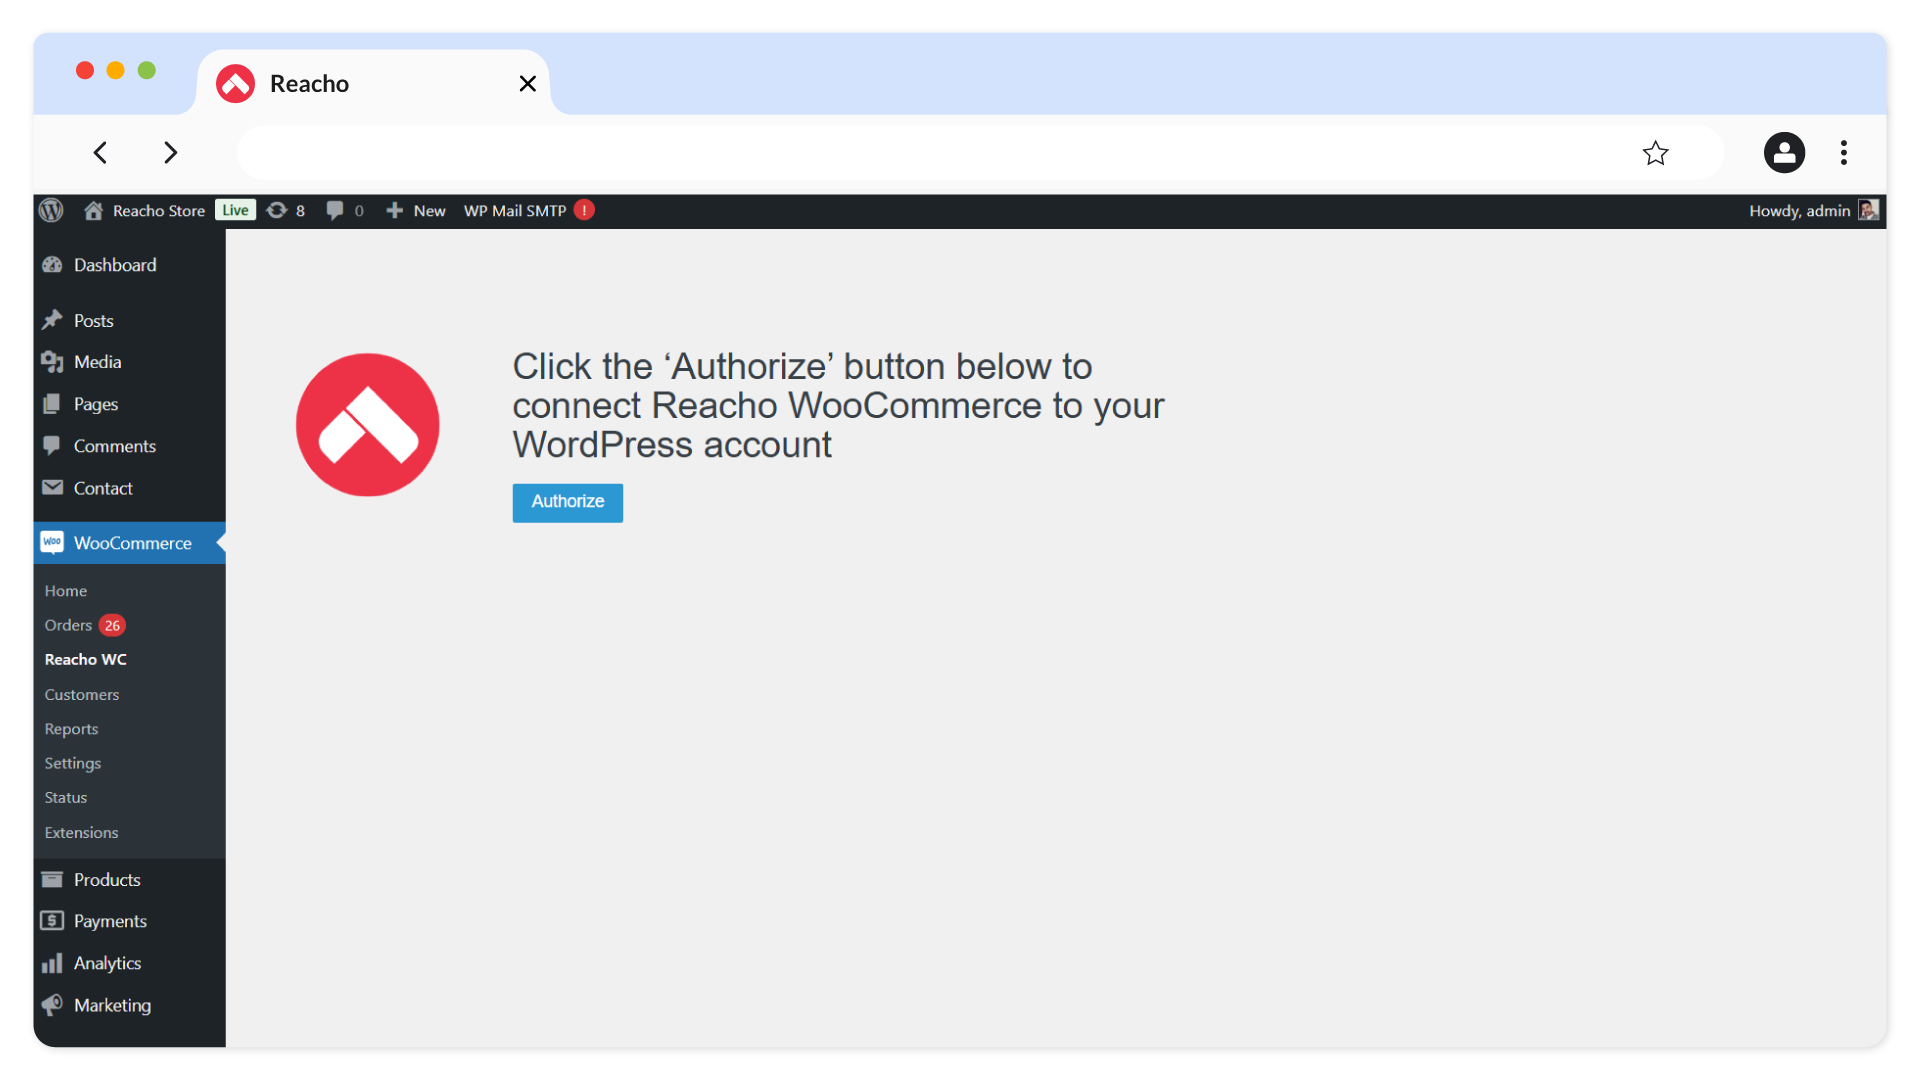
8. Go to the Settings section of the Reacho plugin.
9. Click on the Authorize button.
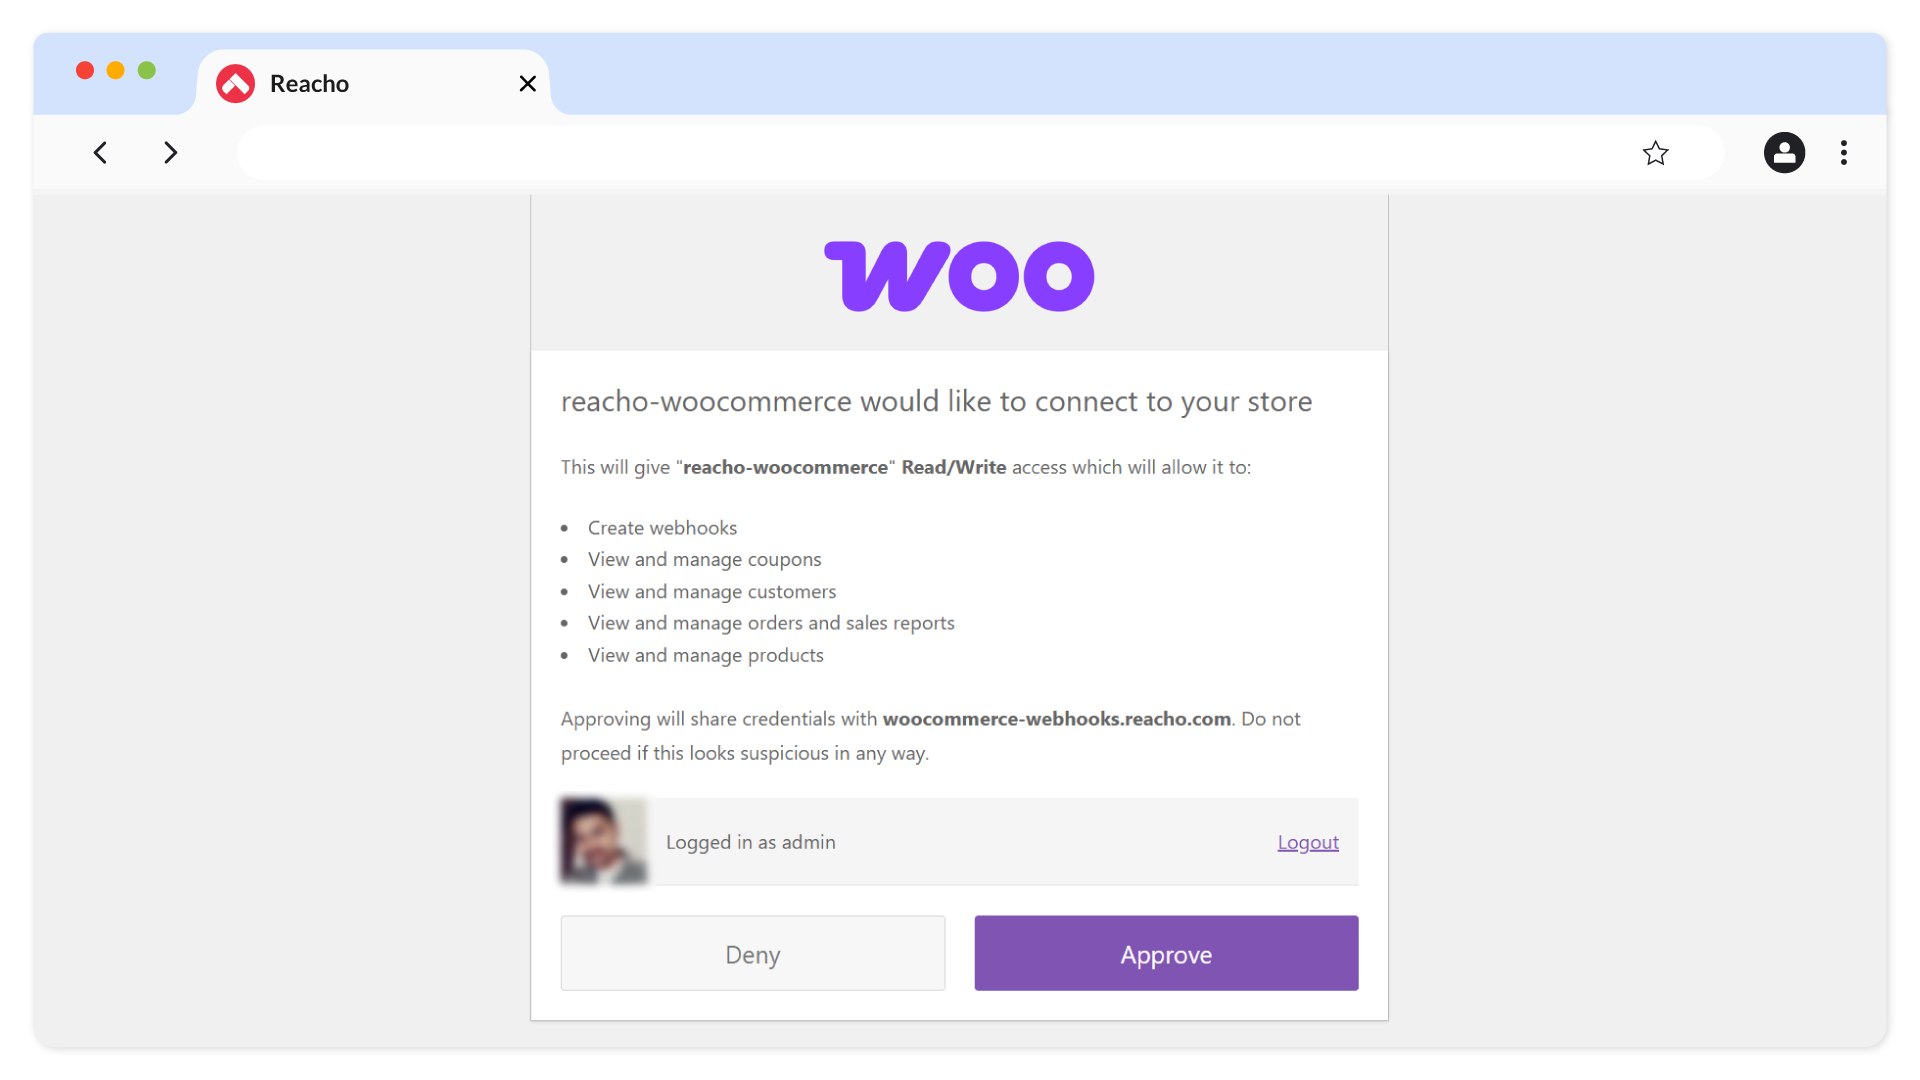
10. Click Approve to finalize the connection between Reacho and WooCommerce.
11. Enter your Public and Private API Keys from Reacho → Manage Account → API Keys section, then click Save Changes.

12. The WooCommerce integration will be completed successfully.
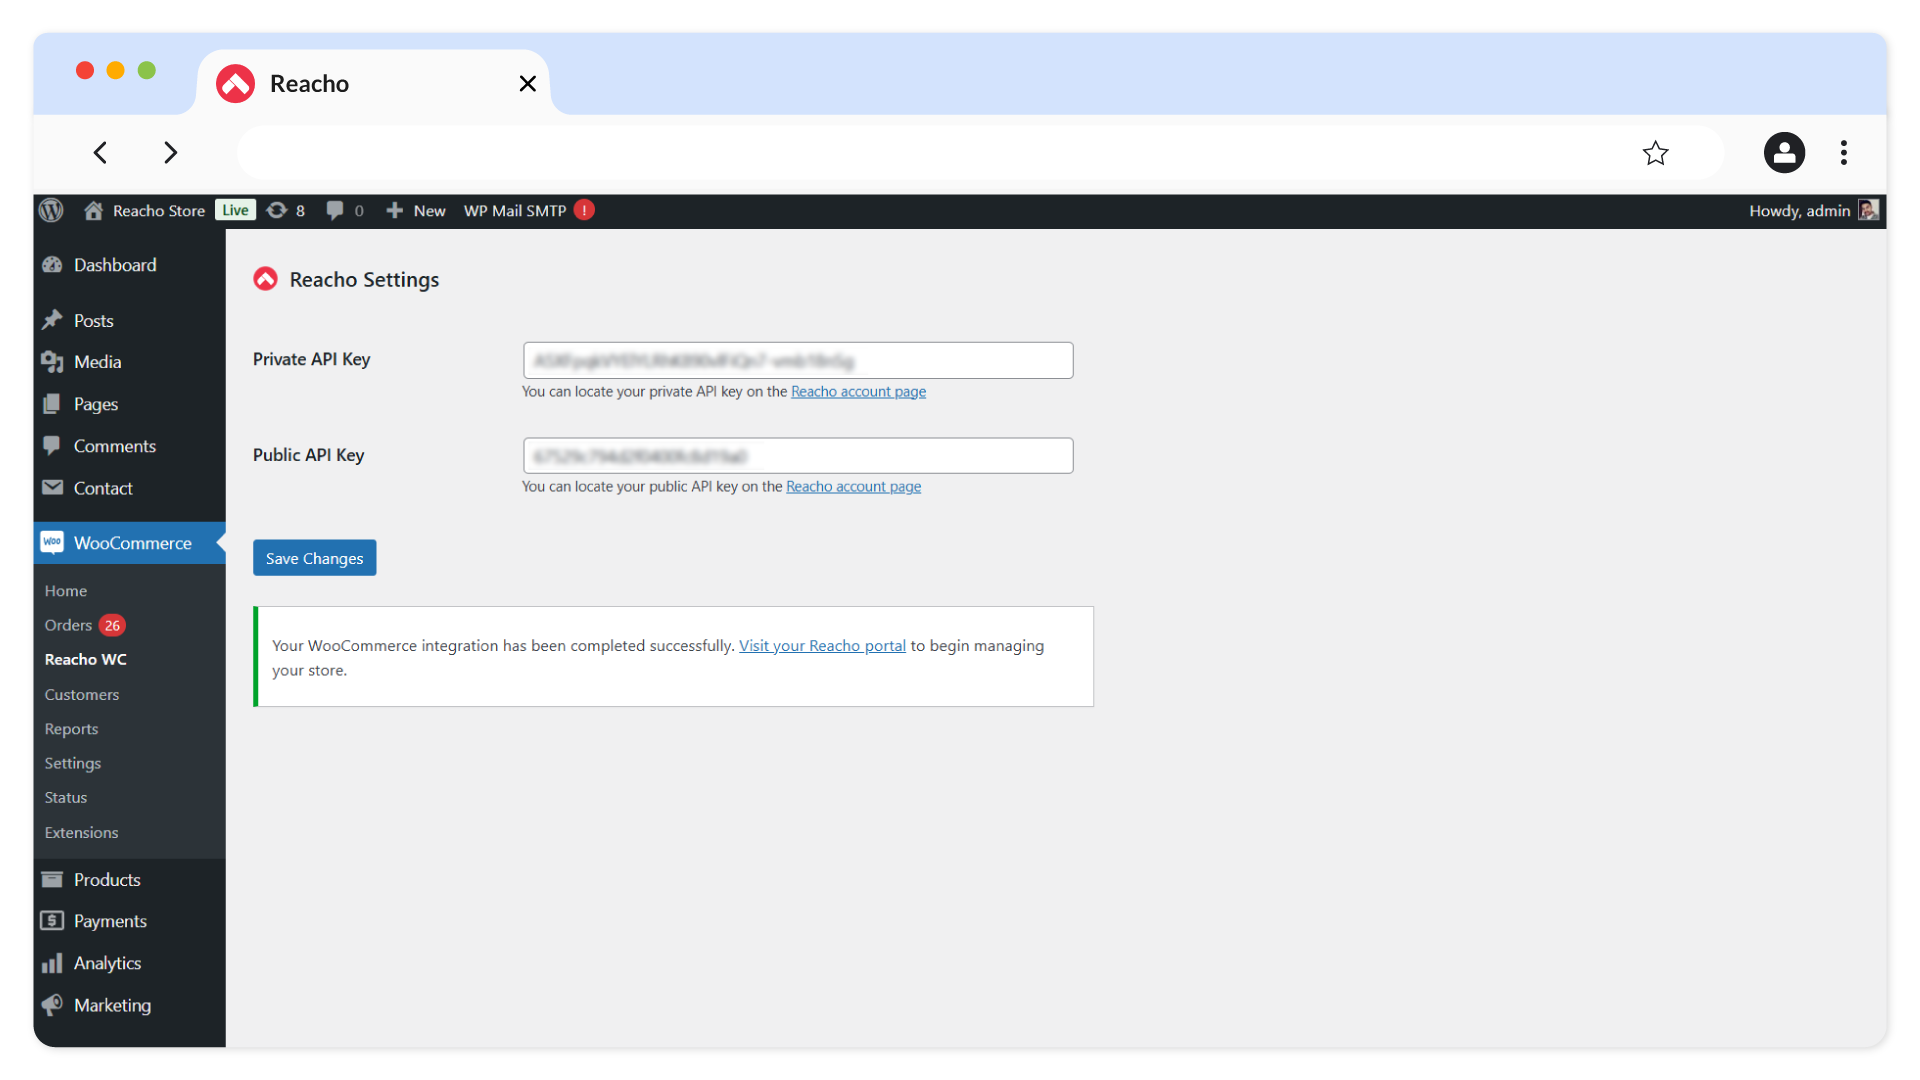
13. Click on the Visit your Reacho portal link to check the Sync Status, which will be updated in the Reacho application.

14. All customer contacts and order history from WooCommerce will then sync automatically in Reacho, enhancing order management and customer support capabilities.
Chat Integration
1.Go to the Channels → Chat Section in Reacho.
2. Click on Add Chat.
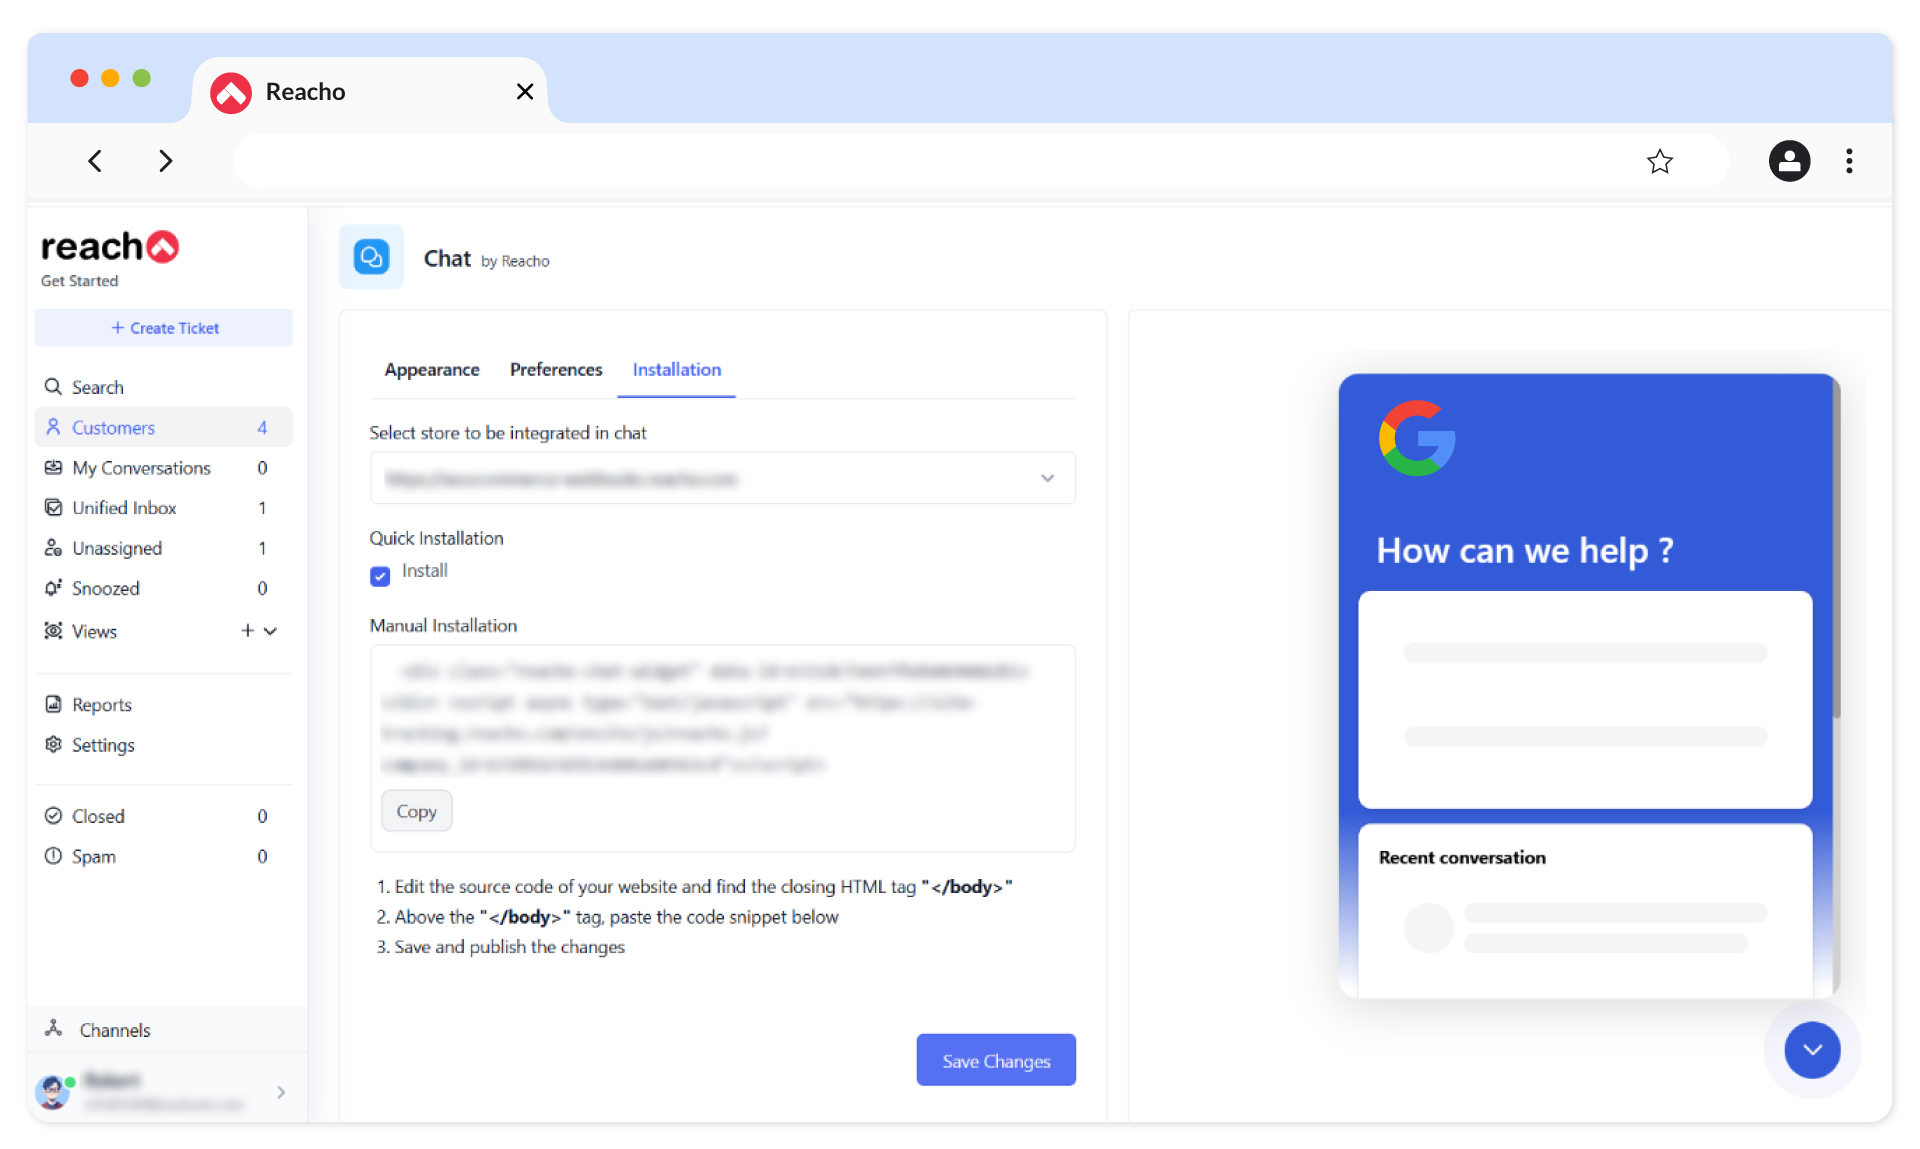
3. Configure the chat widget using the following tabs.
- Appearance: Customize the look of your chat widget.
- Preferences: Adjust settings like notifications.
- Installation: Add the chat widget code to your WooCommerce store.
4. Save your changes.
5. The chat widget will now be live on your WooCommerce store.
Free migration, free setup.
Don’t worry about moving from any other platform. We’ll take care of it for you.

