Purpose-Built for PrestaShop
Effortlessly manage your PrestaShop store and customer support in one unified platform.
41%
Reduction in Ticket Volume
100%
Saving in Support Software Cost

What You Can Do with PrestaShop + Reacho
- Enhance Support
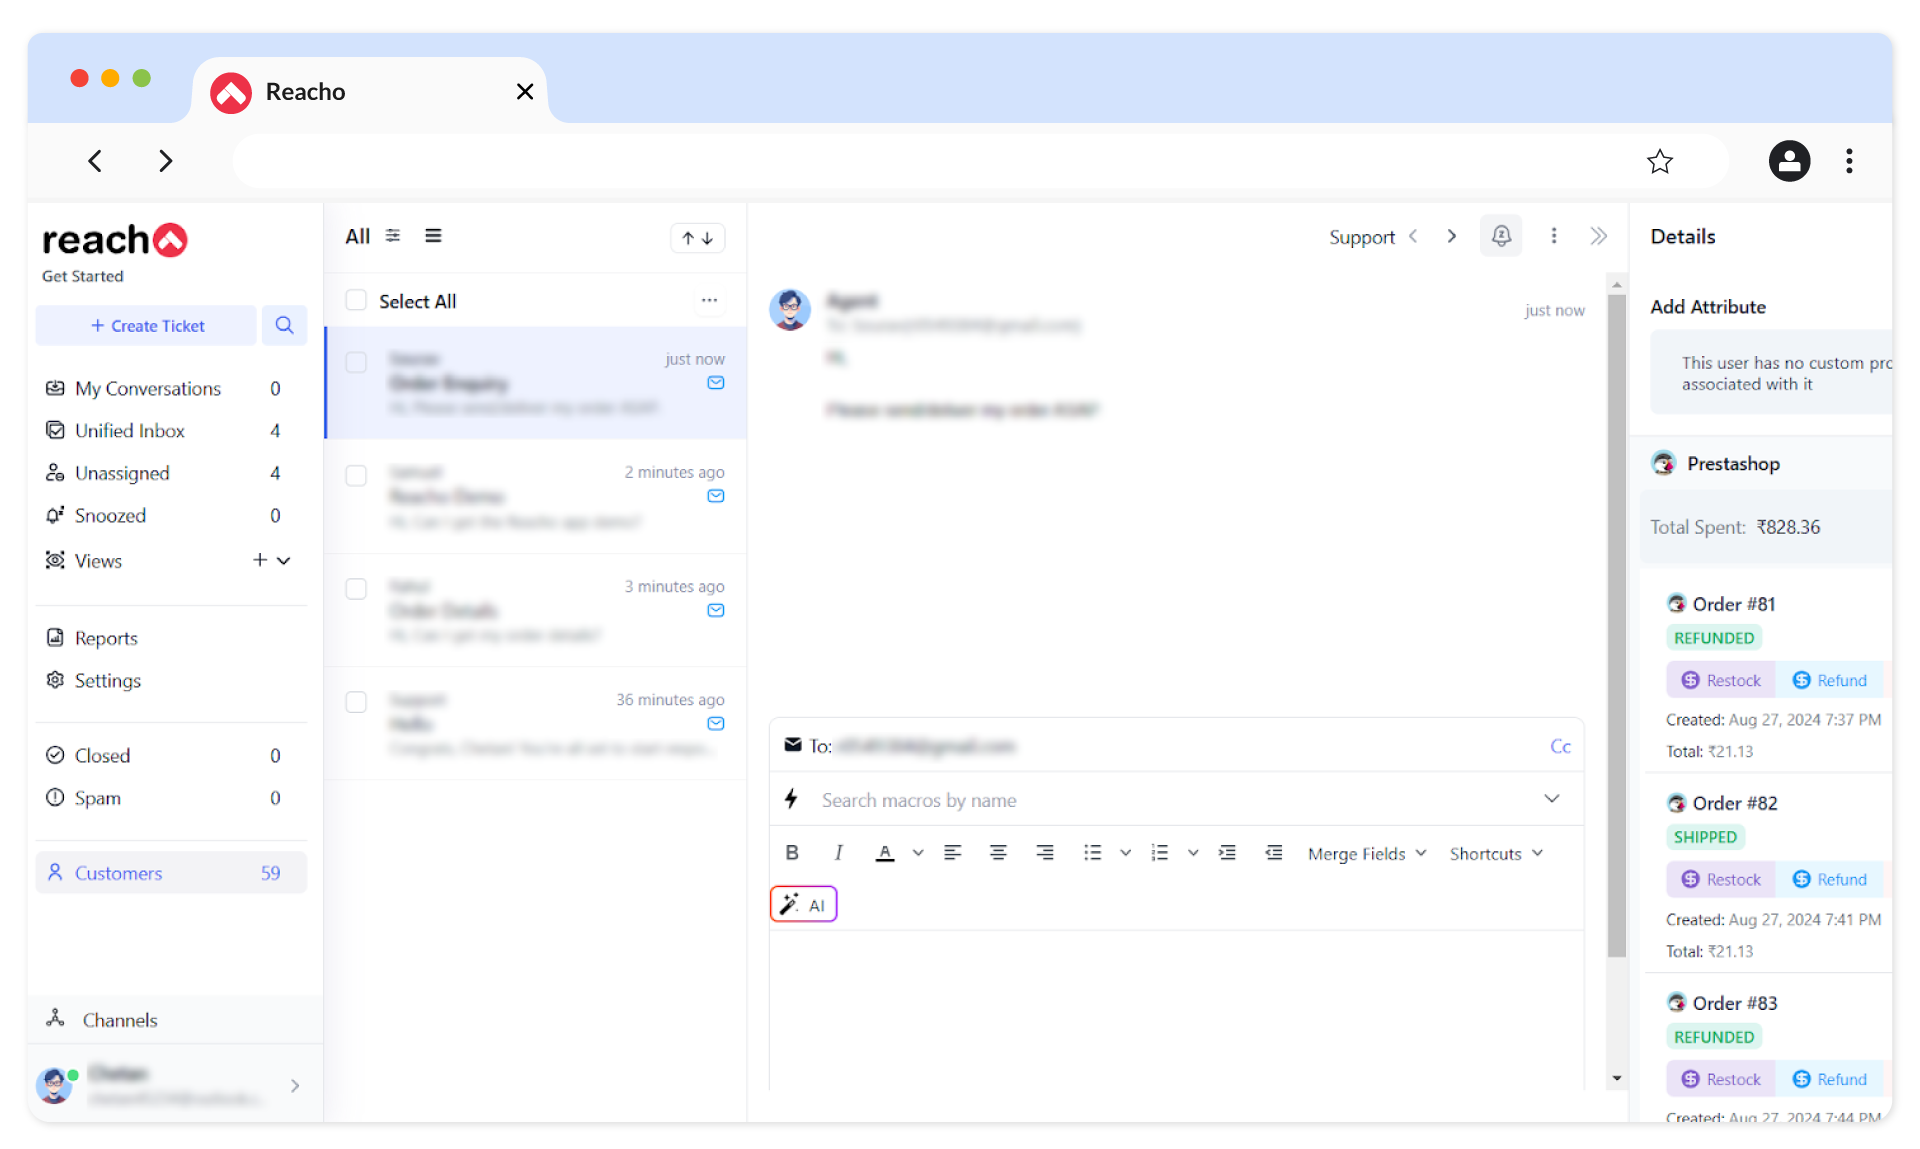
Display customer profile details, including order history and PrestaShop-specific information, right alongside support tickets.
- Simplify Order Management
Cancel or refund orders directly from the Reacho dashboard, reducing the time and effort required to manage transactions.
- Comprehensive Insights
Access detailed customer insights, such as the total amount spent and the number of orders placed, using a user-friendly ticket widget.
- Centralized Communication
Manage customer interactions across email, chat, and social media from one intuitive dashboard.
- Automate Tasks
Save time by automating ticket routing, prioritization, and repetitive updates like shipping confirmations or refunds.
Steps
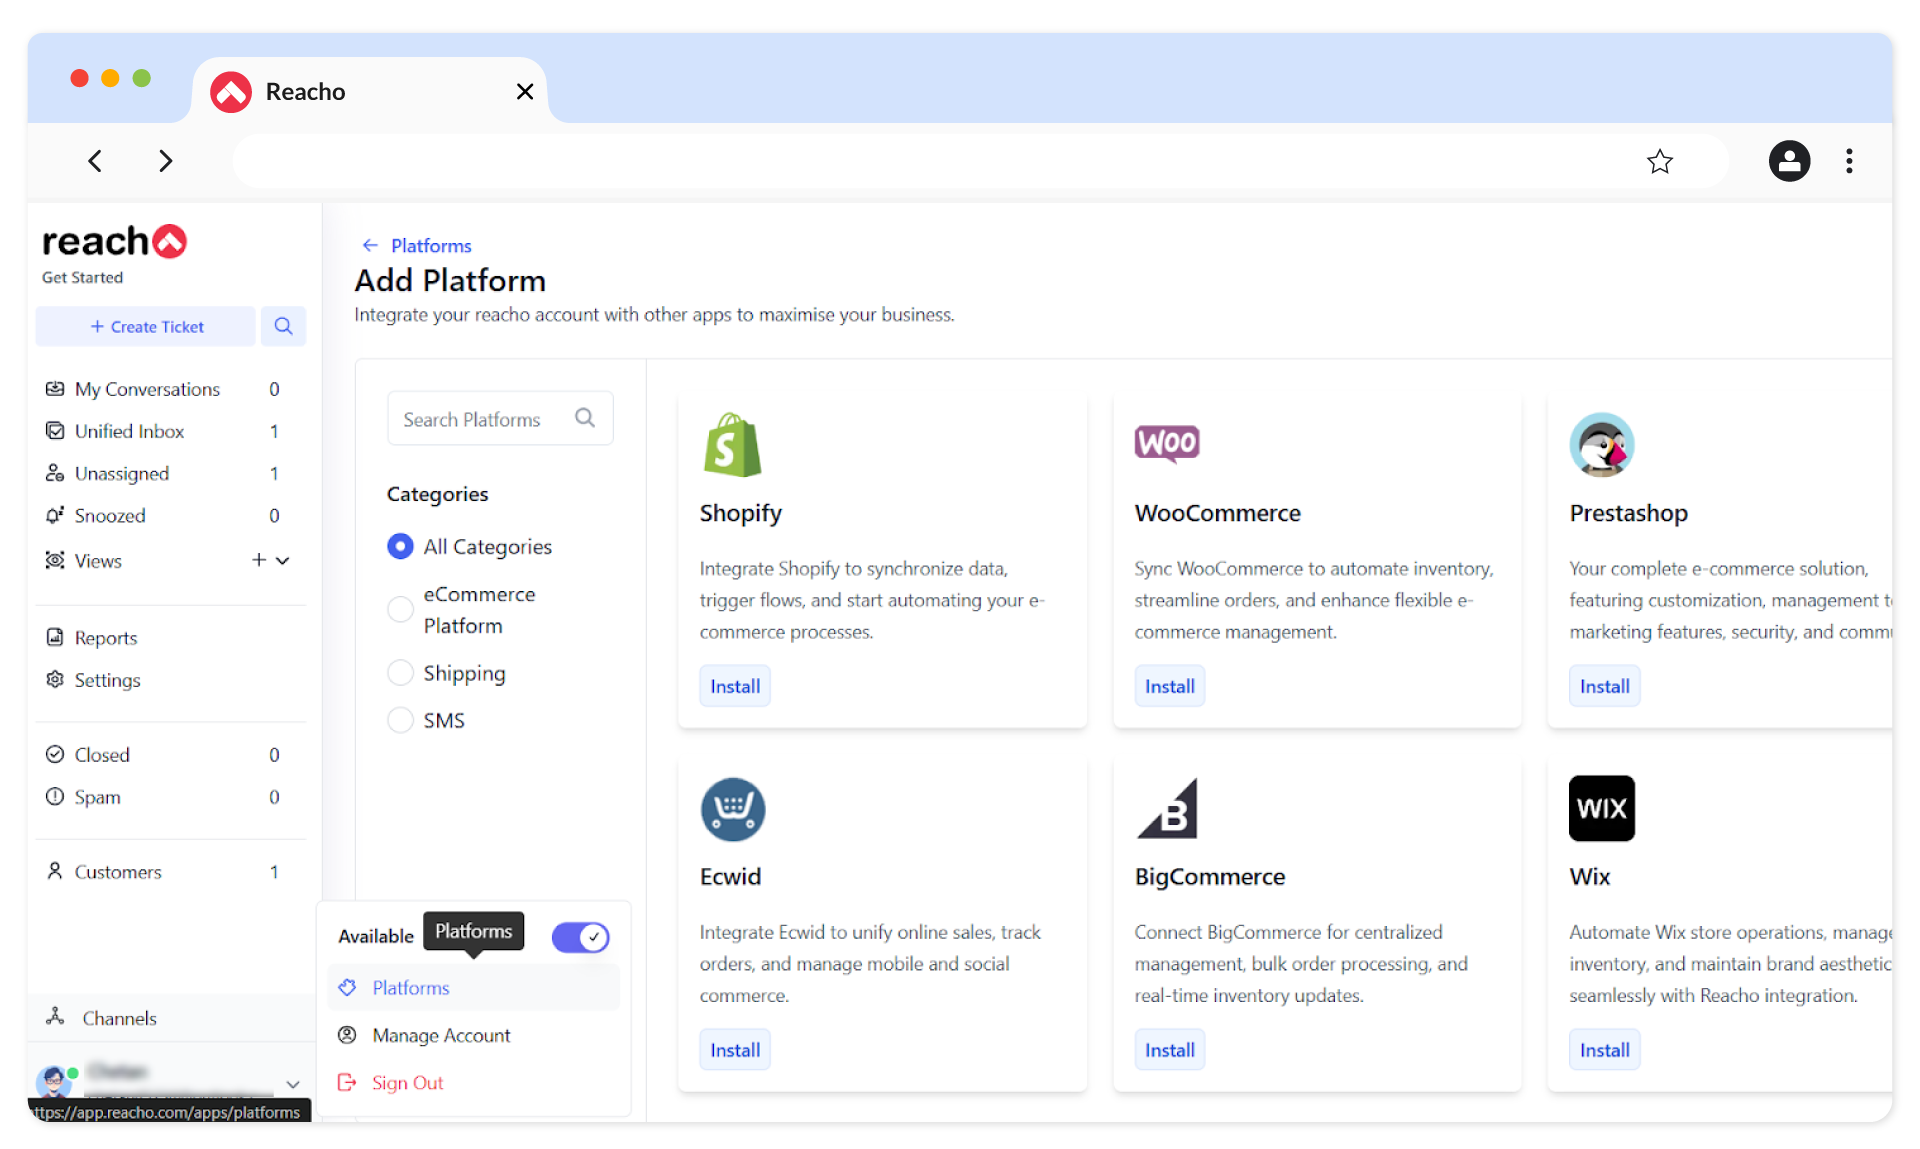
To connect your PrestaShop account to Reacho, follow these steps:
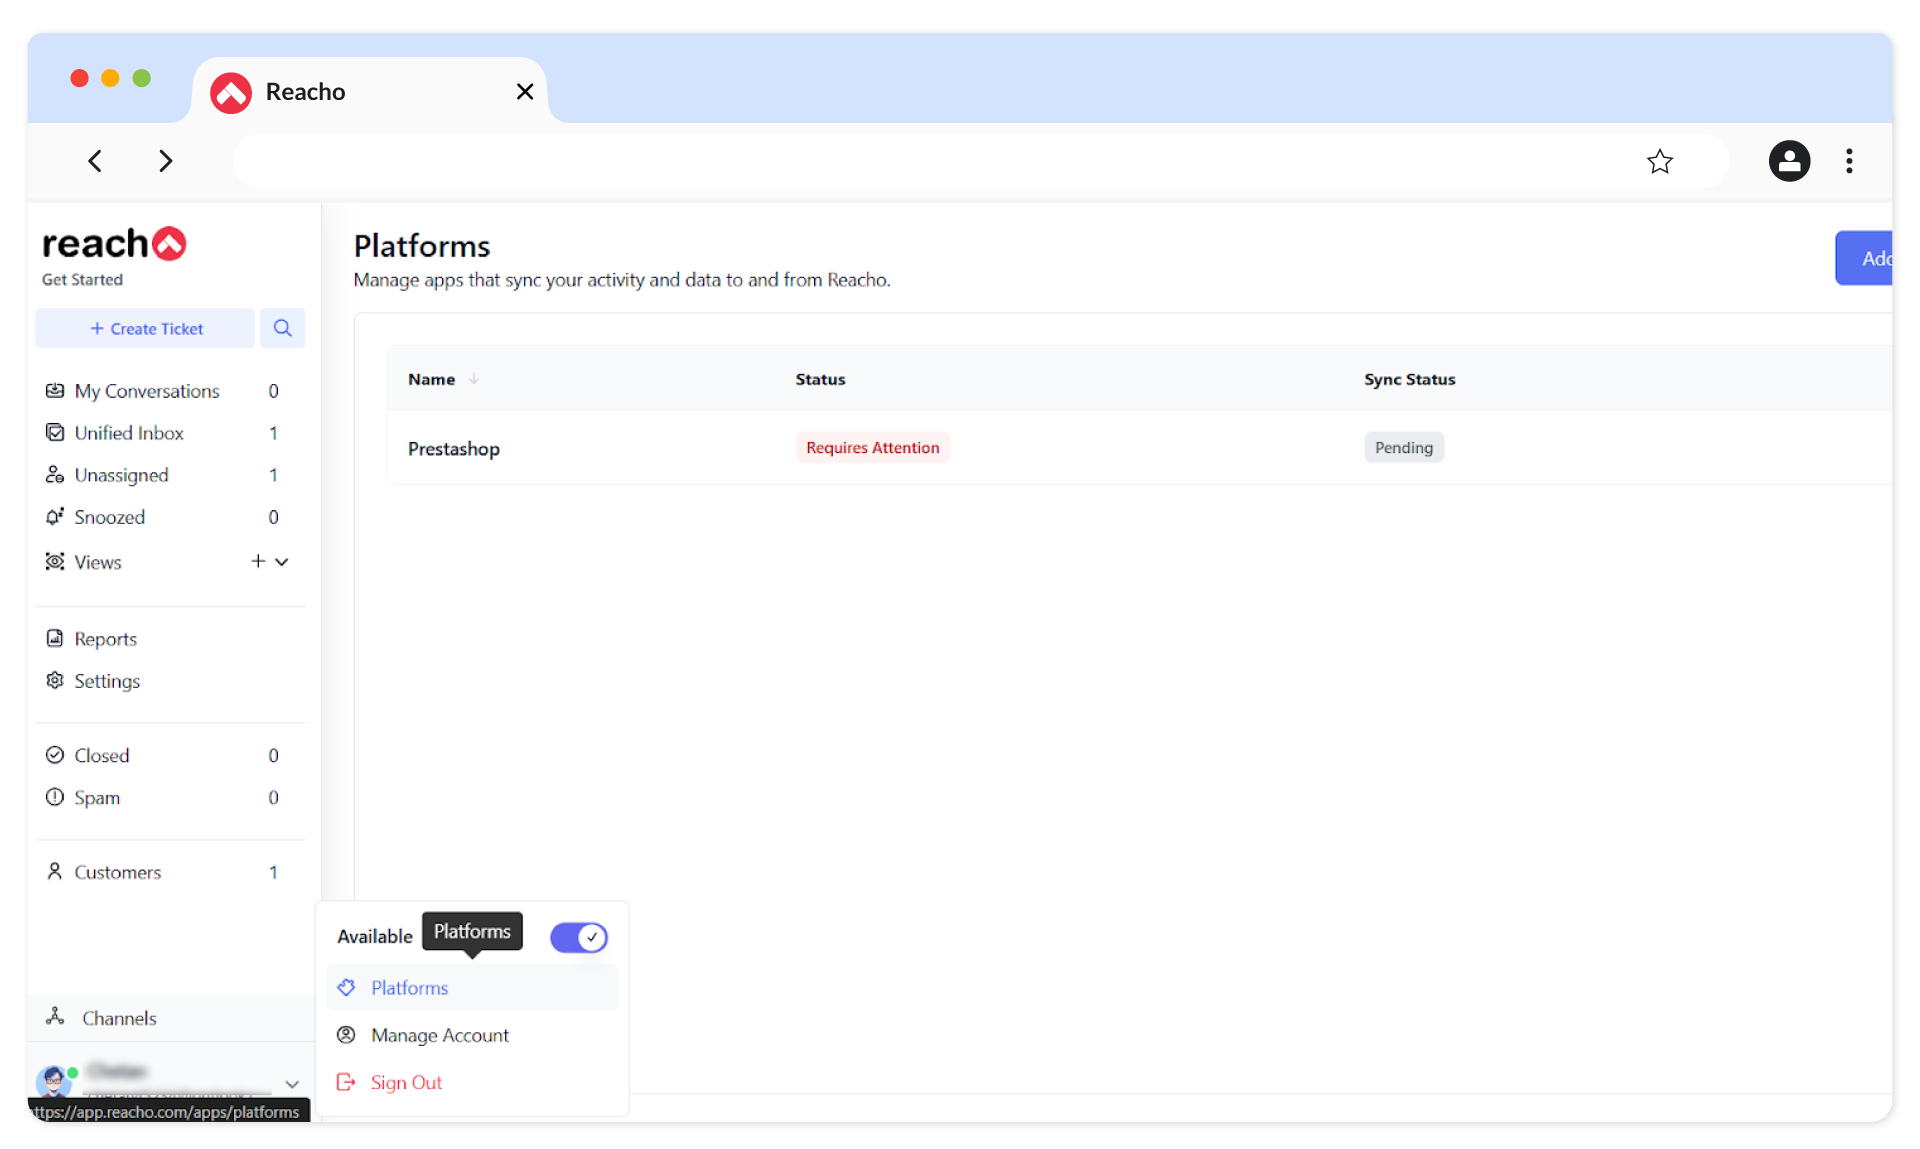
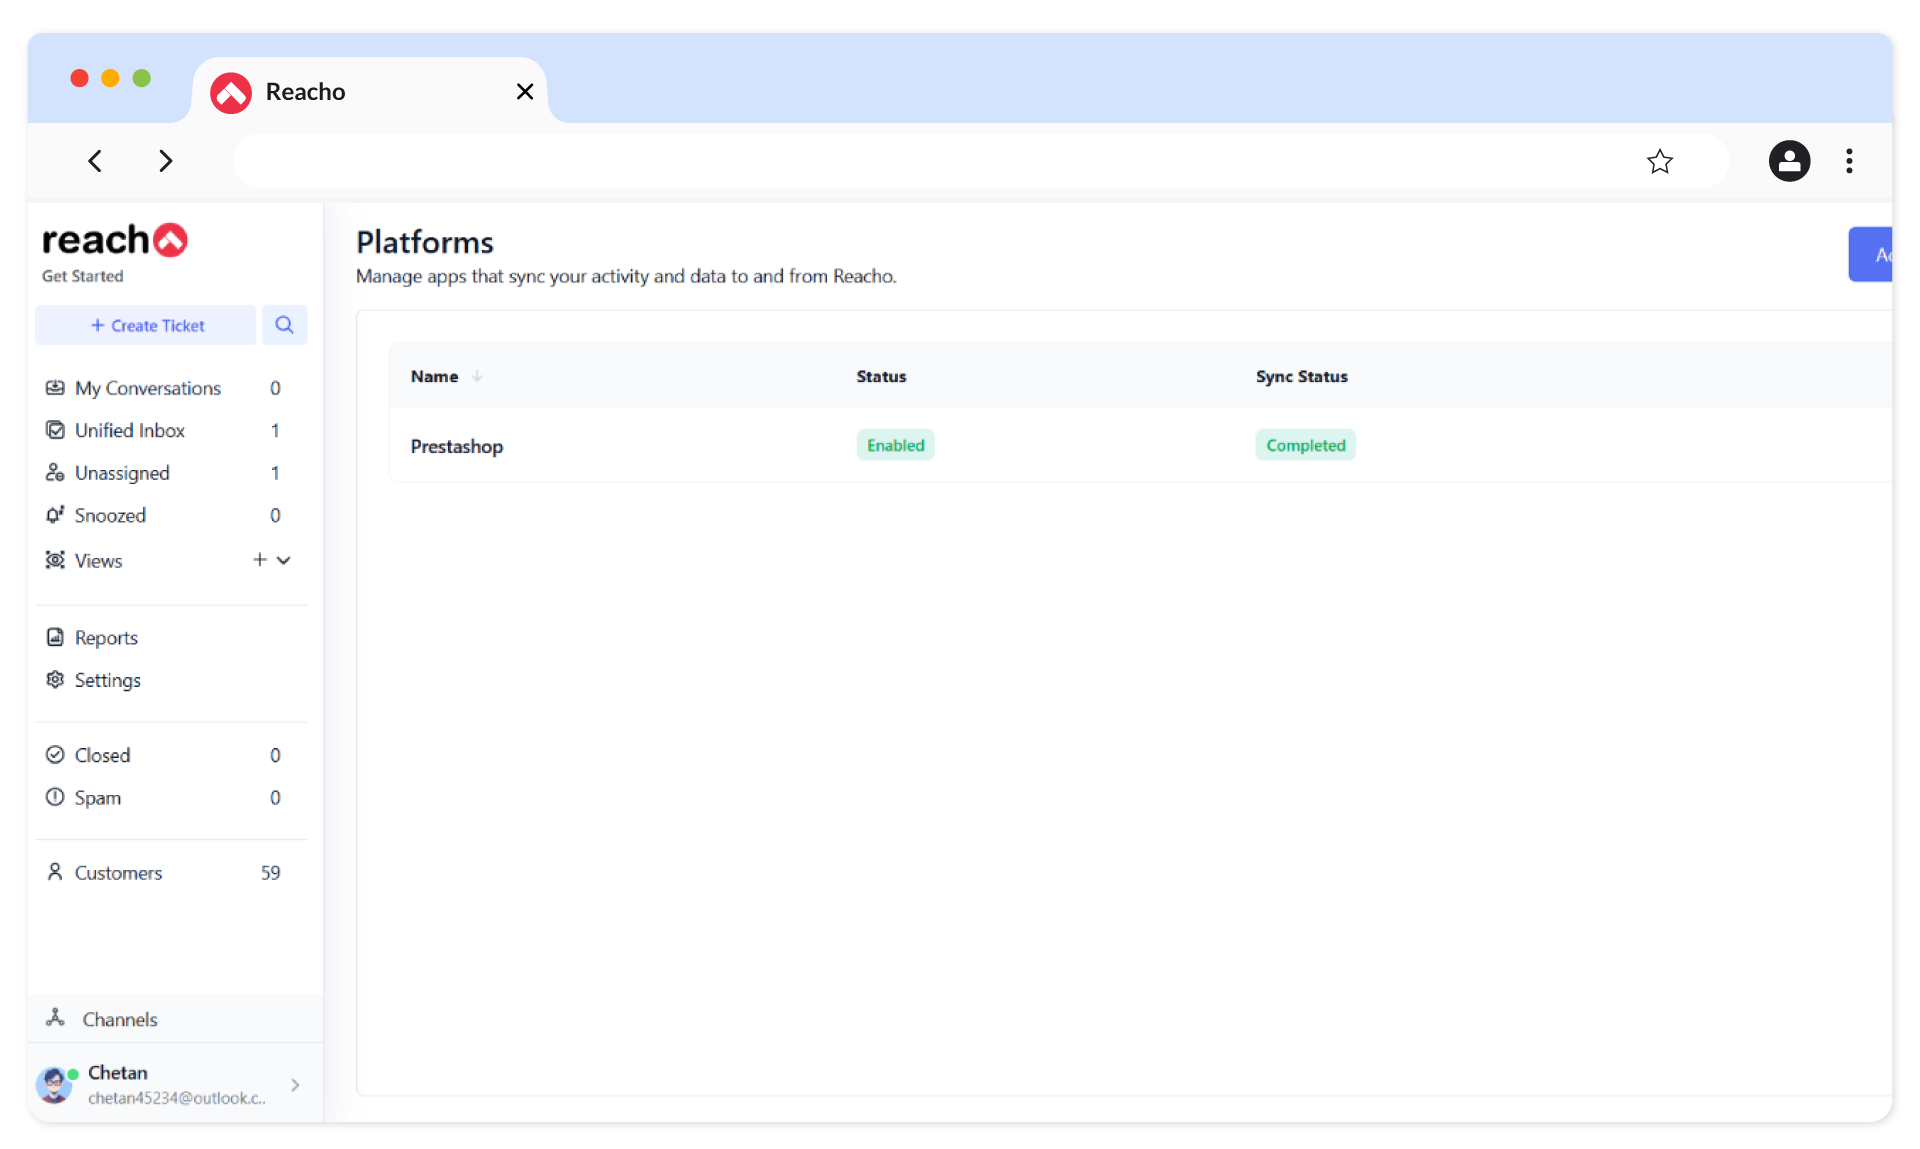
1. Log in to Reacho, navigate to the Platforms section, and click on Add Platforms to install PrestaShop.
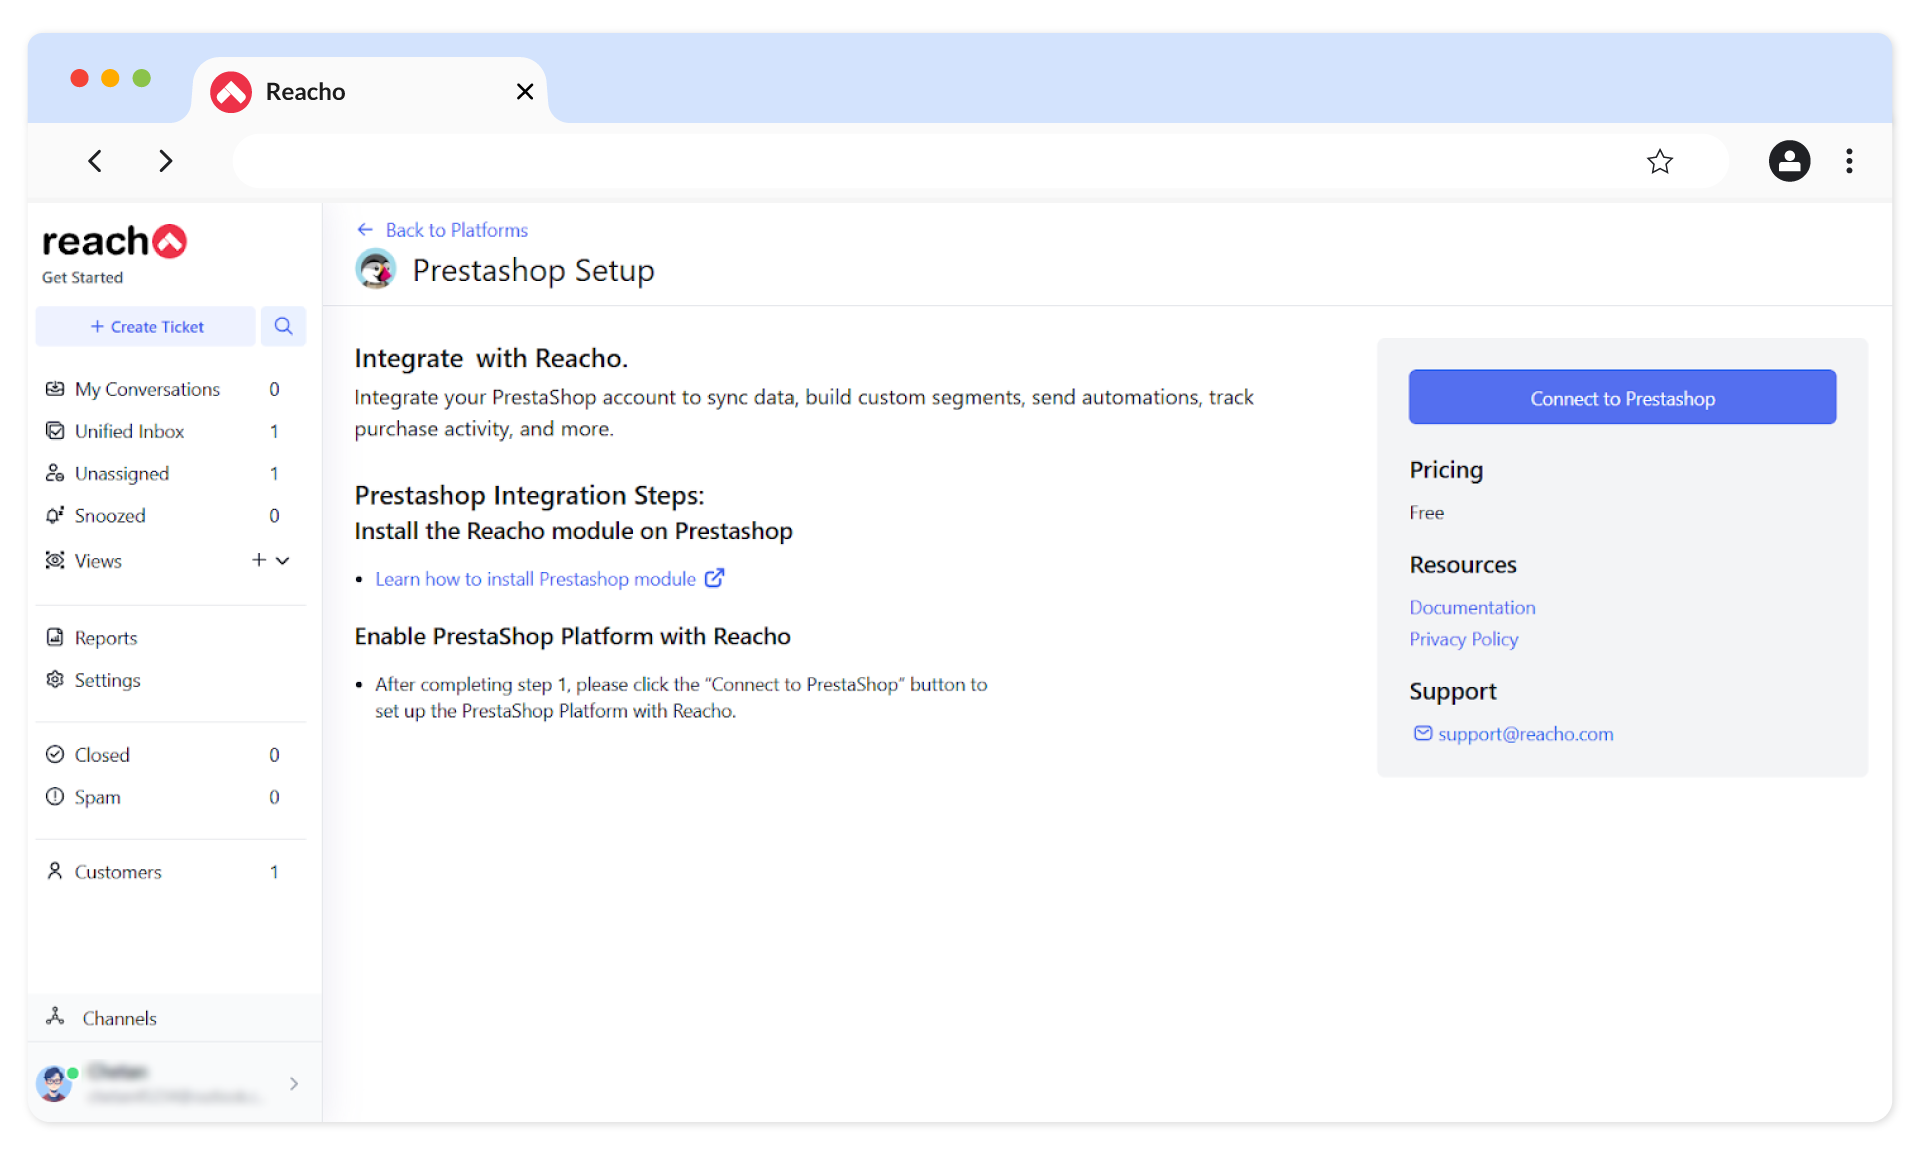
2. Click on the Connect to PrestaShop button.
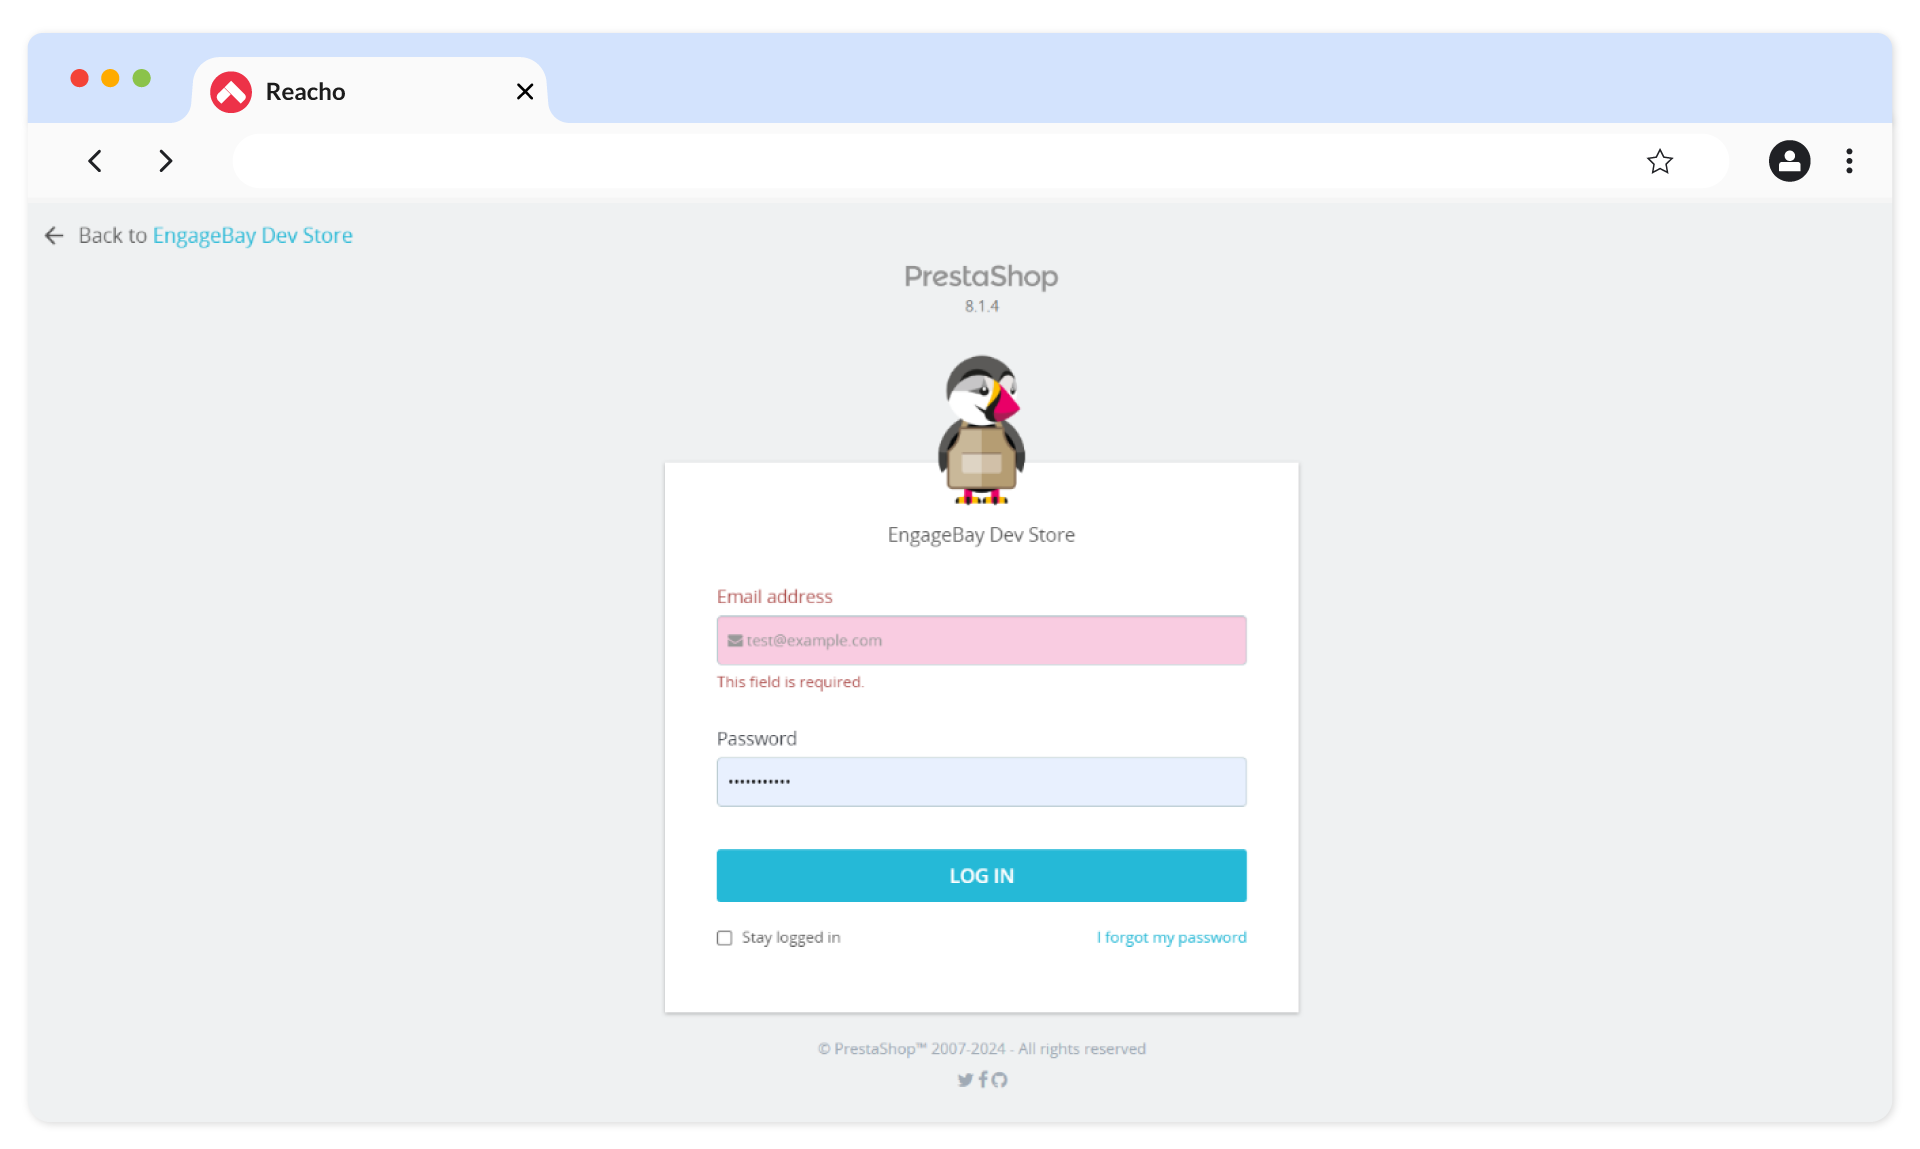
3. Log in to your PrestaShop account.
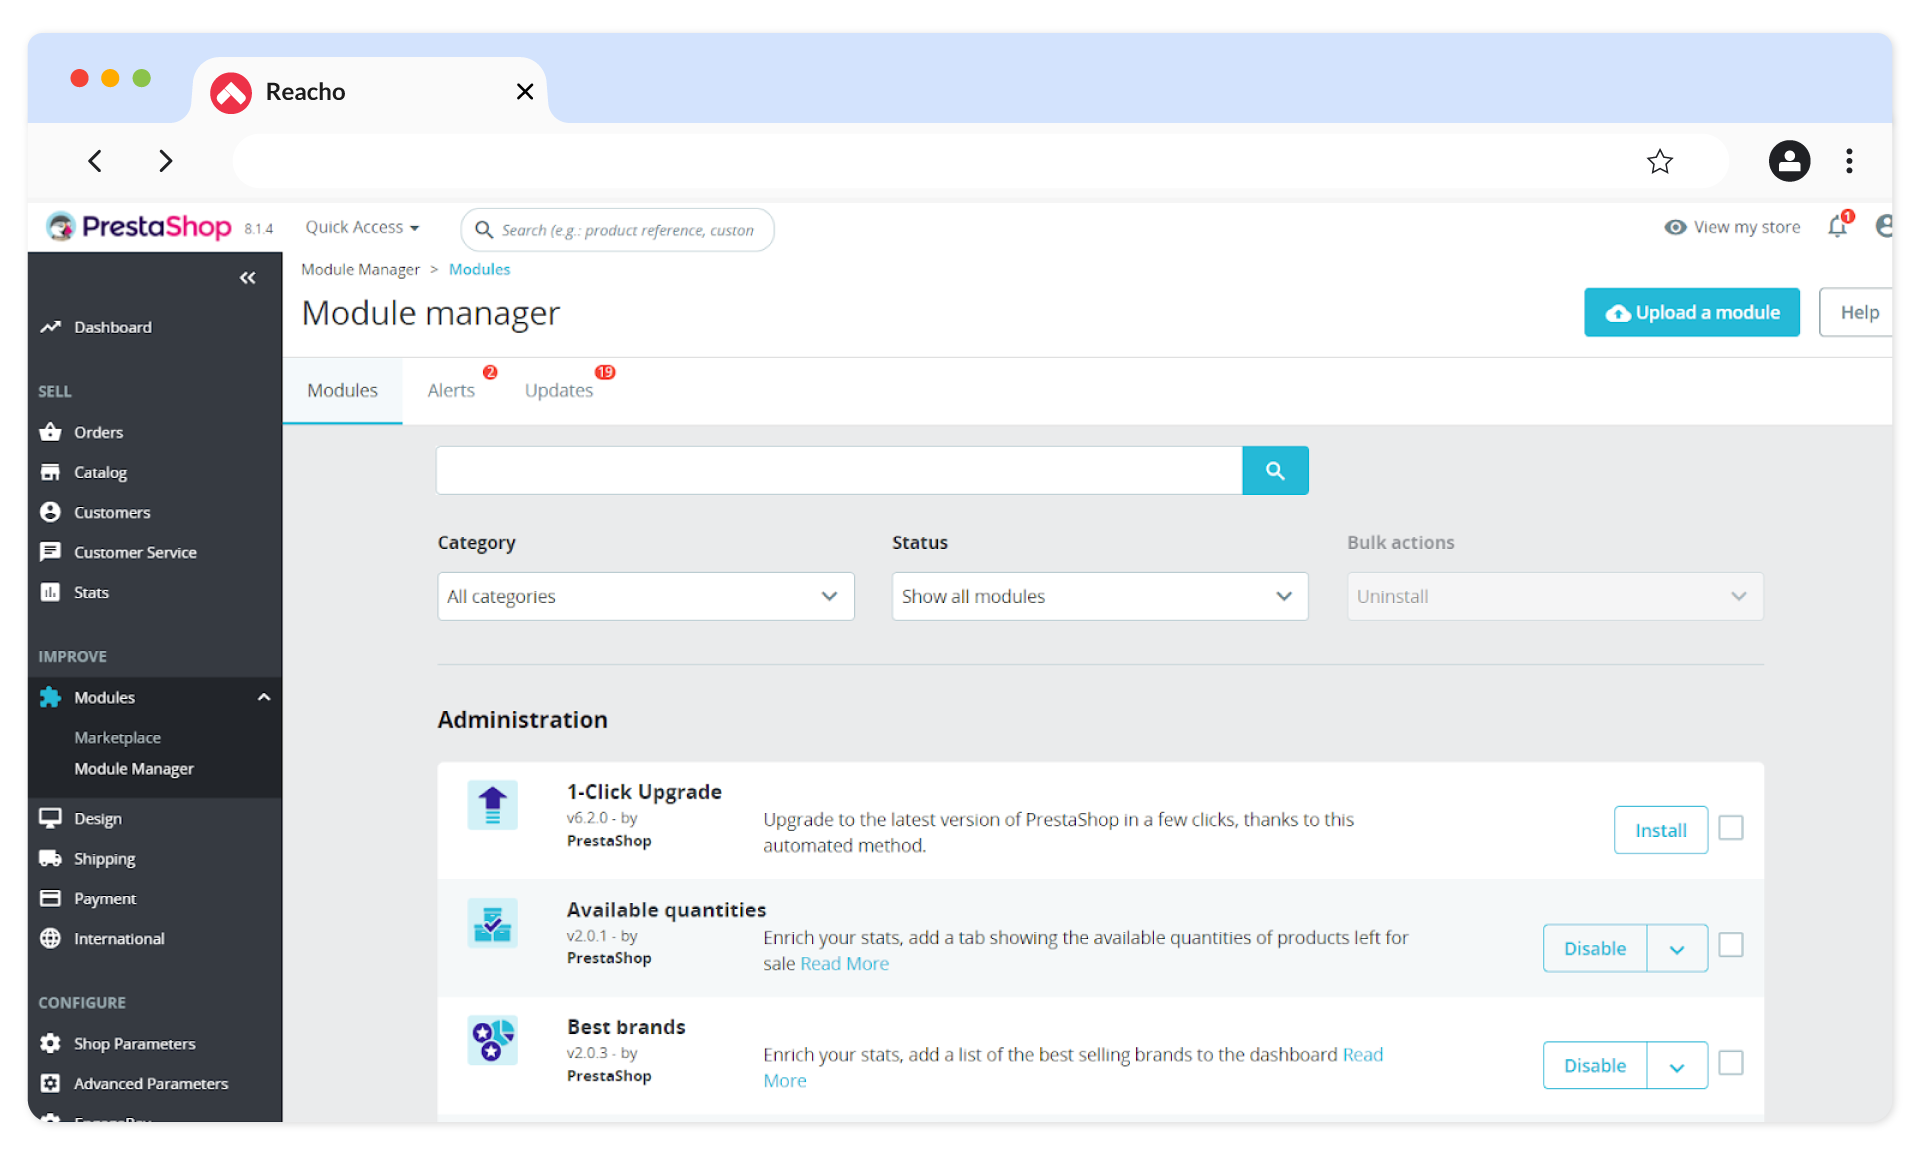
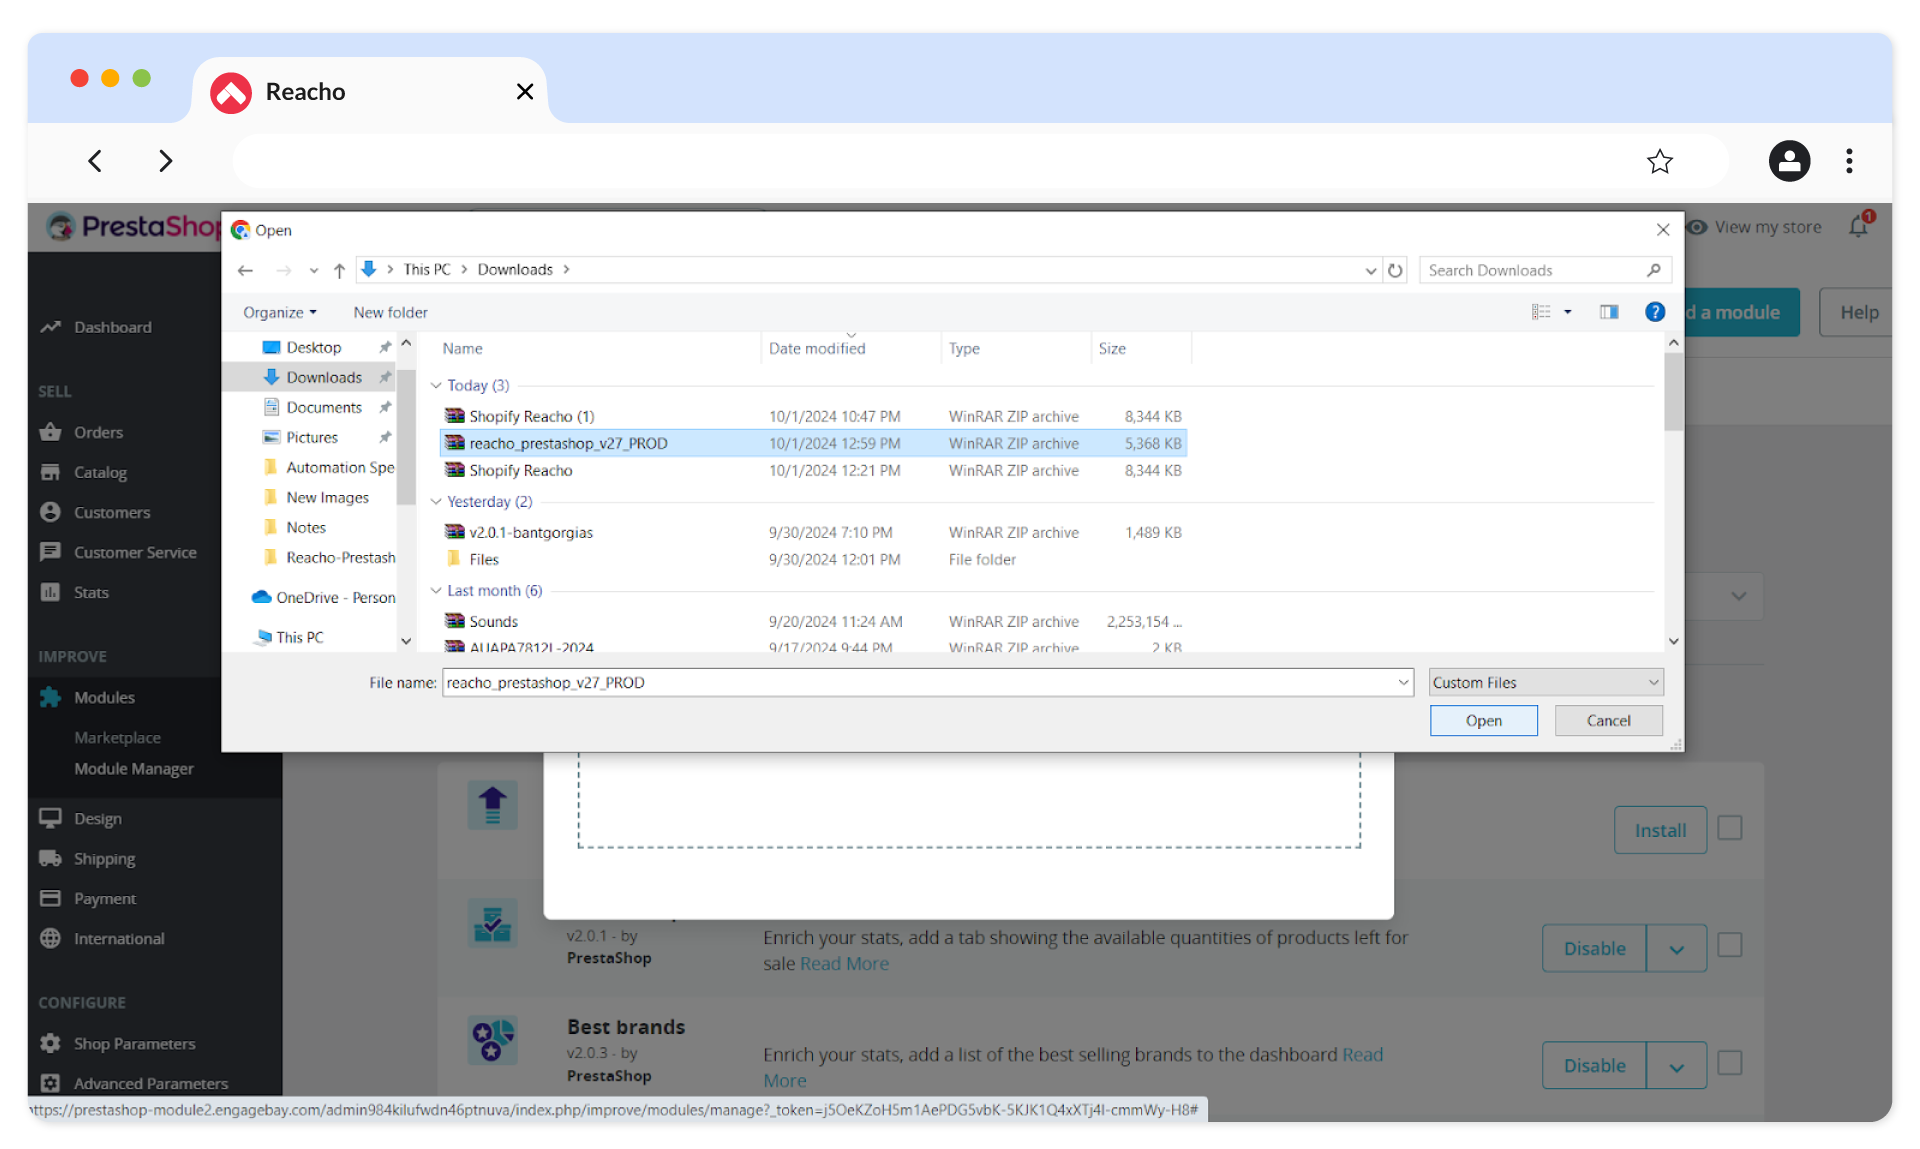
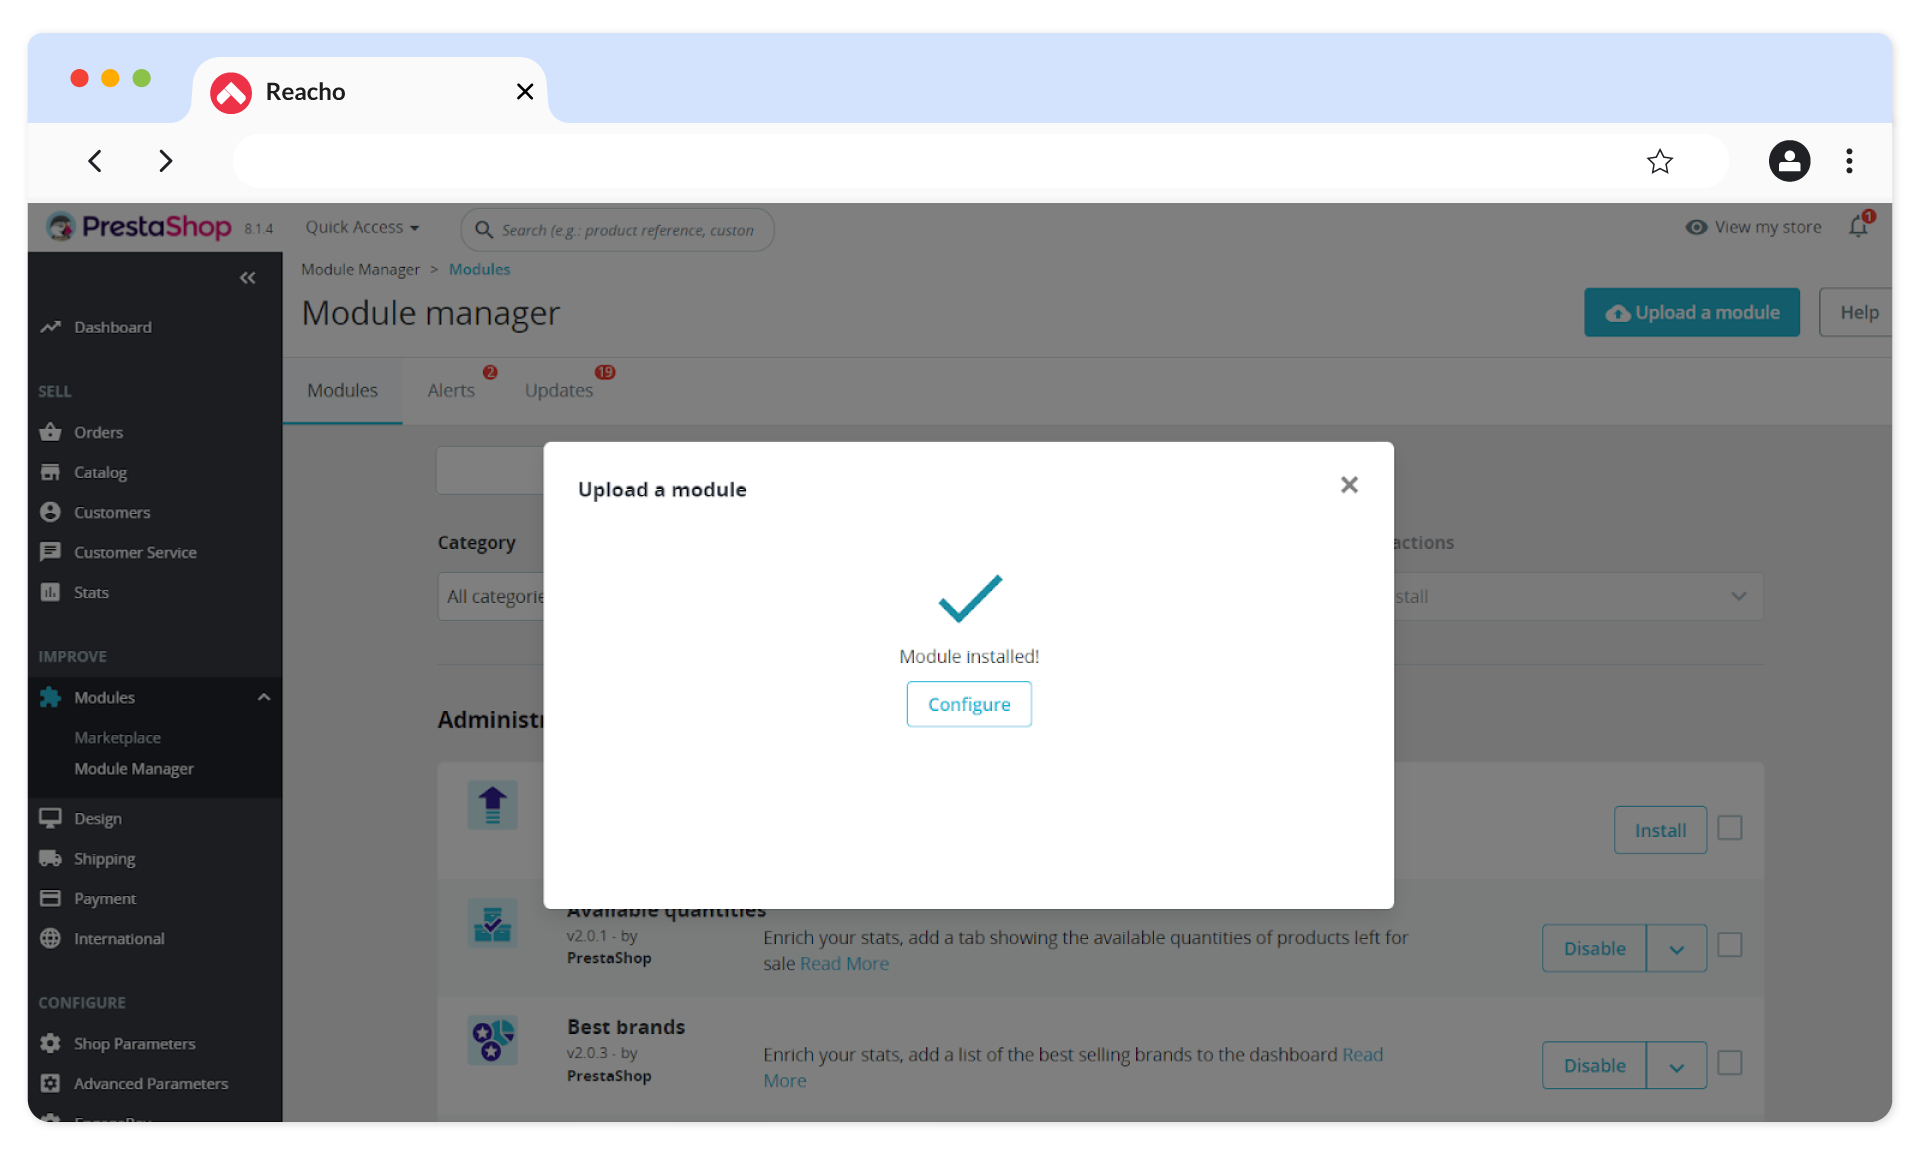
4. Navigate to Modules → Module Manager, and click on the Upload a Module button.
5. Download the Reacho-PrestaShop module from the marketplace and upload it to PrestaShop.
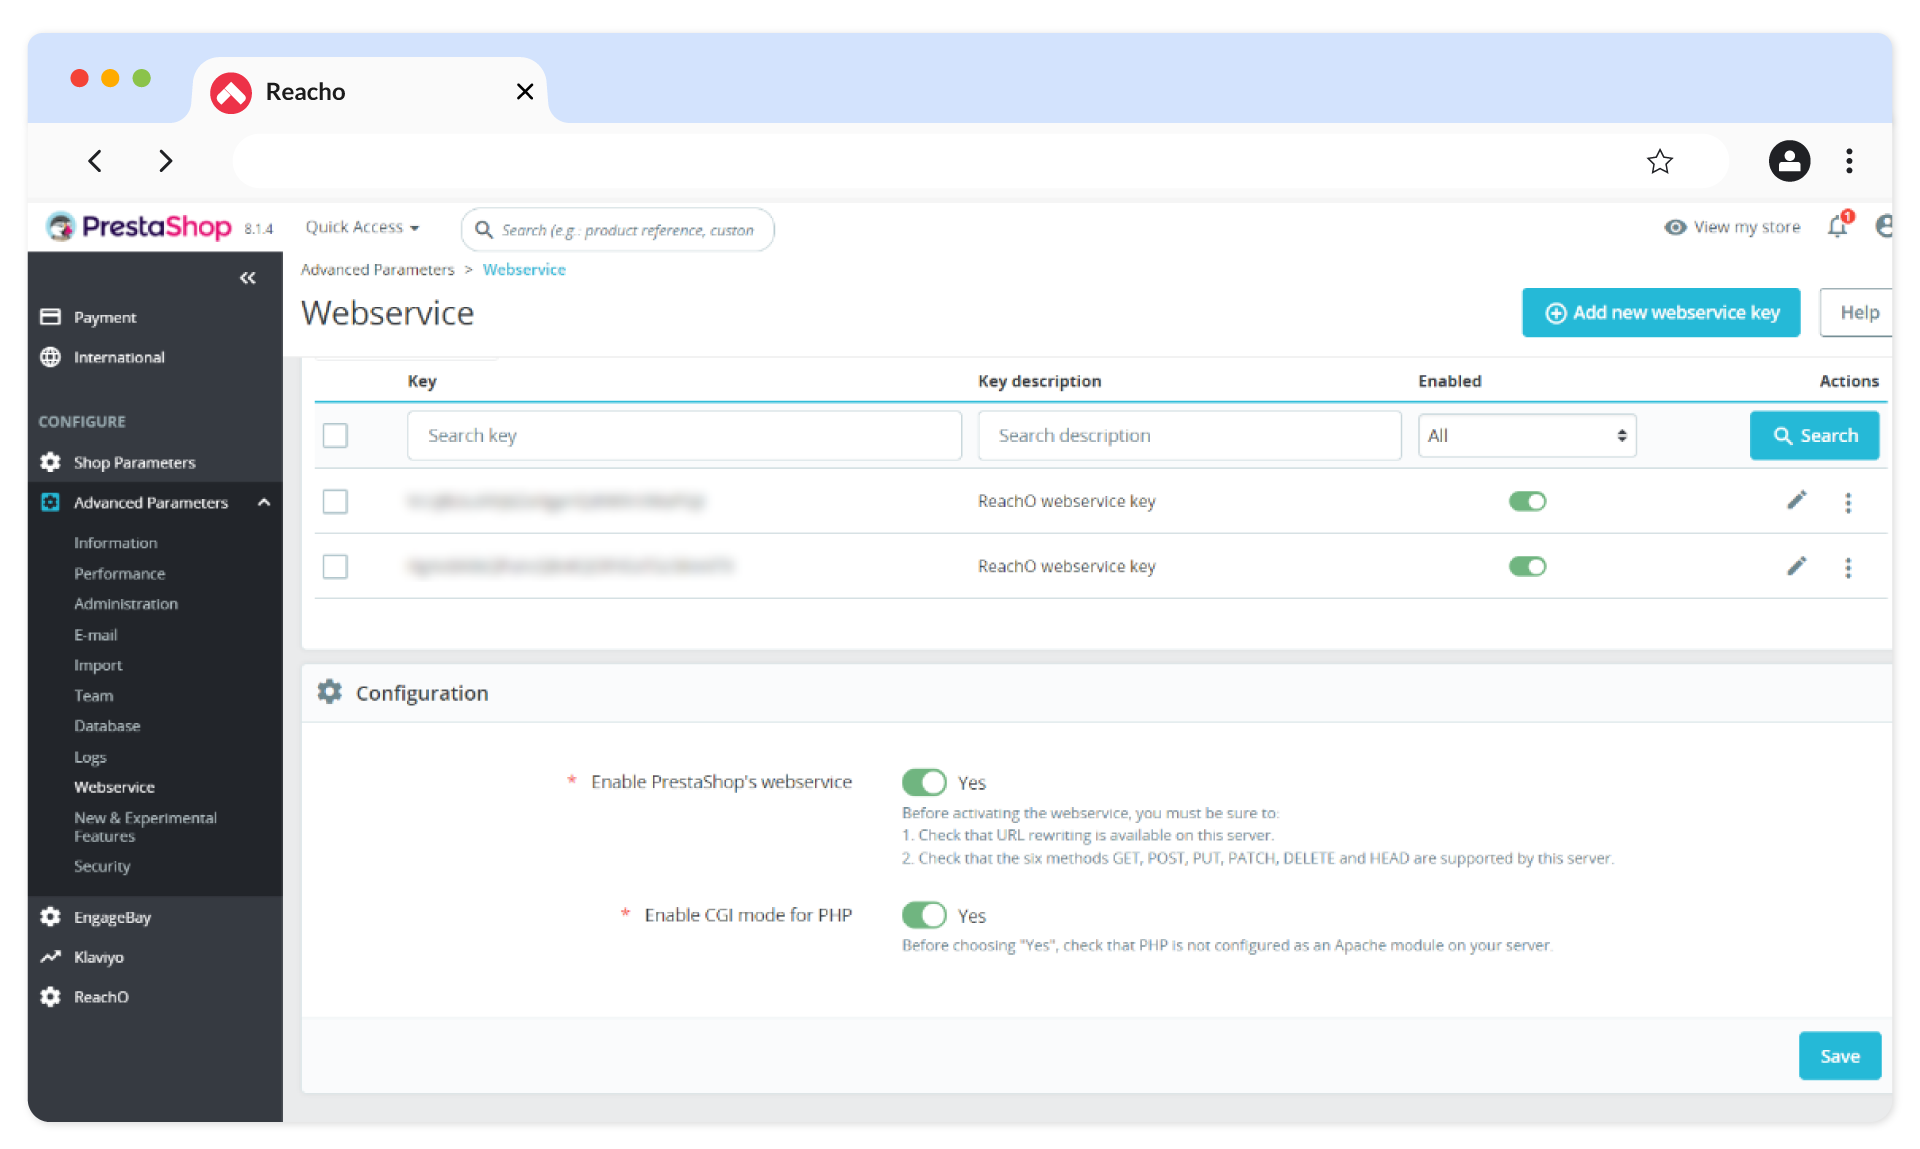
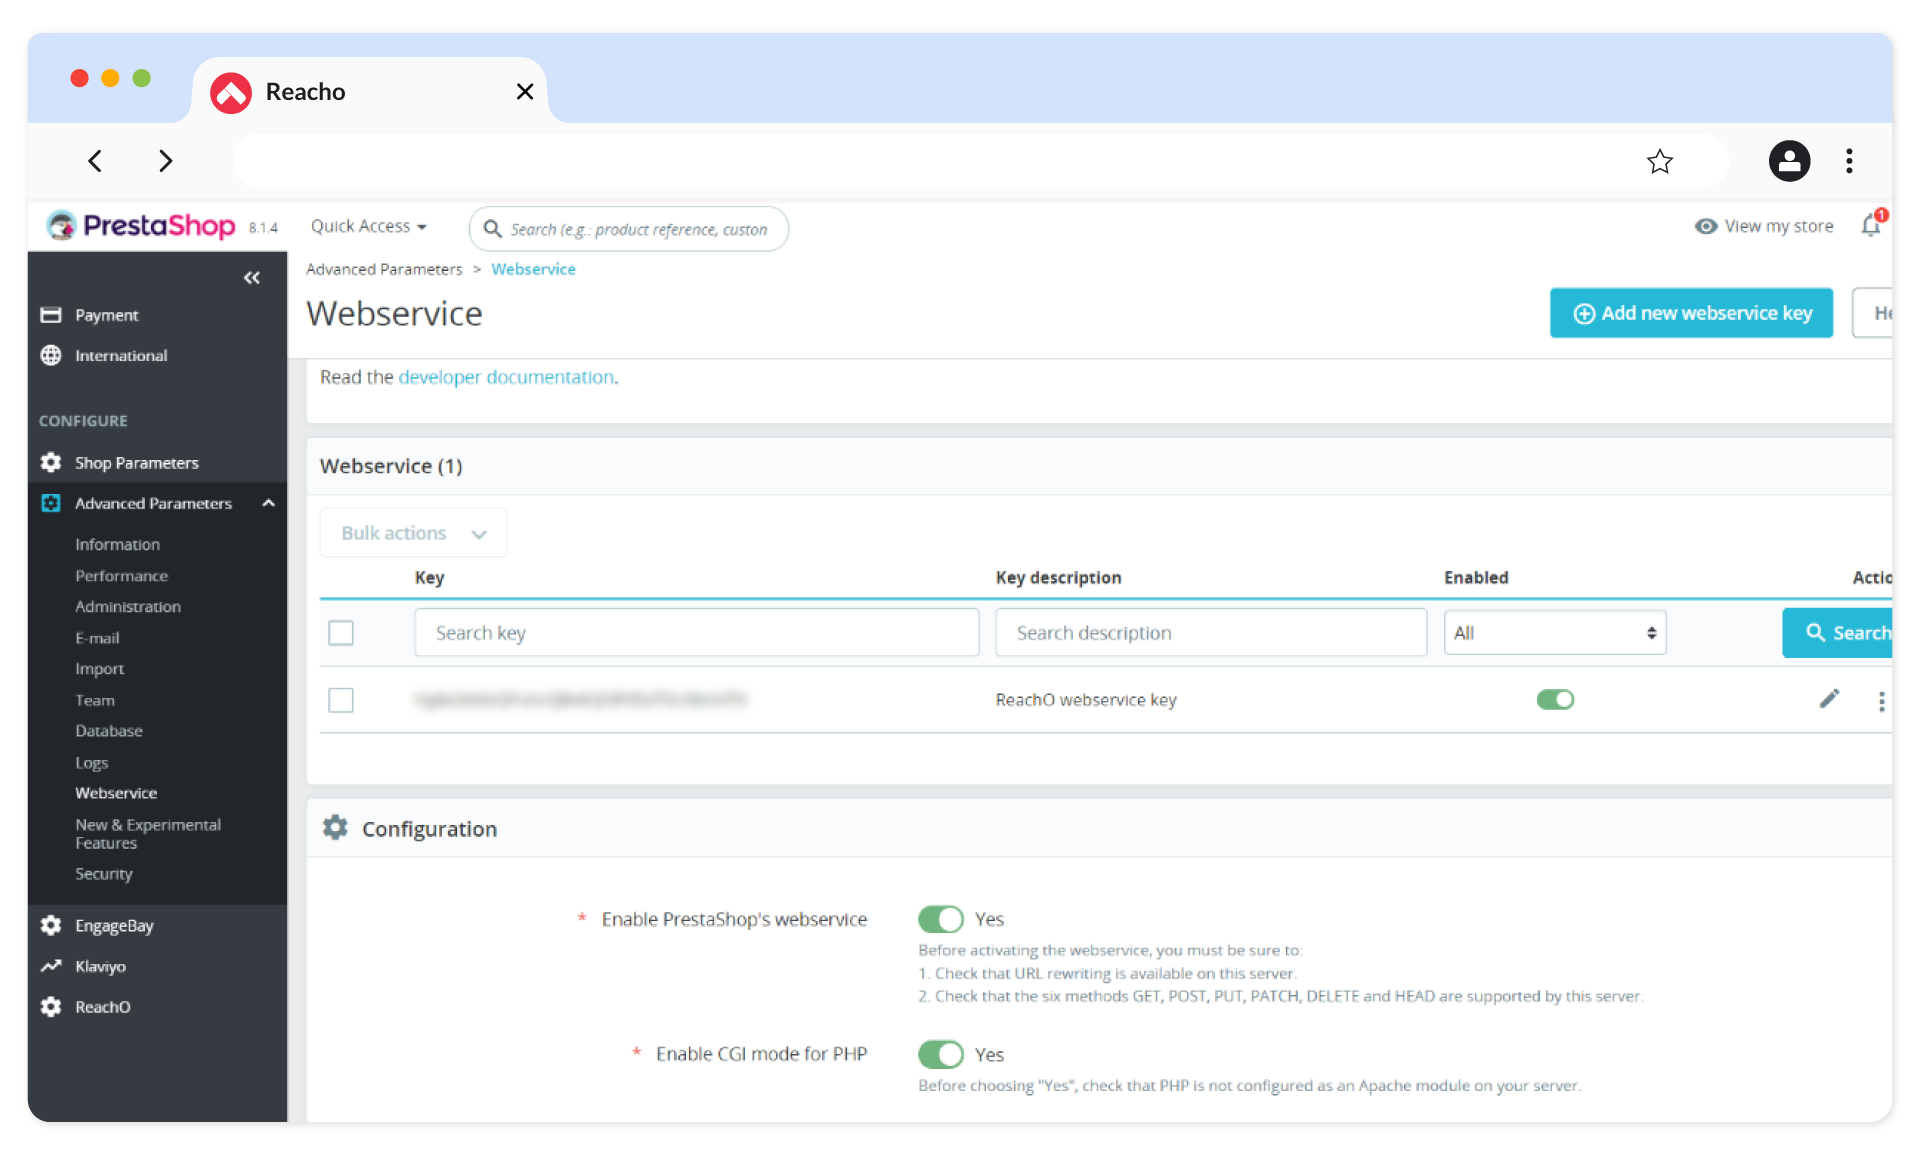
6. Go to Advanced Parameters → Web Service , enable CGI mode for PHP, and click Save.
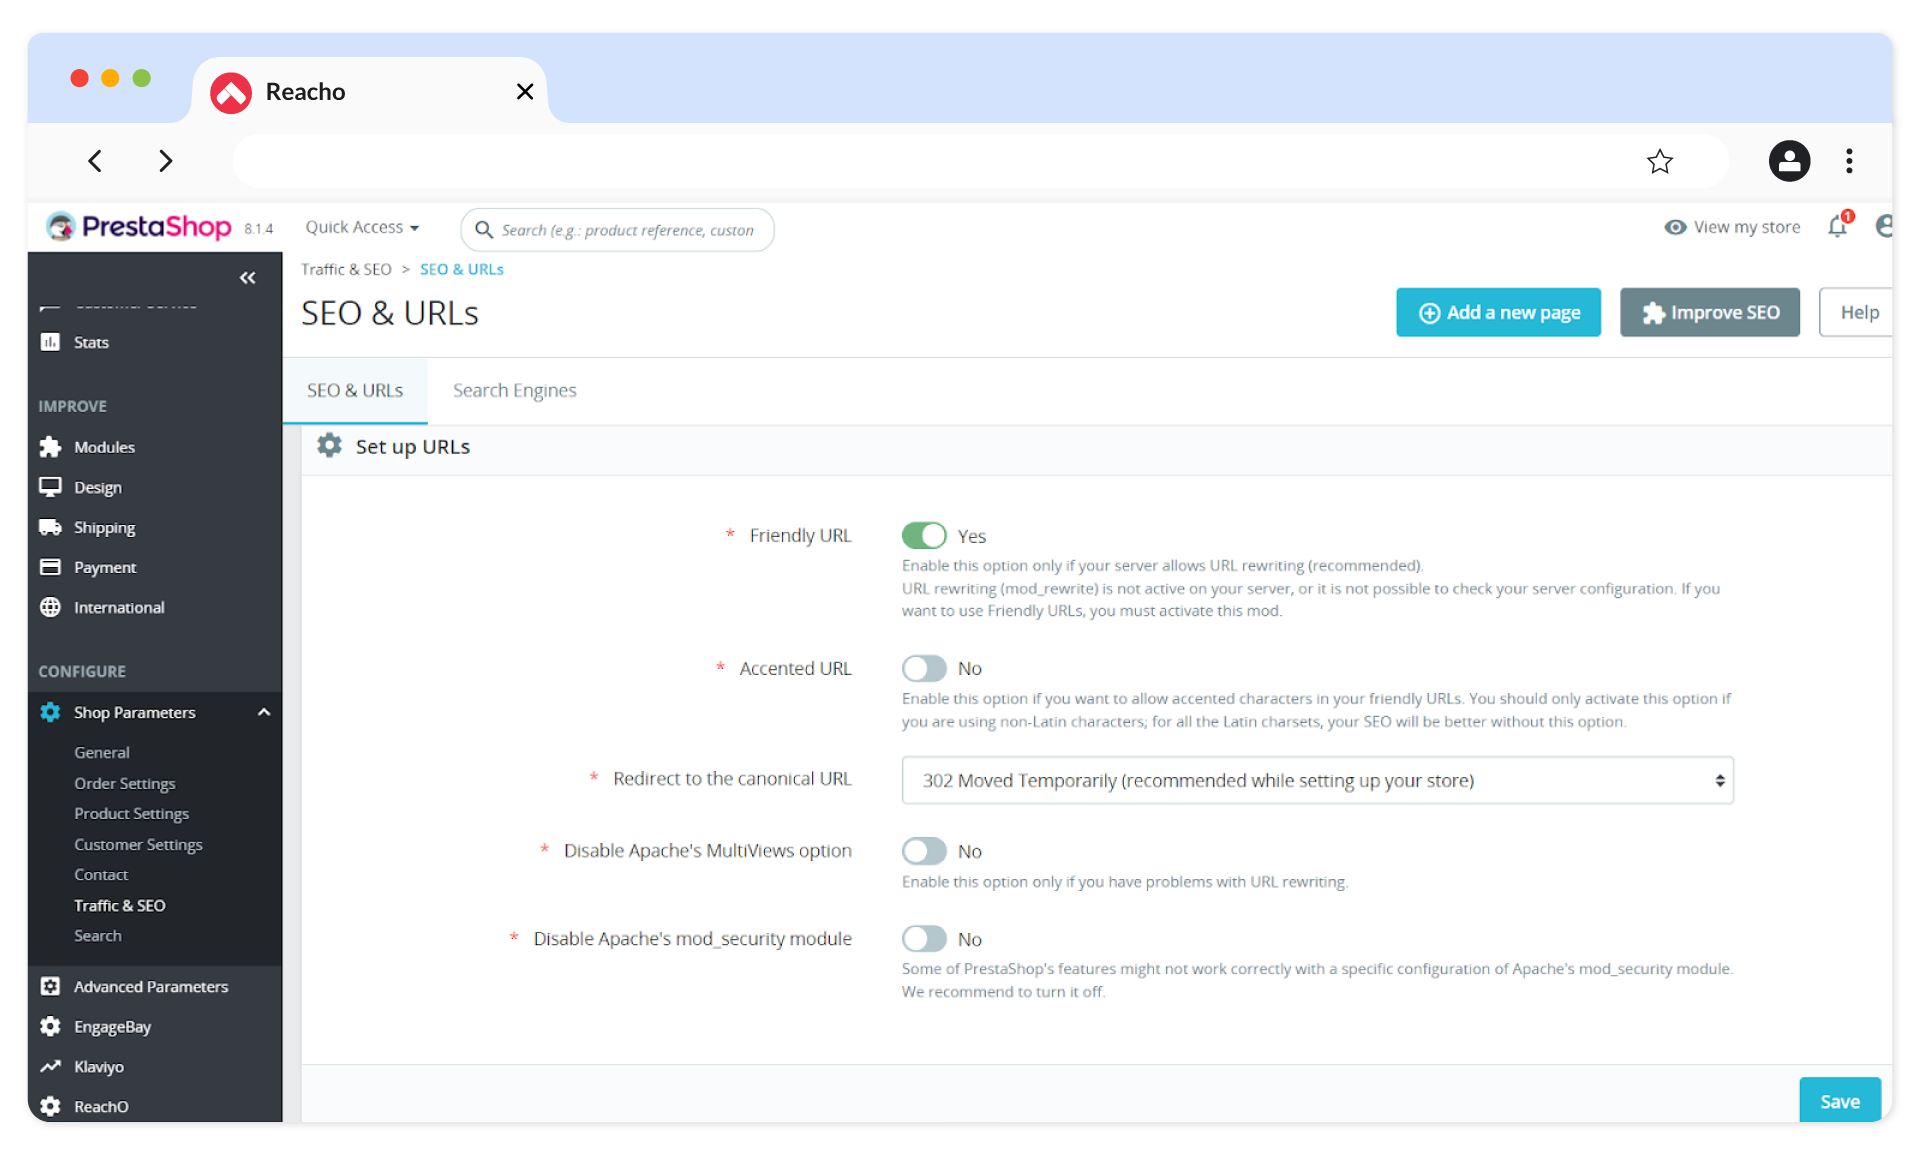
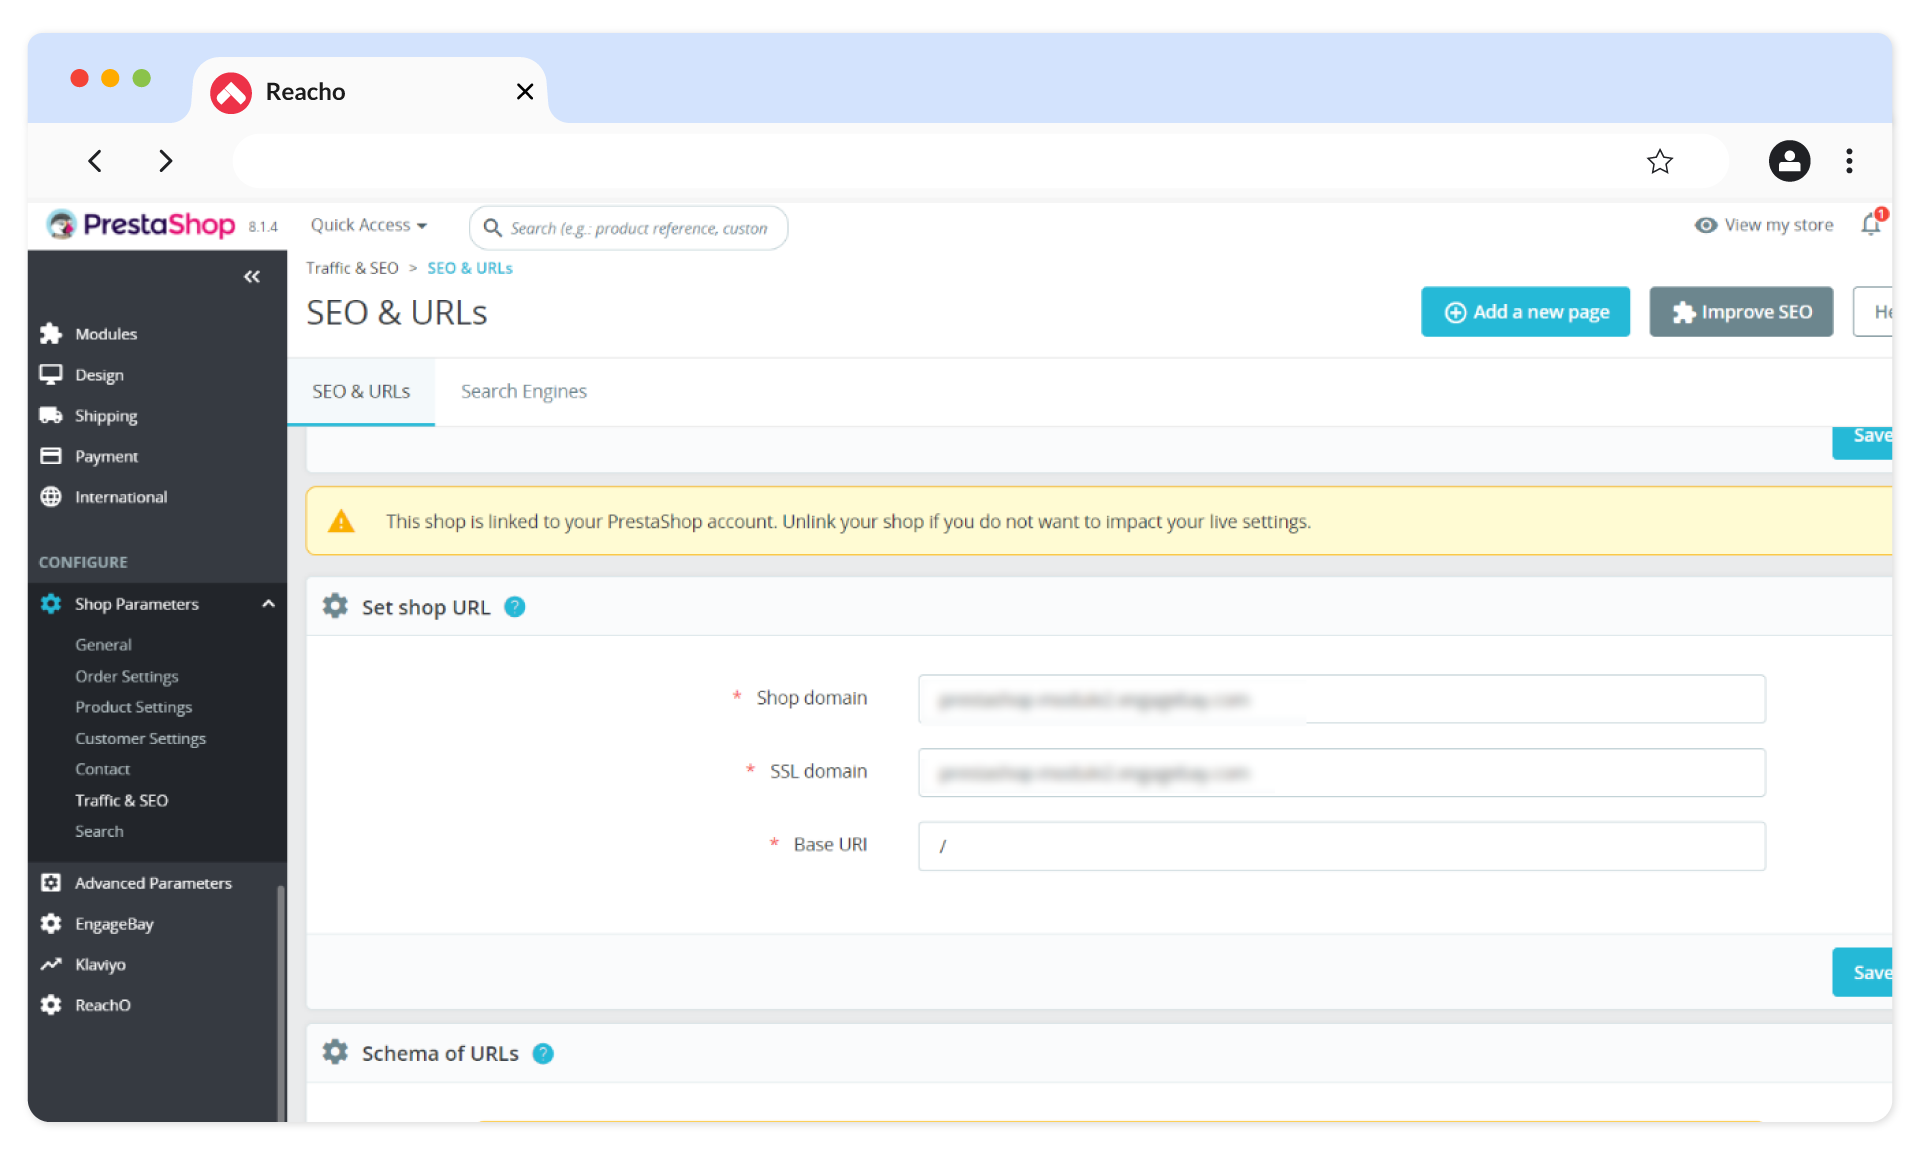
7. Go to Shop Parameters → Traffic & SEO , scroll down to the Set up URLs section, and click Save.
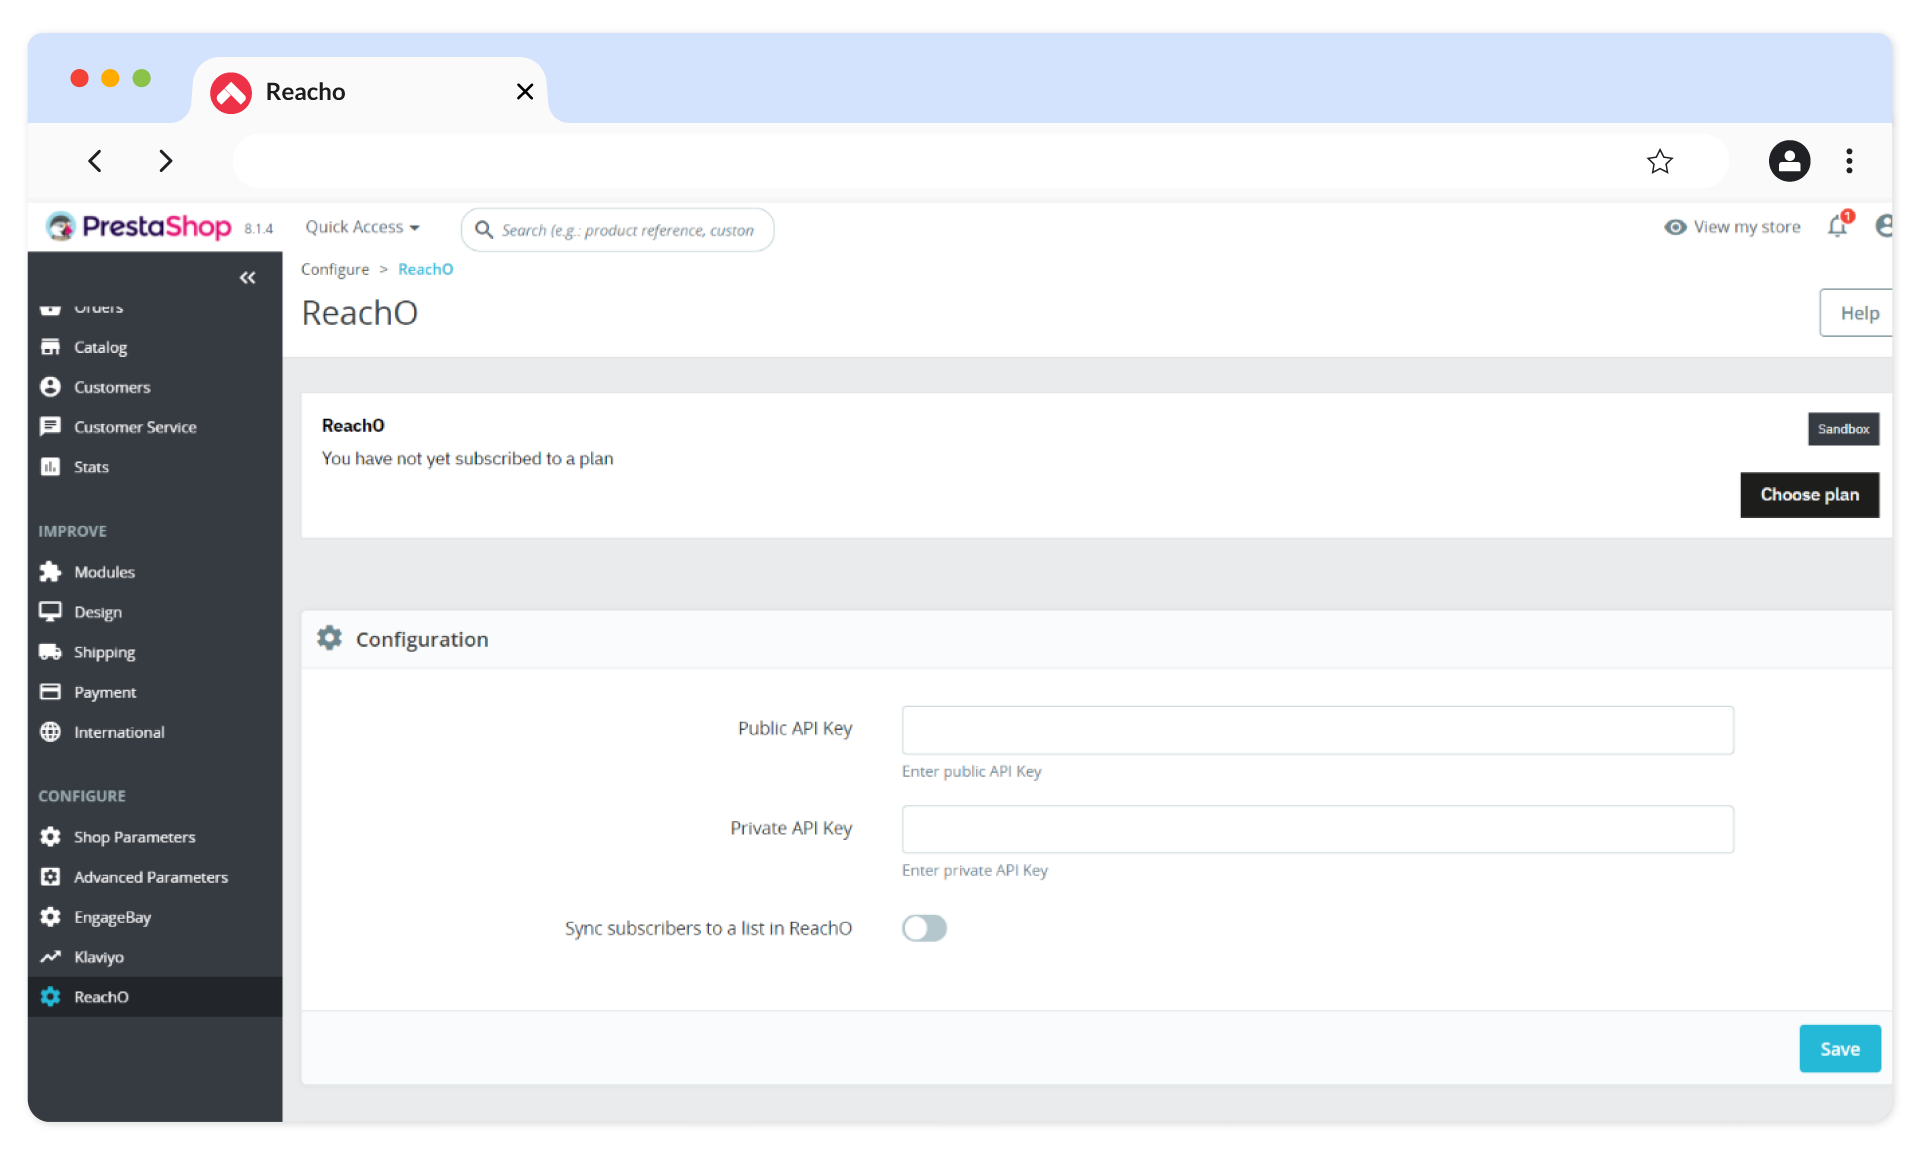
8. In PrestaShop, select the Reacho tab in the side navigation. You will be prompted to provide Public & Private API Keys from Reacho.
9. Return to Reacho and go to Manage Account → API Keys under the User Profile section.
- Copy the Public Key (generated by default).
- Create a Private API Key for PrestaShop by clicking on Create Private API Key .

10. Copy both keys into the PrestaShop configuration section and click Save.
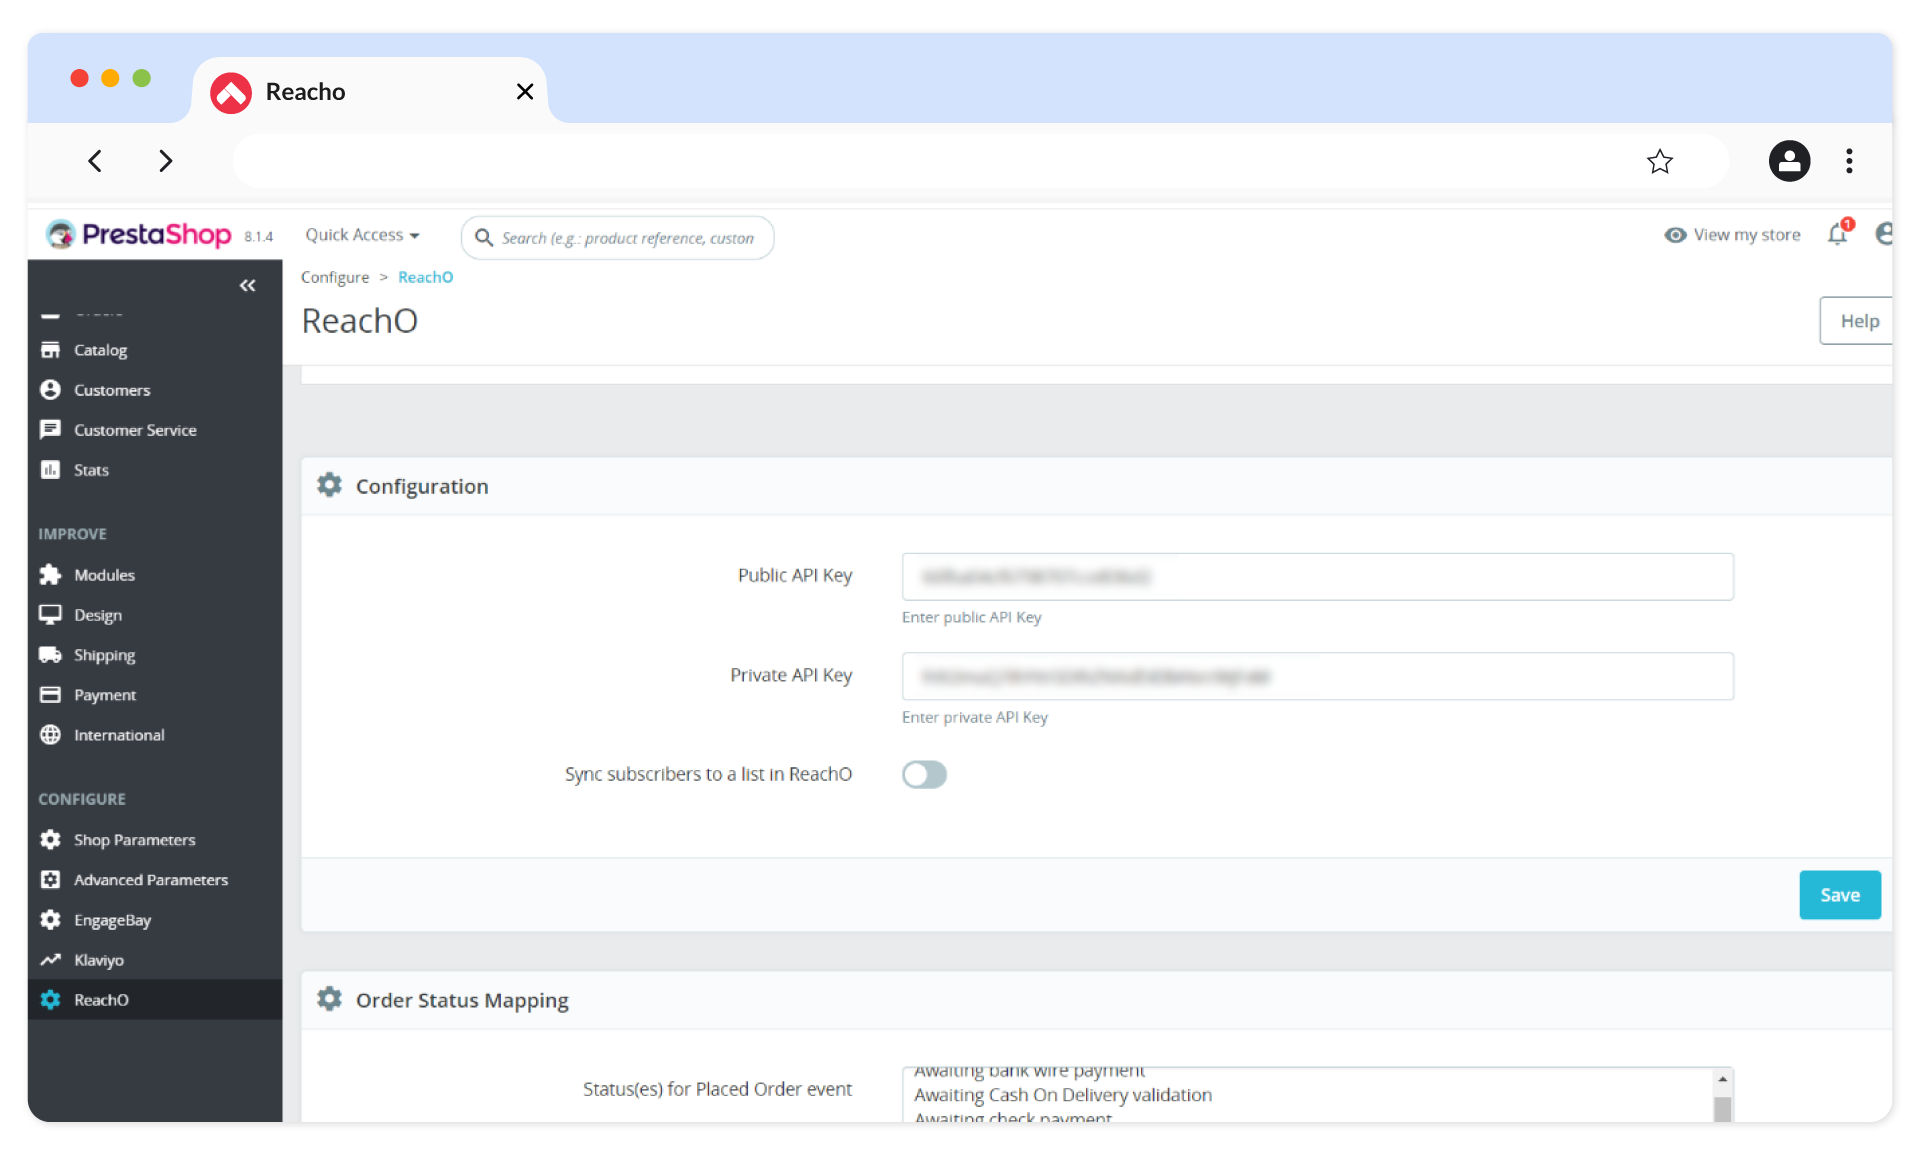
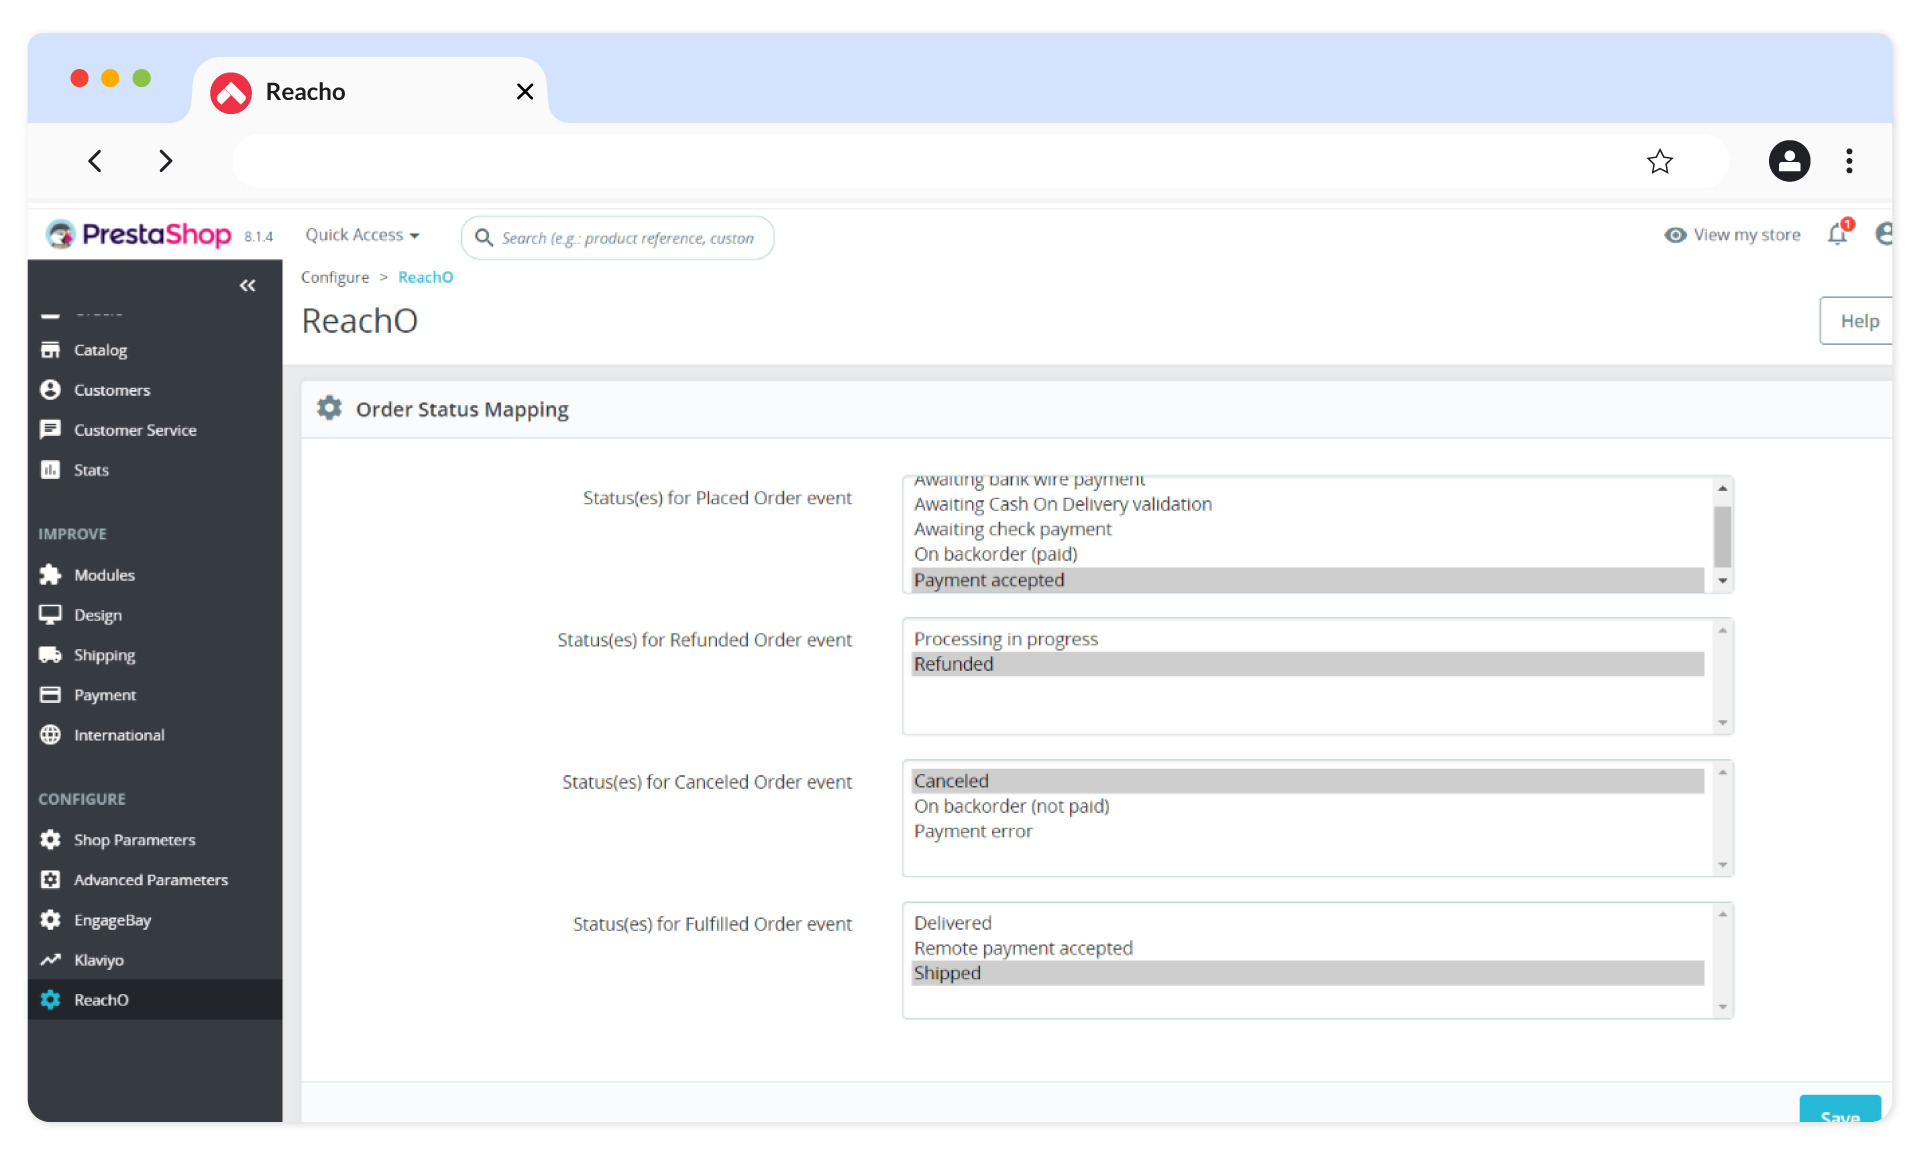
11. Go to the Order Status Mapping section in Reacho, map the statuses as per your workflow, and click Save.
12. Return to Reacho’s Integration module, where PrestaShop will be added.
13. Click on PrestaShop.
14. Provide the Shop URL & Web Service Key.
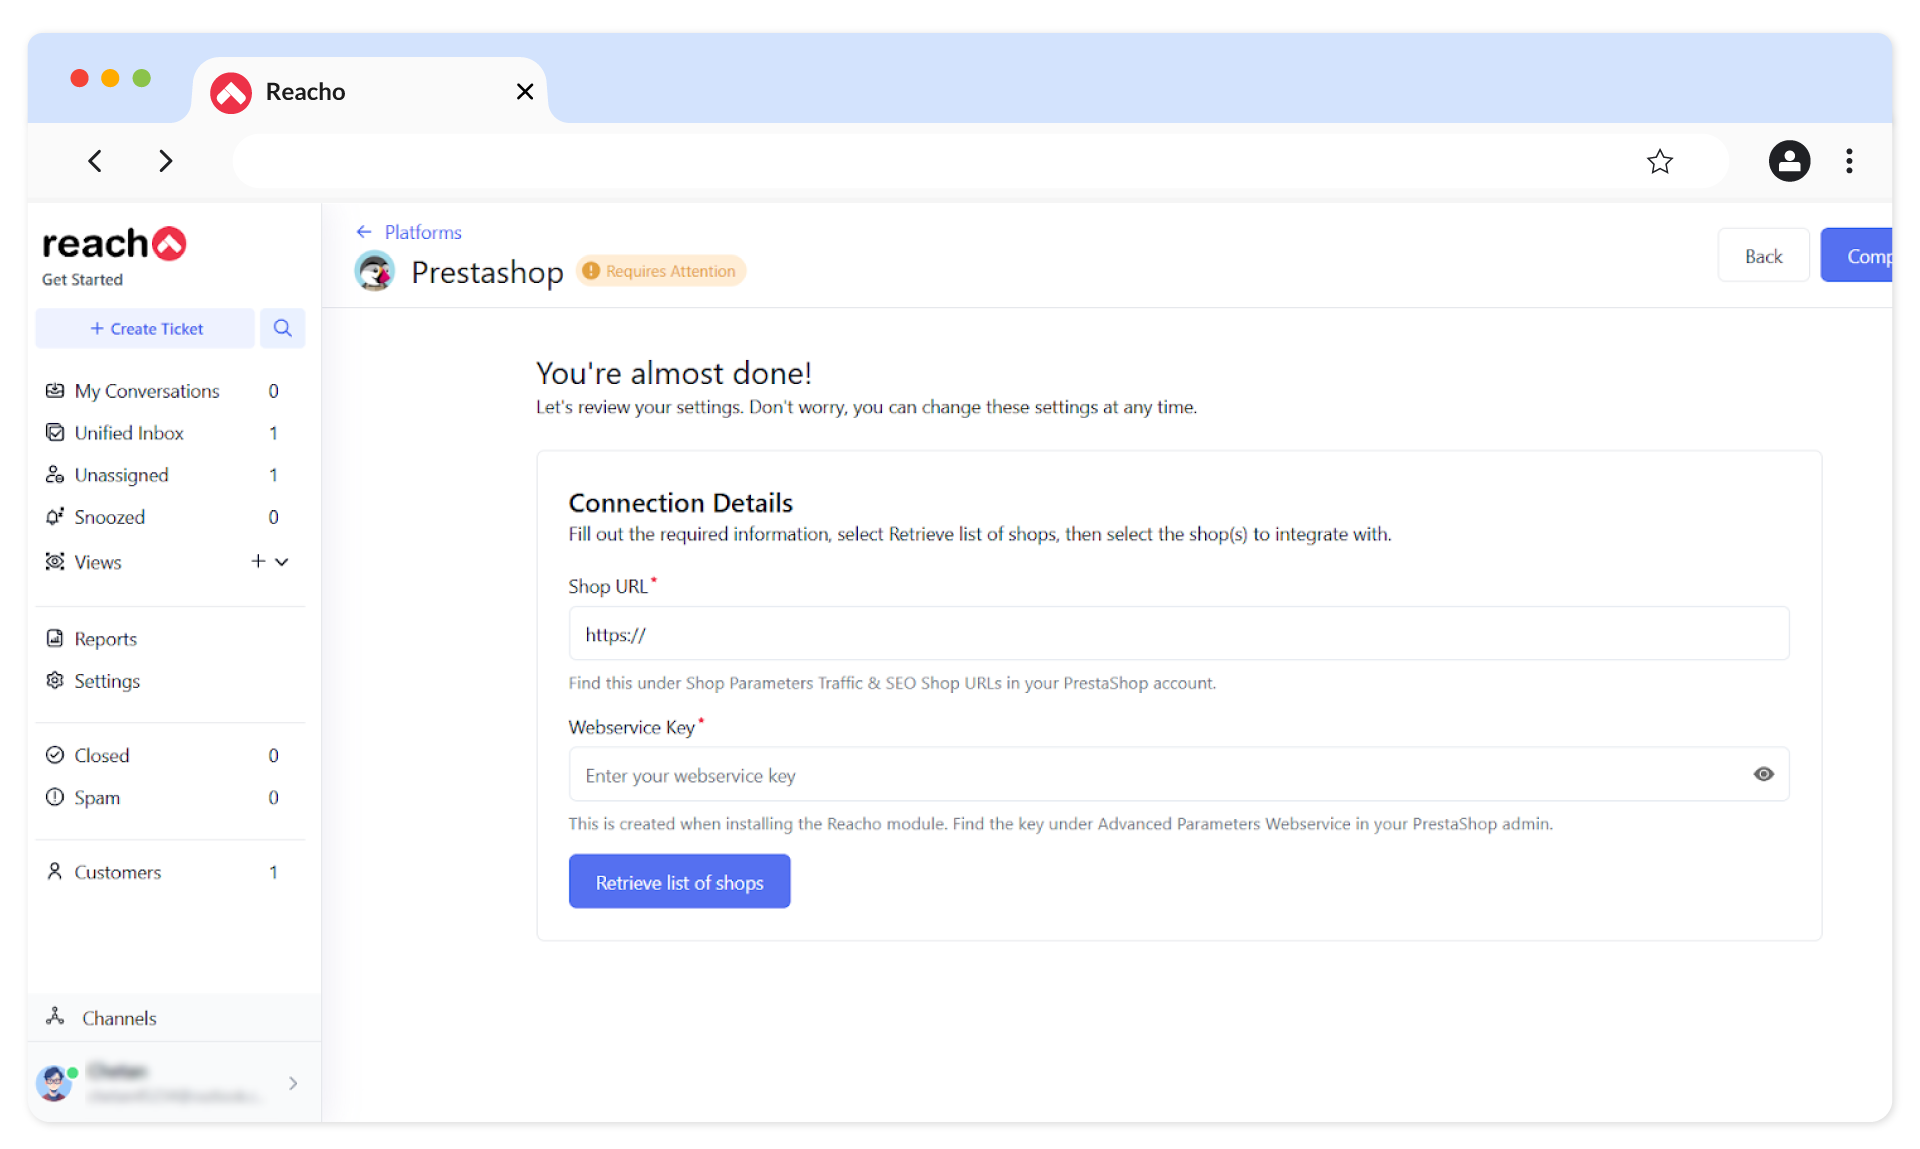
- In PrestaShop, go to Shop Parameters → Traffic & SEO to copy the Shop Domain from the Shop URL section.
- Navigate to Advanced Parameters → Web Service and copy the Web Service Key.
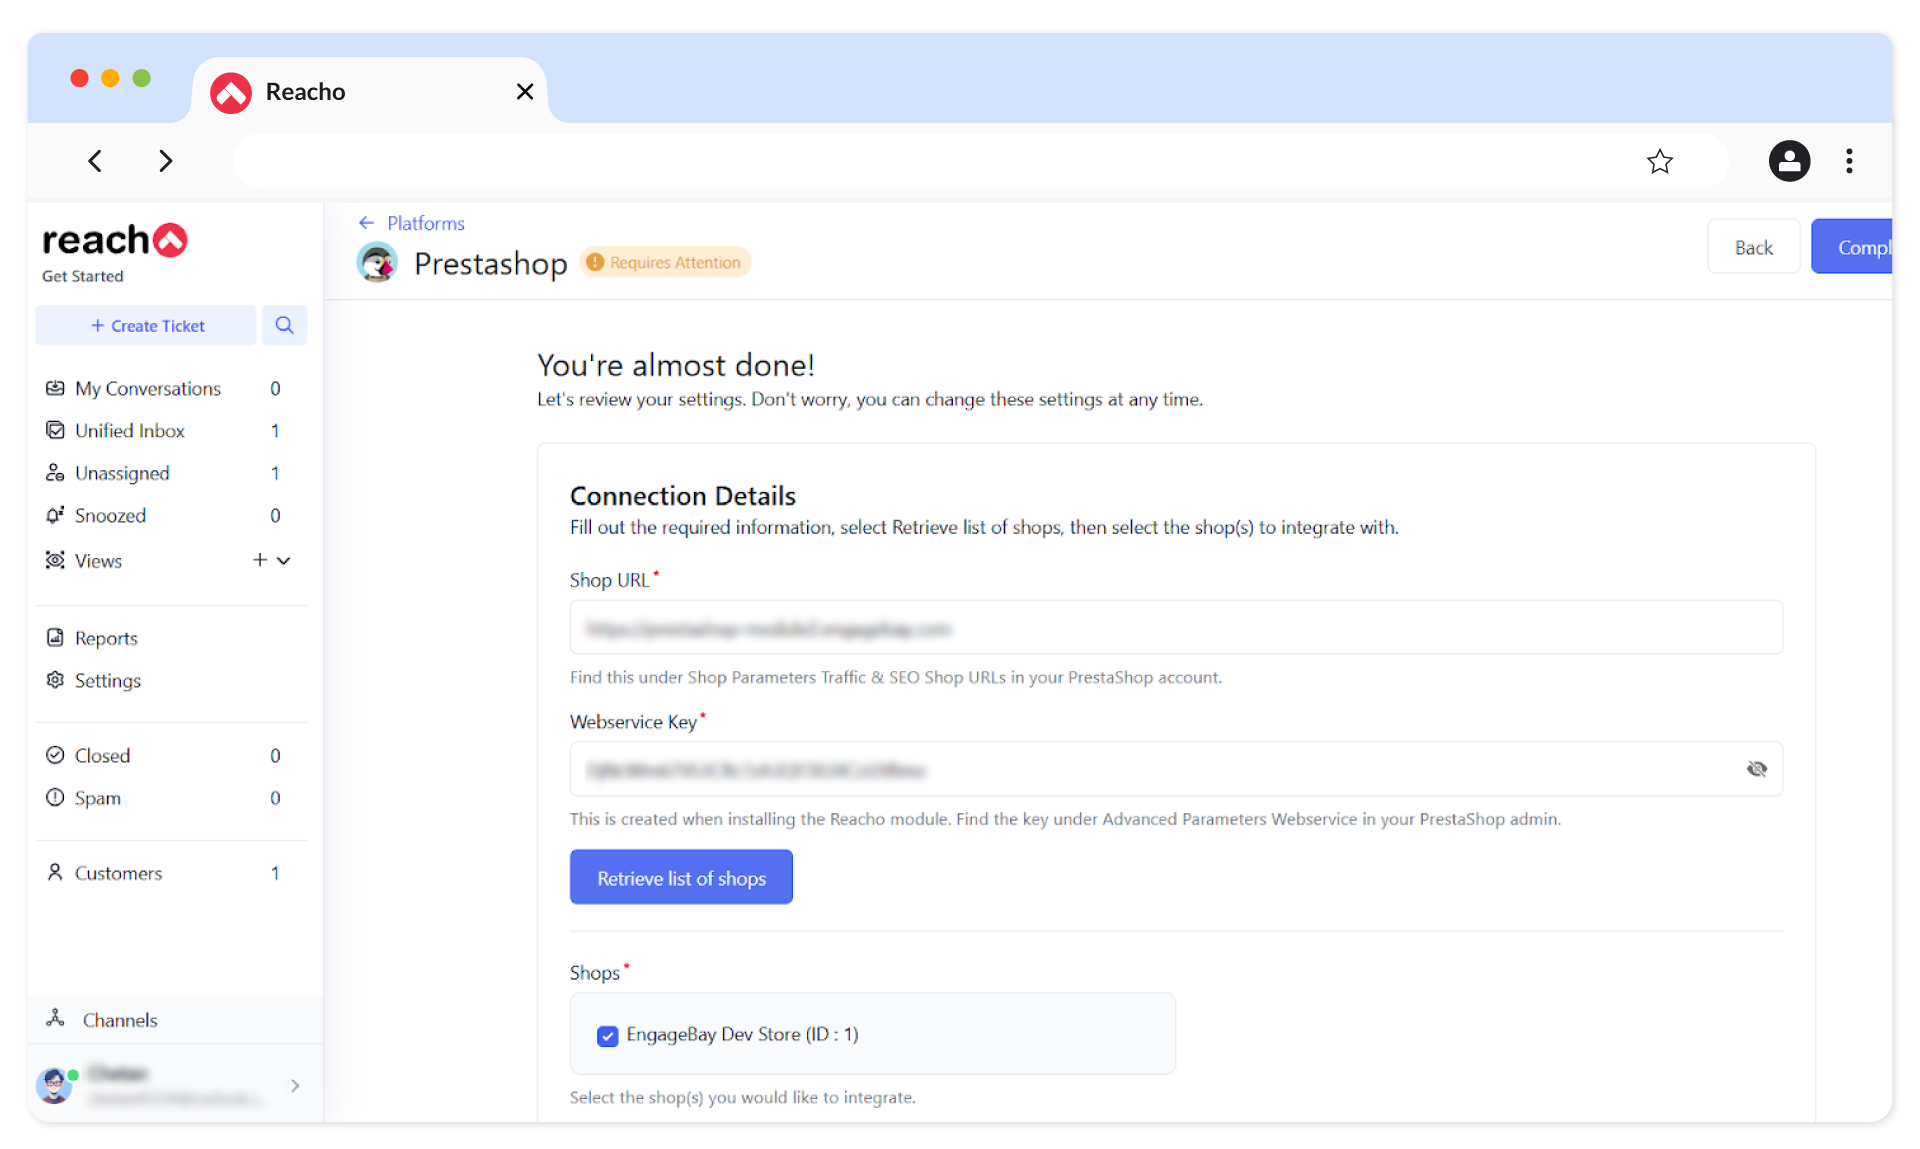
15. Paste the Shop URL & Web Service Key in Reacho.
16. Click on Retrieve List of Shops.
17. Enable the desired shop and click Complete Setup.
18. The PrestaShop integration will now be successfully completed.
Syncing Customer Contacts and Order History
After the setup, customer contacts and order history from PrestaShop will sync automatically with Reacho. If a customer has placed any orders previously on the PrestaShop store, their order history will also be available in Reacho.
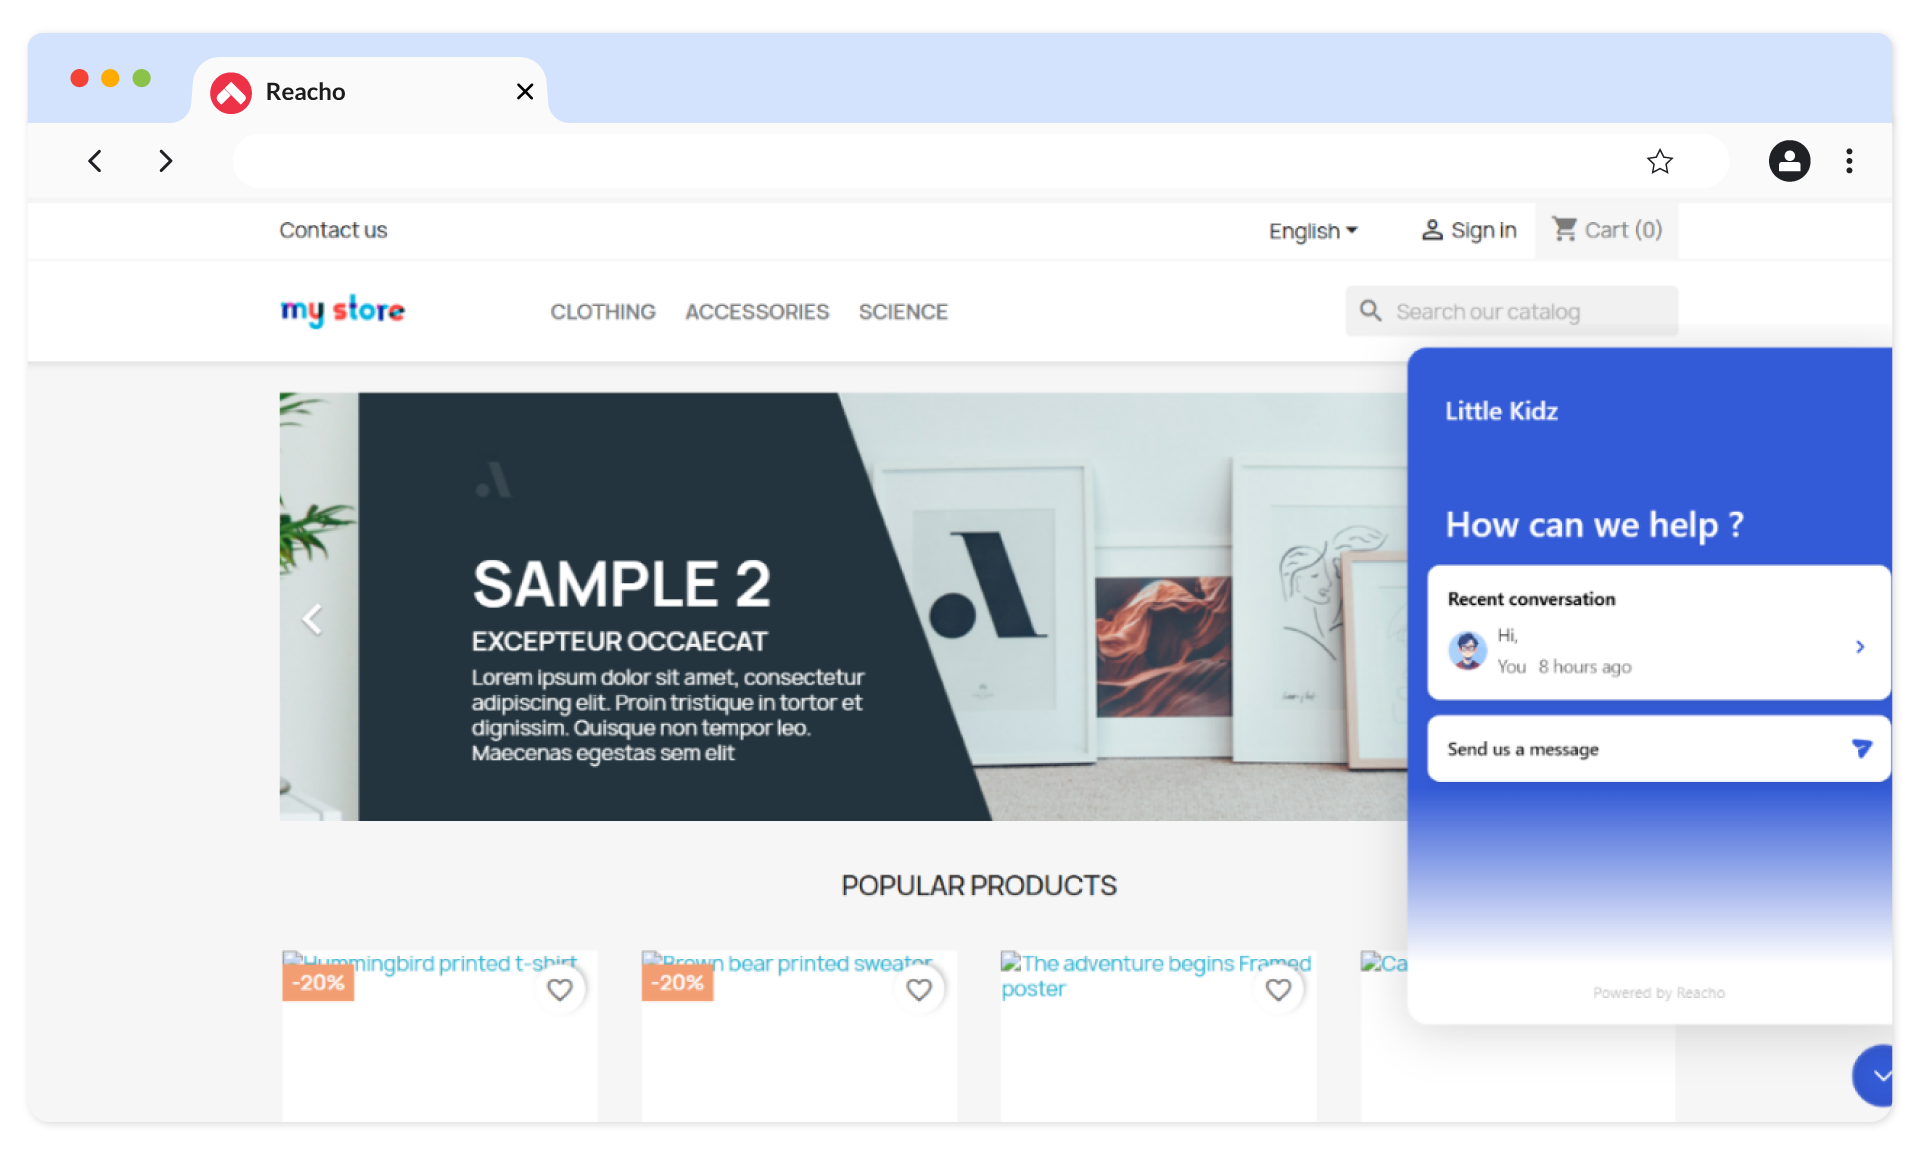
Chat Integration
Go to Channels → Chat Widget in Reacho.
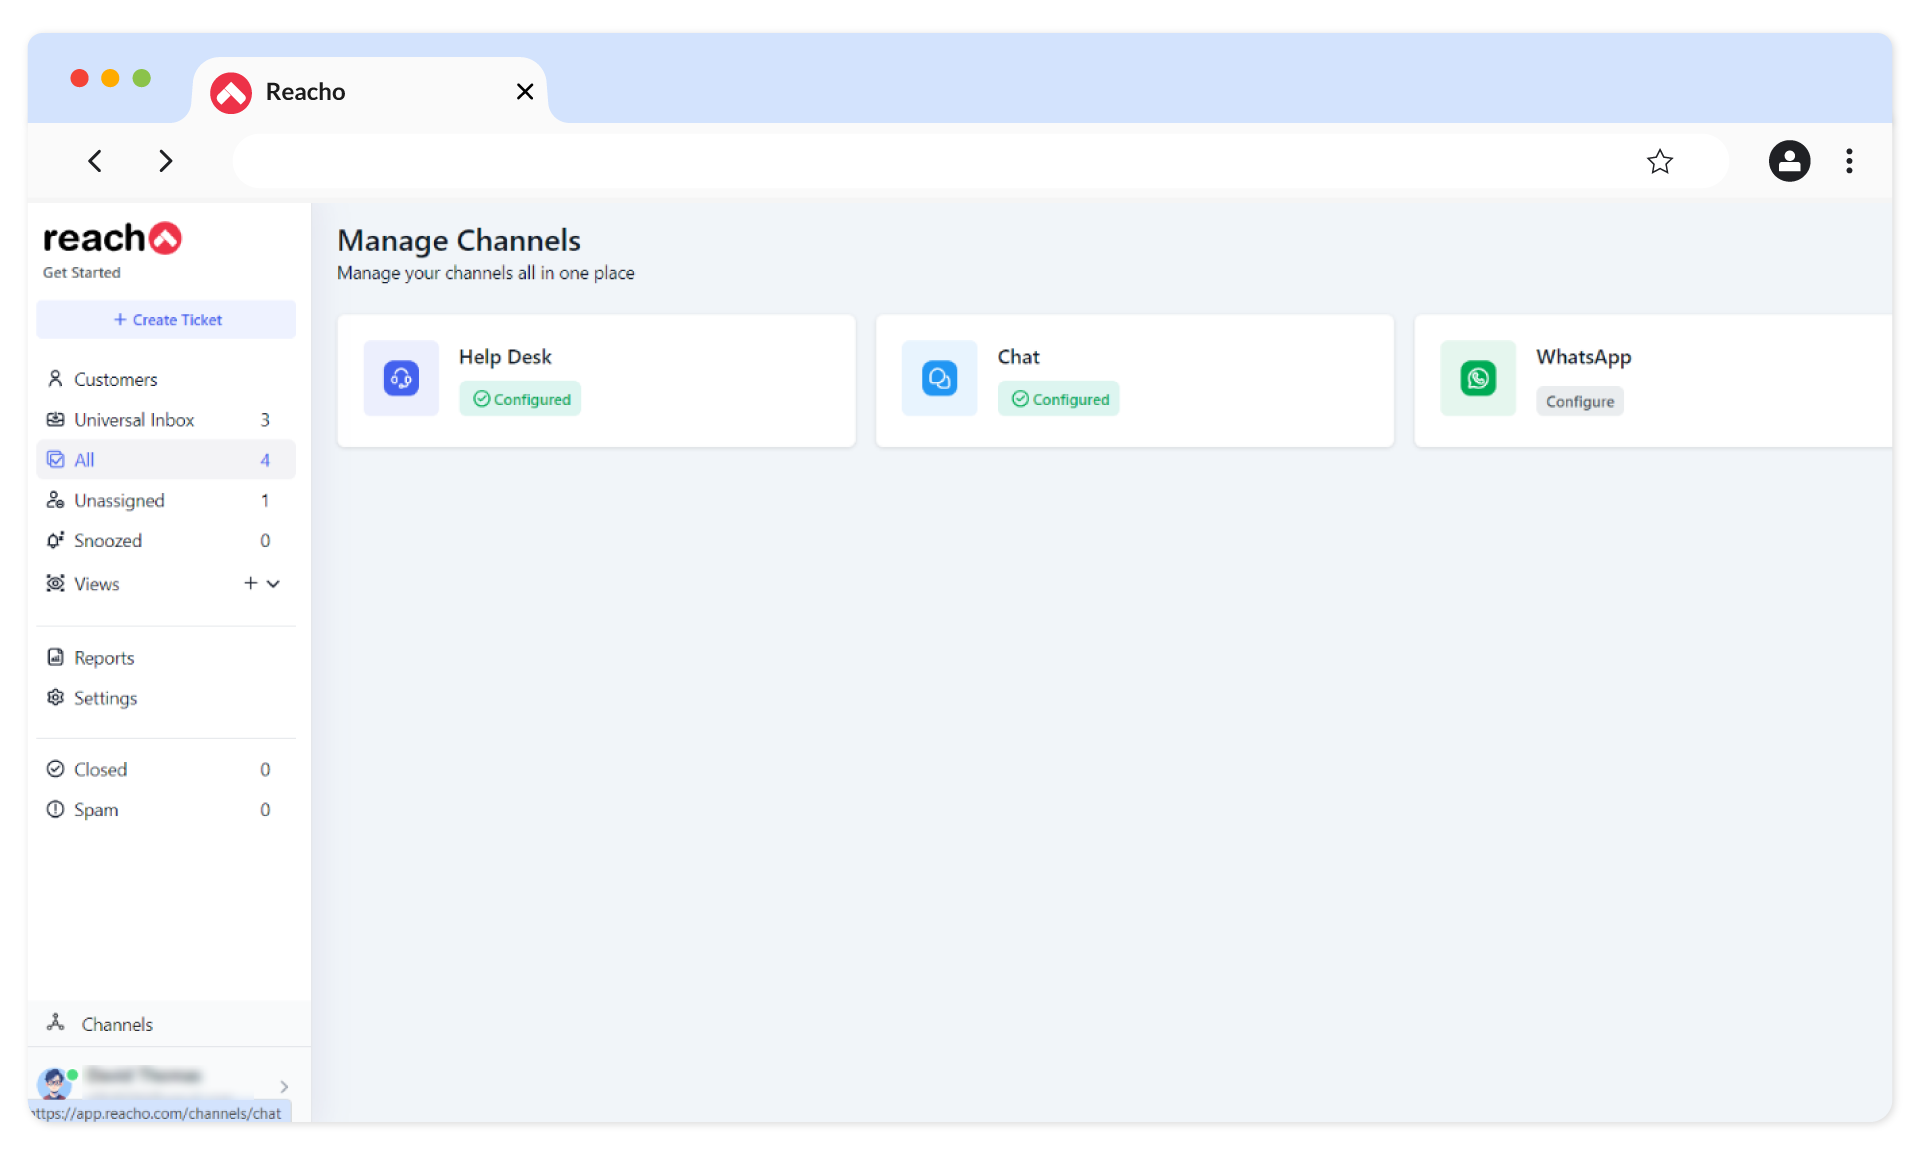
2. Configure the chat widget using the following tabs
- Appearance: Customize the look and feel of the widget.
- Preferences: Adjust settings to suit your needs.
- Installation: Select your PrestaShop store and click on Quick Installation.
3. Click on Save Changes to enable the chat widget on your PrestaShop store.
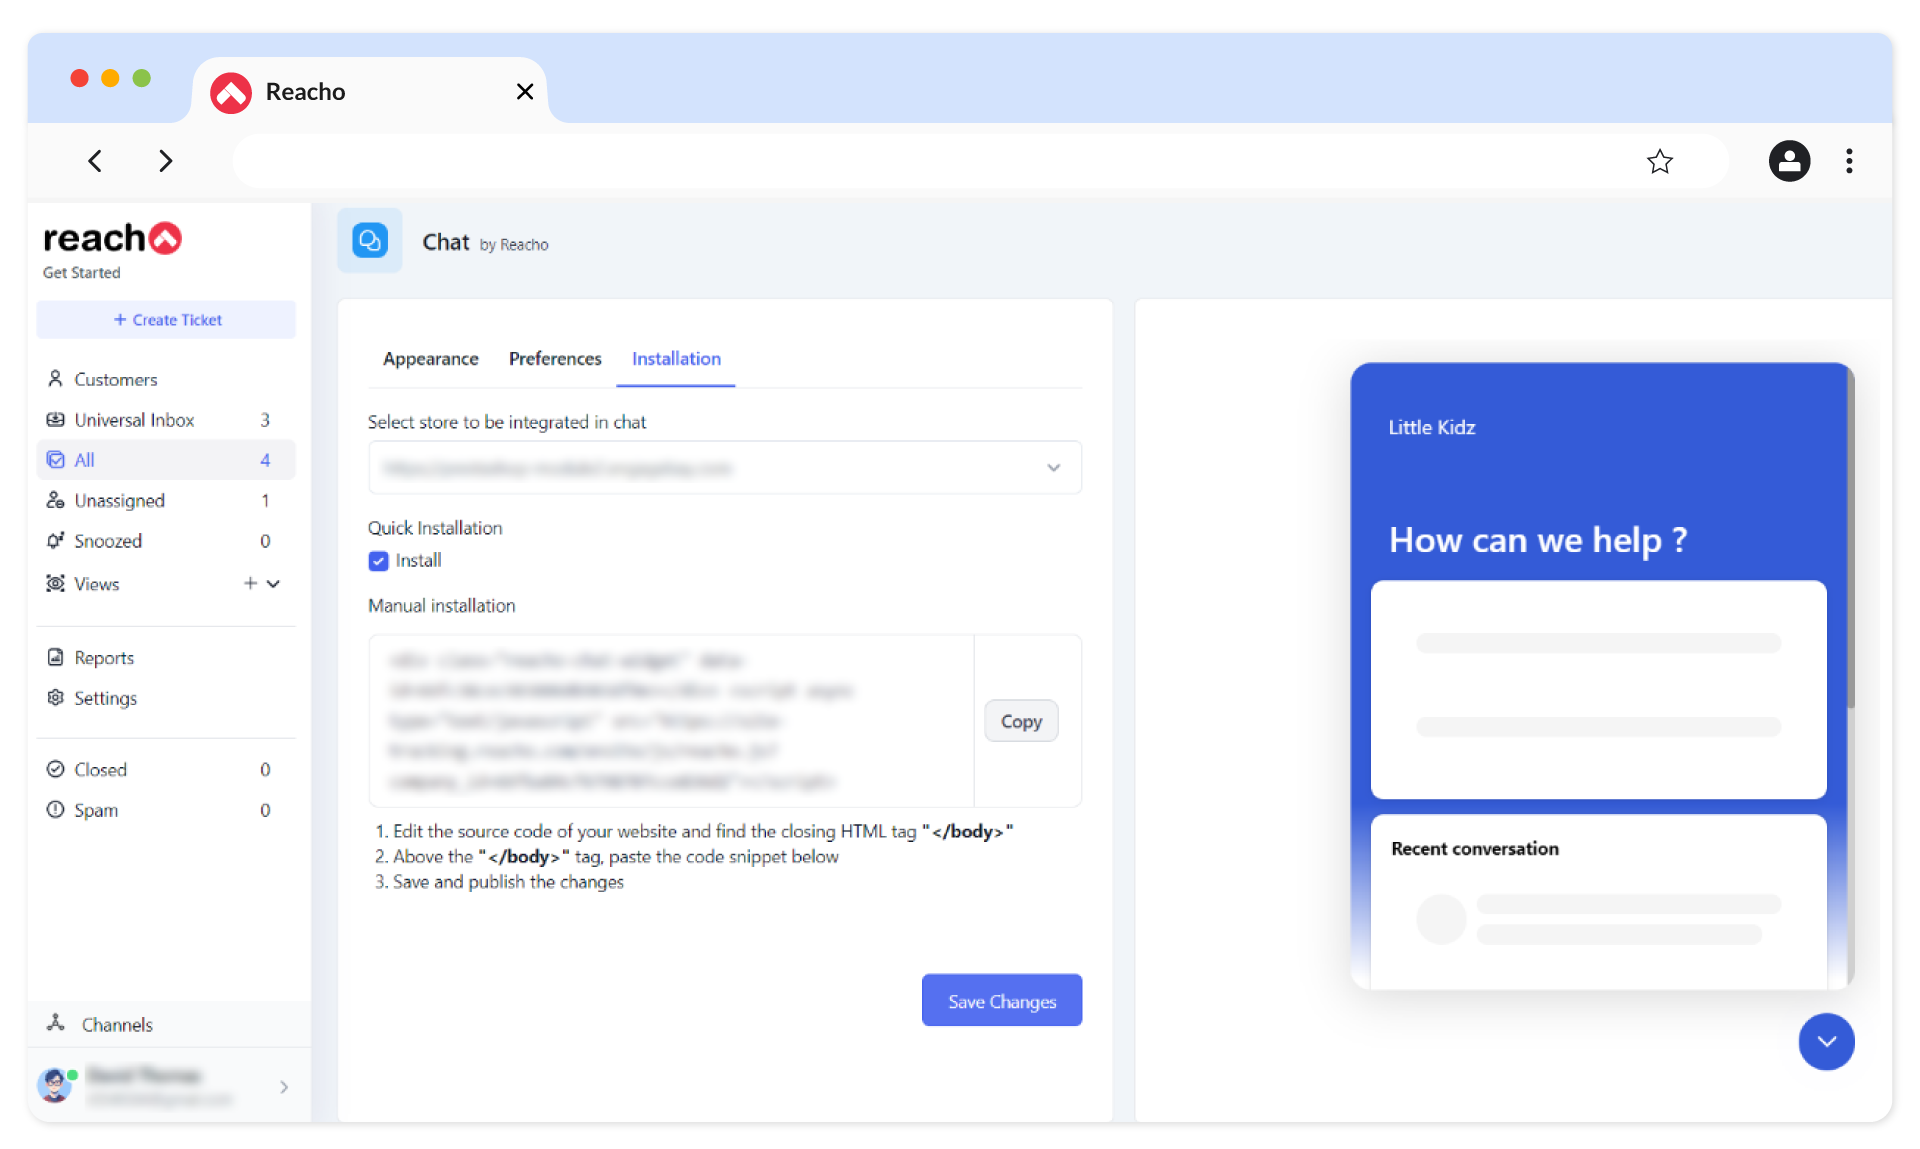
4. Chat widget will now be enabled on your PrestaShop store.
Free migration, free setup.
Don’t worry about moving from any other platform. We’ll take care of it for you.

